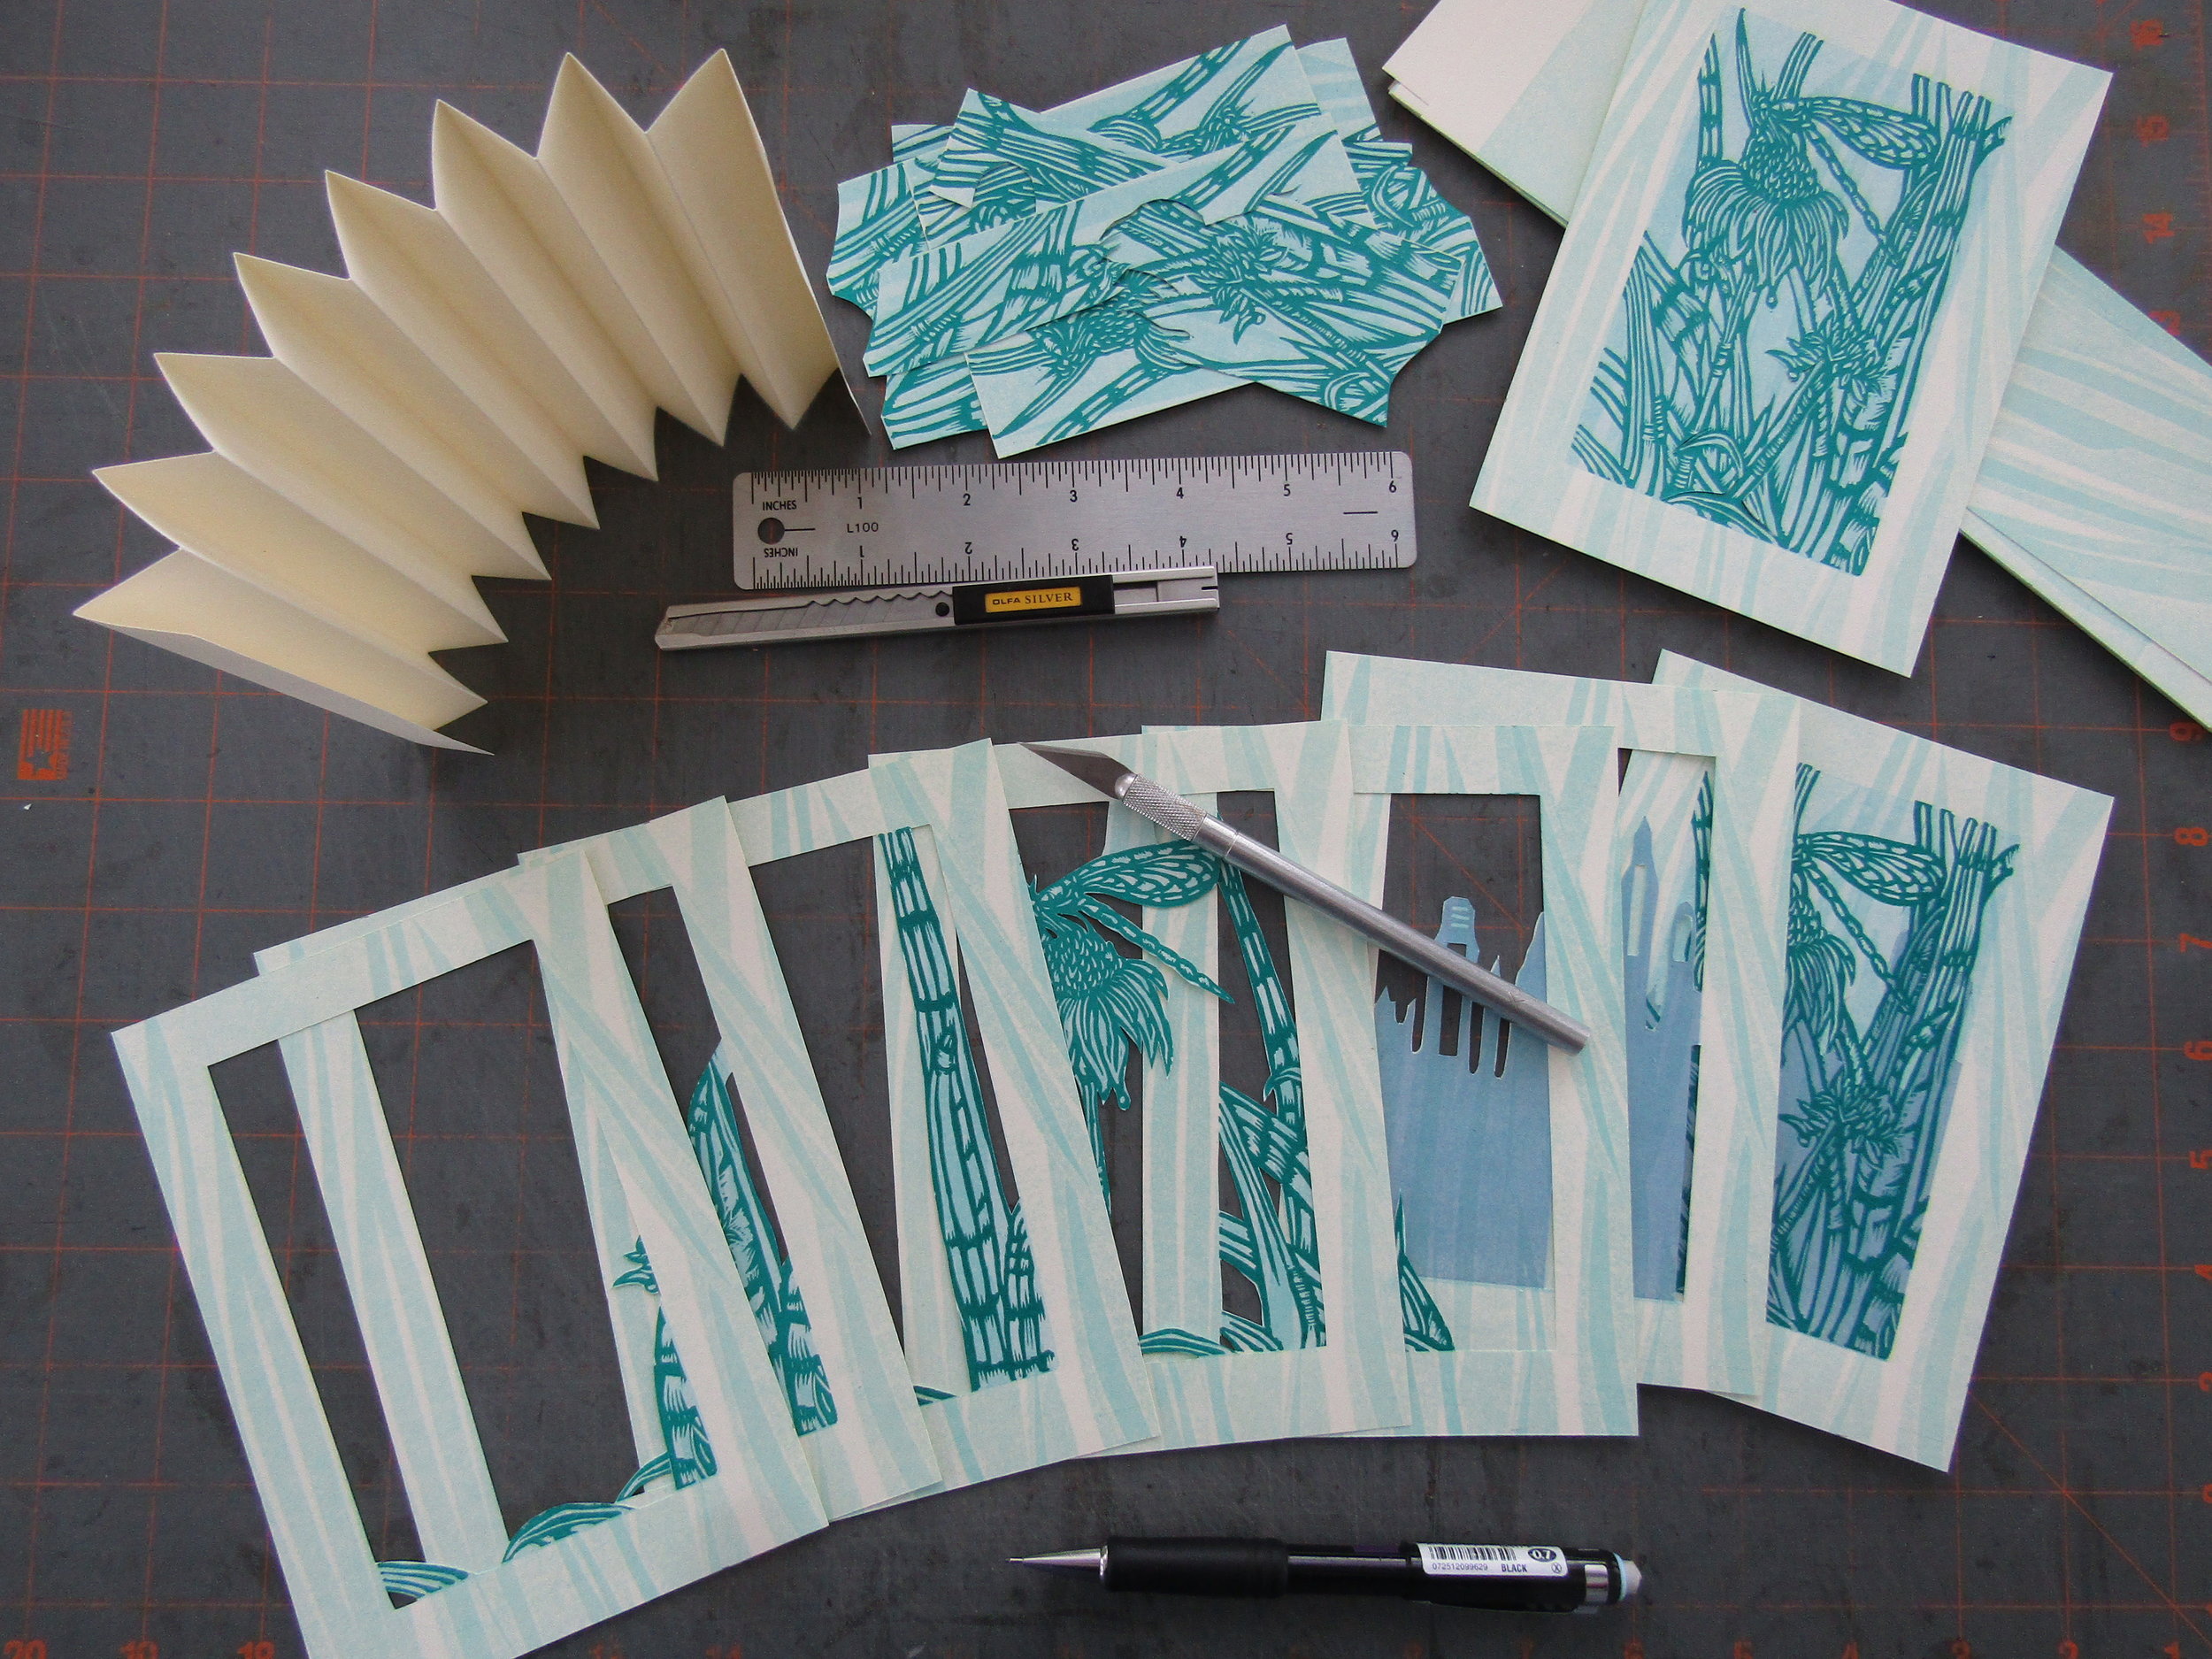
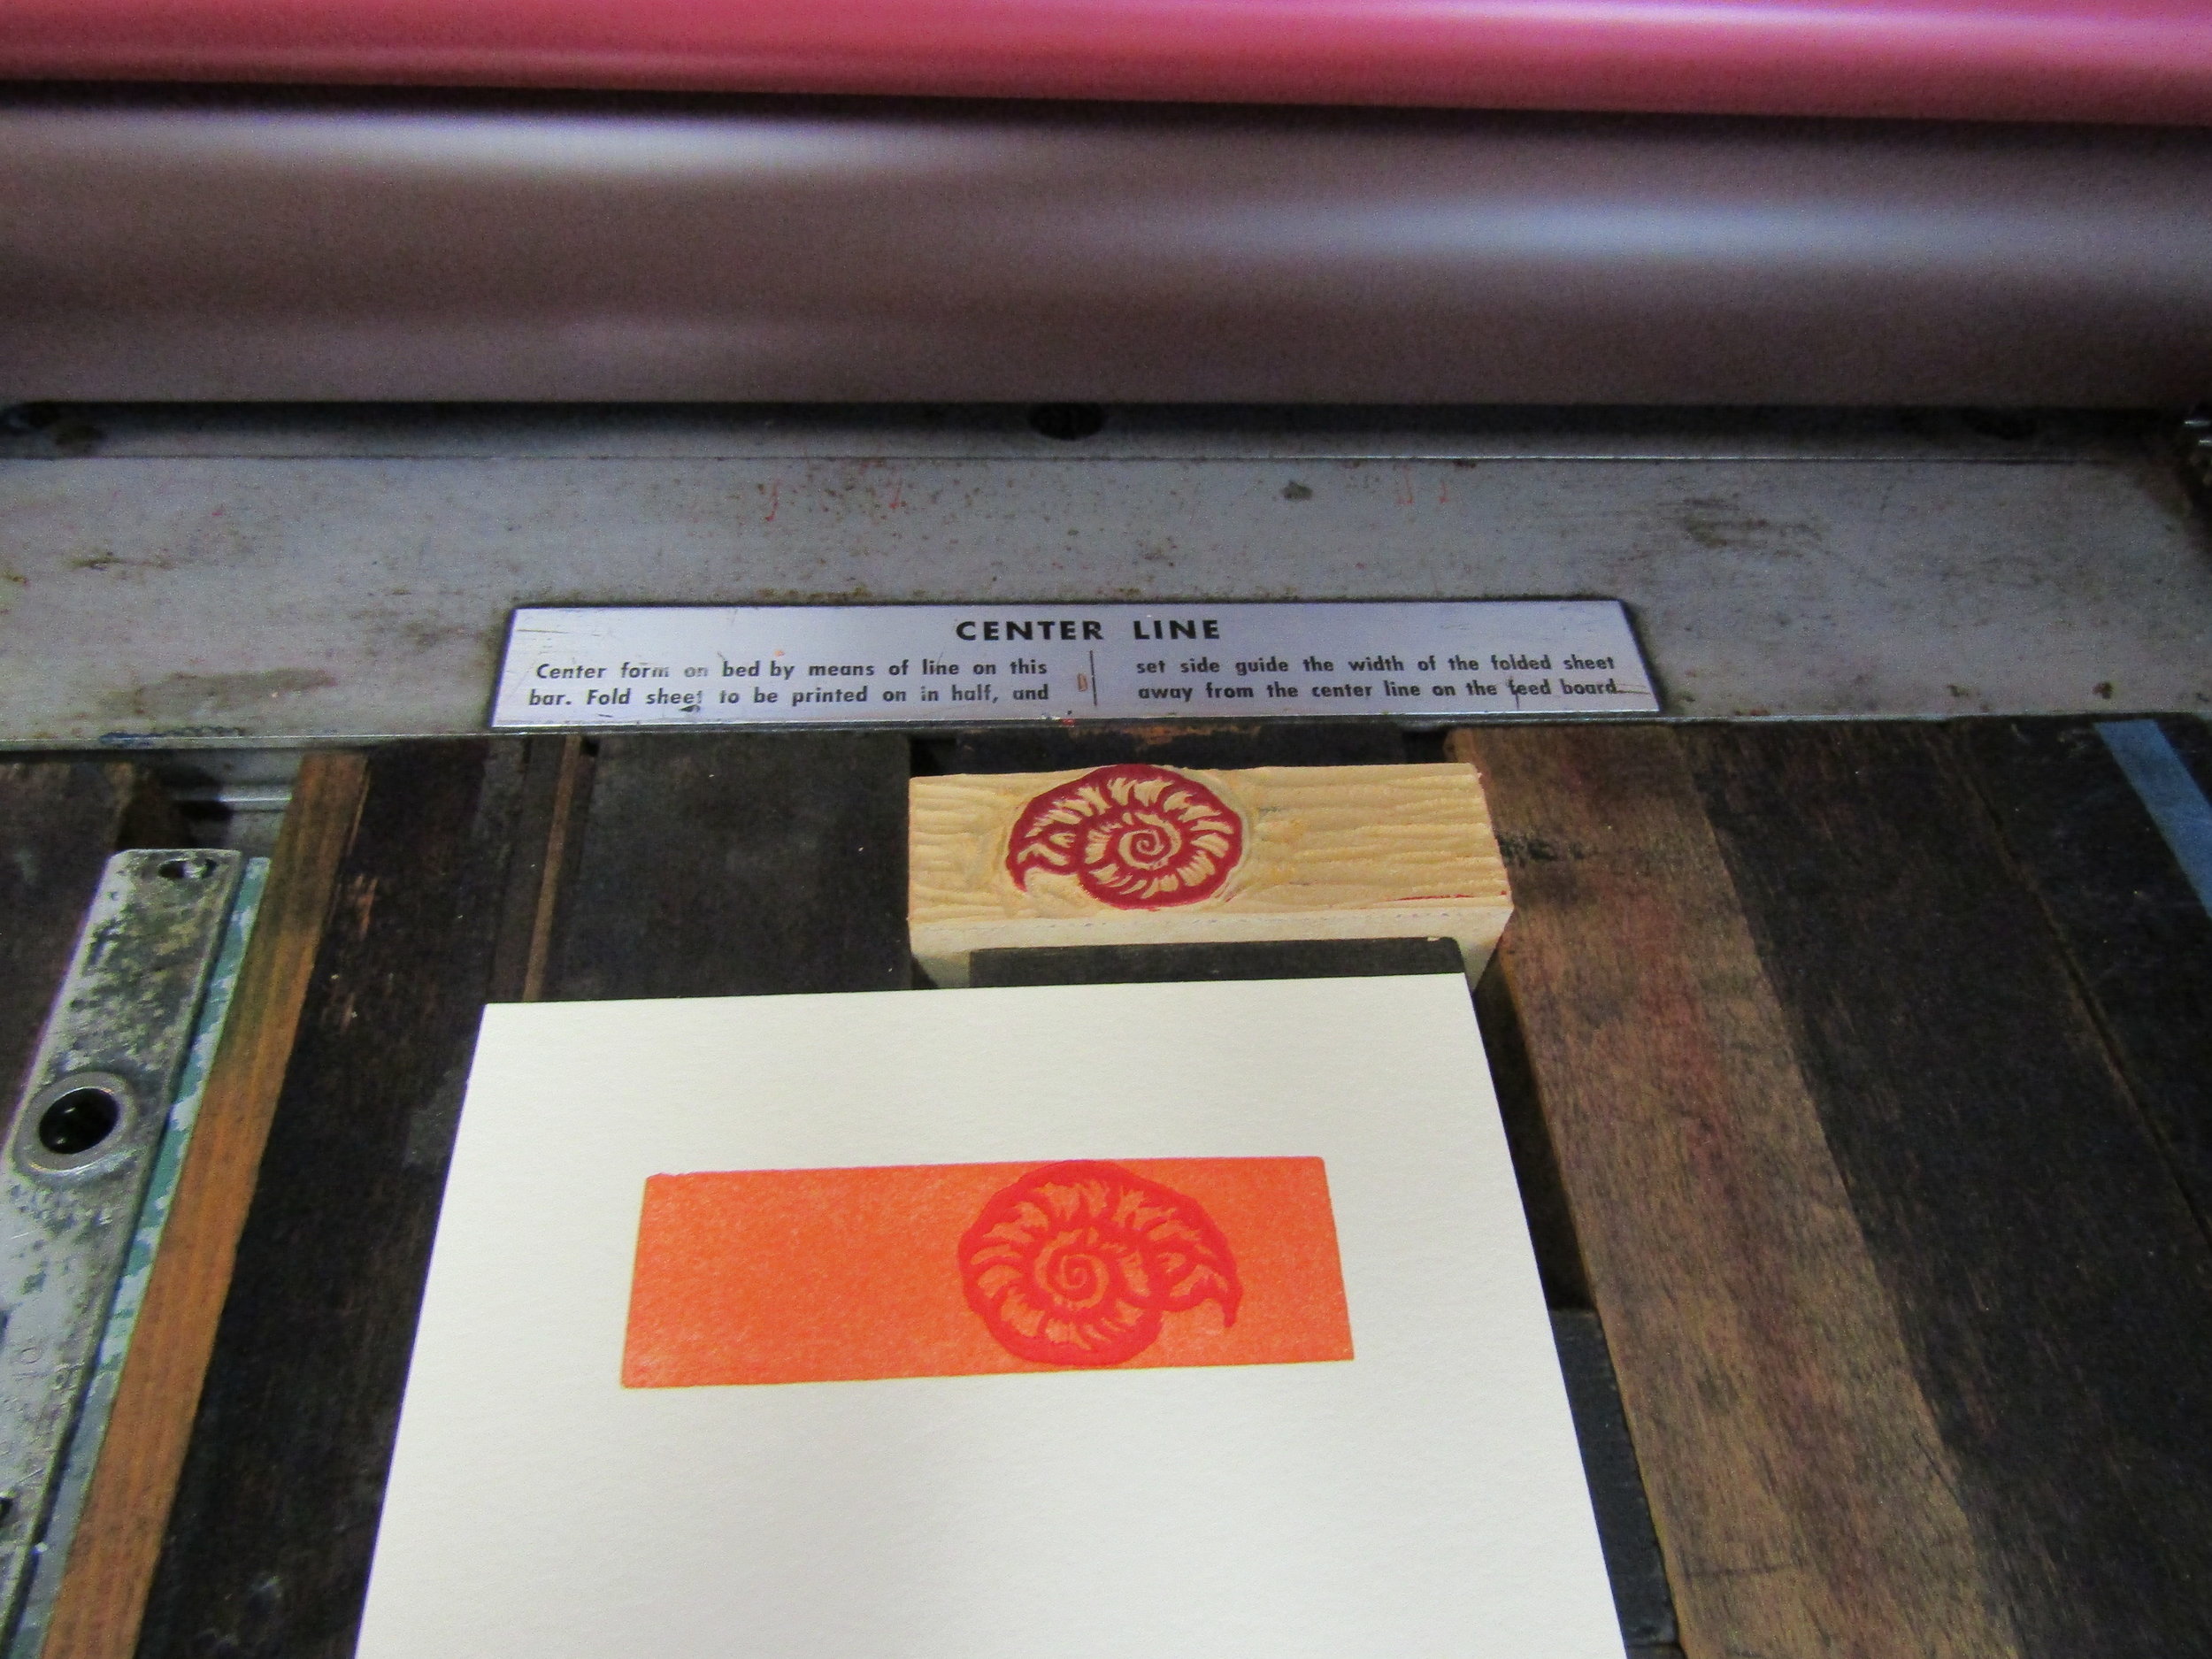
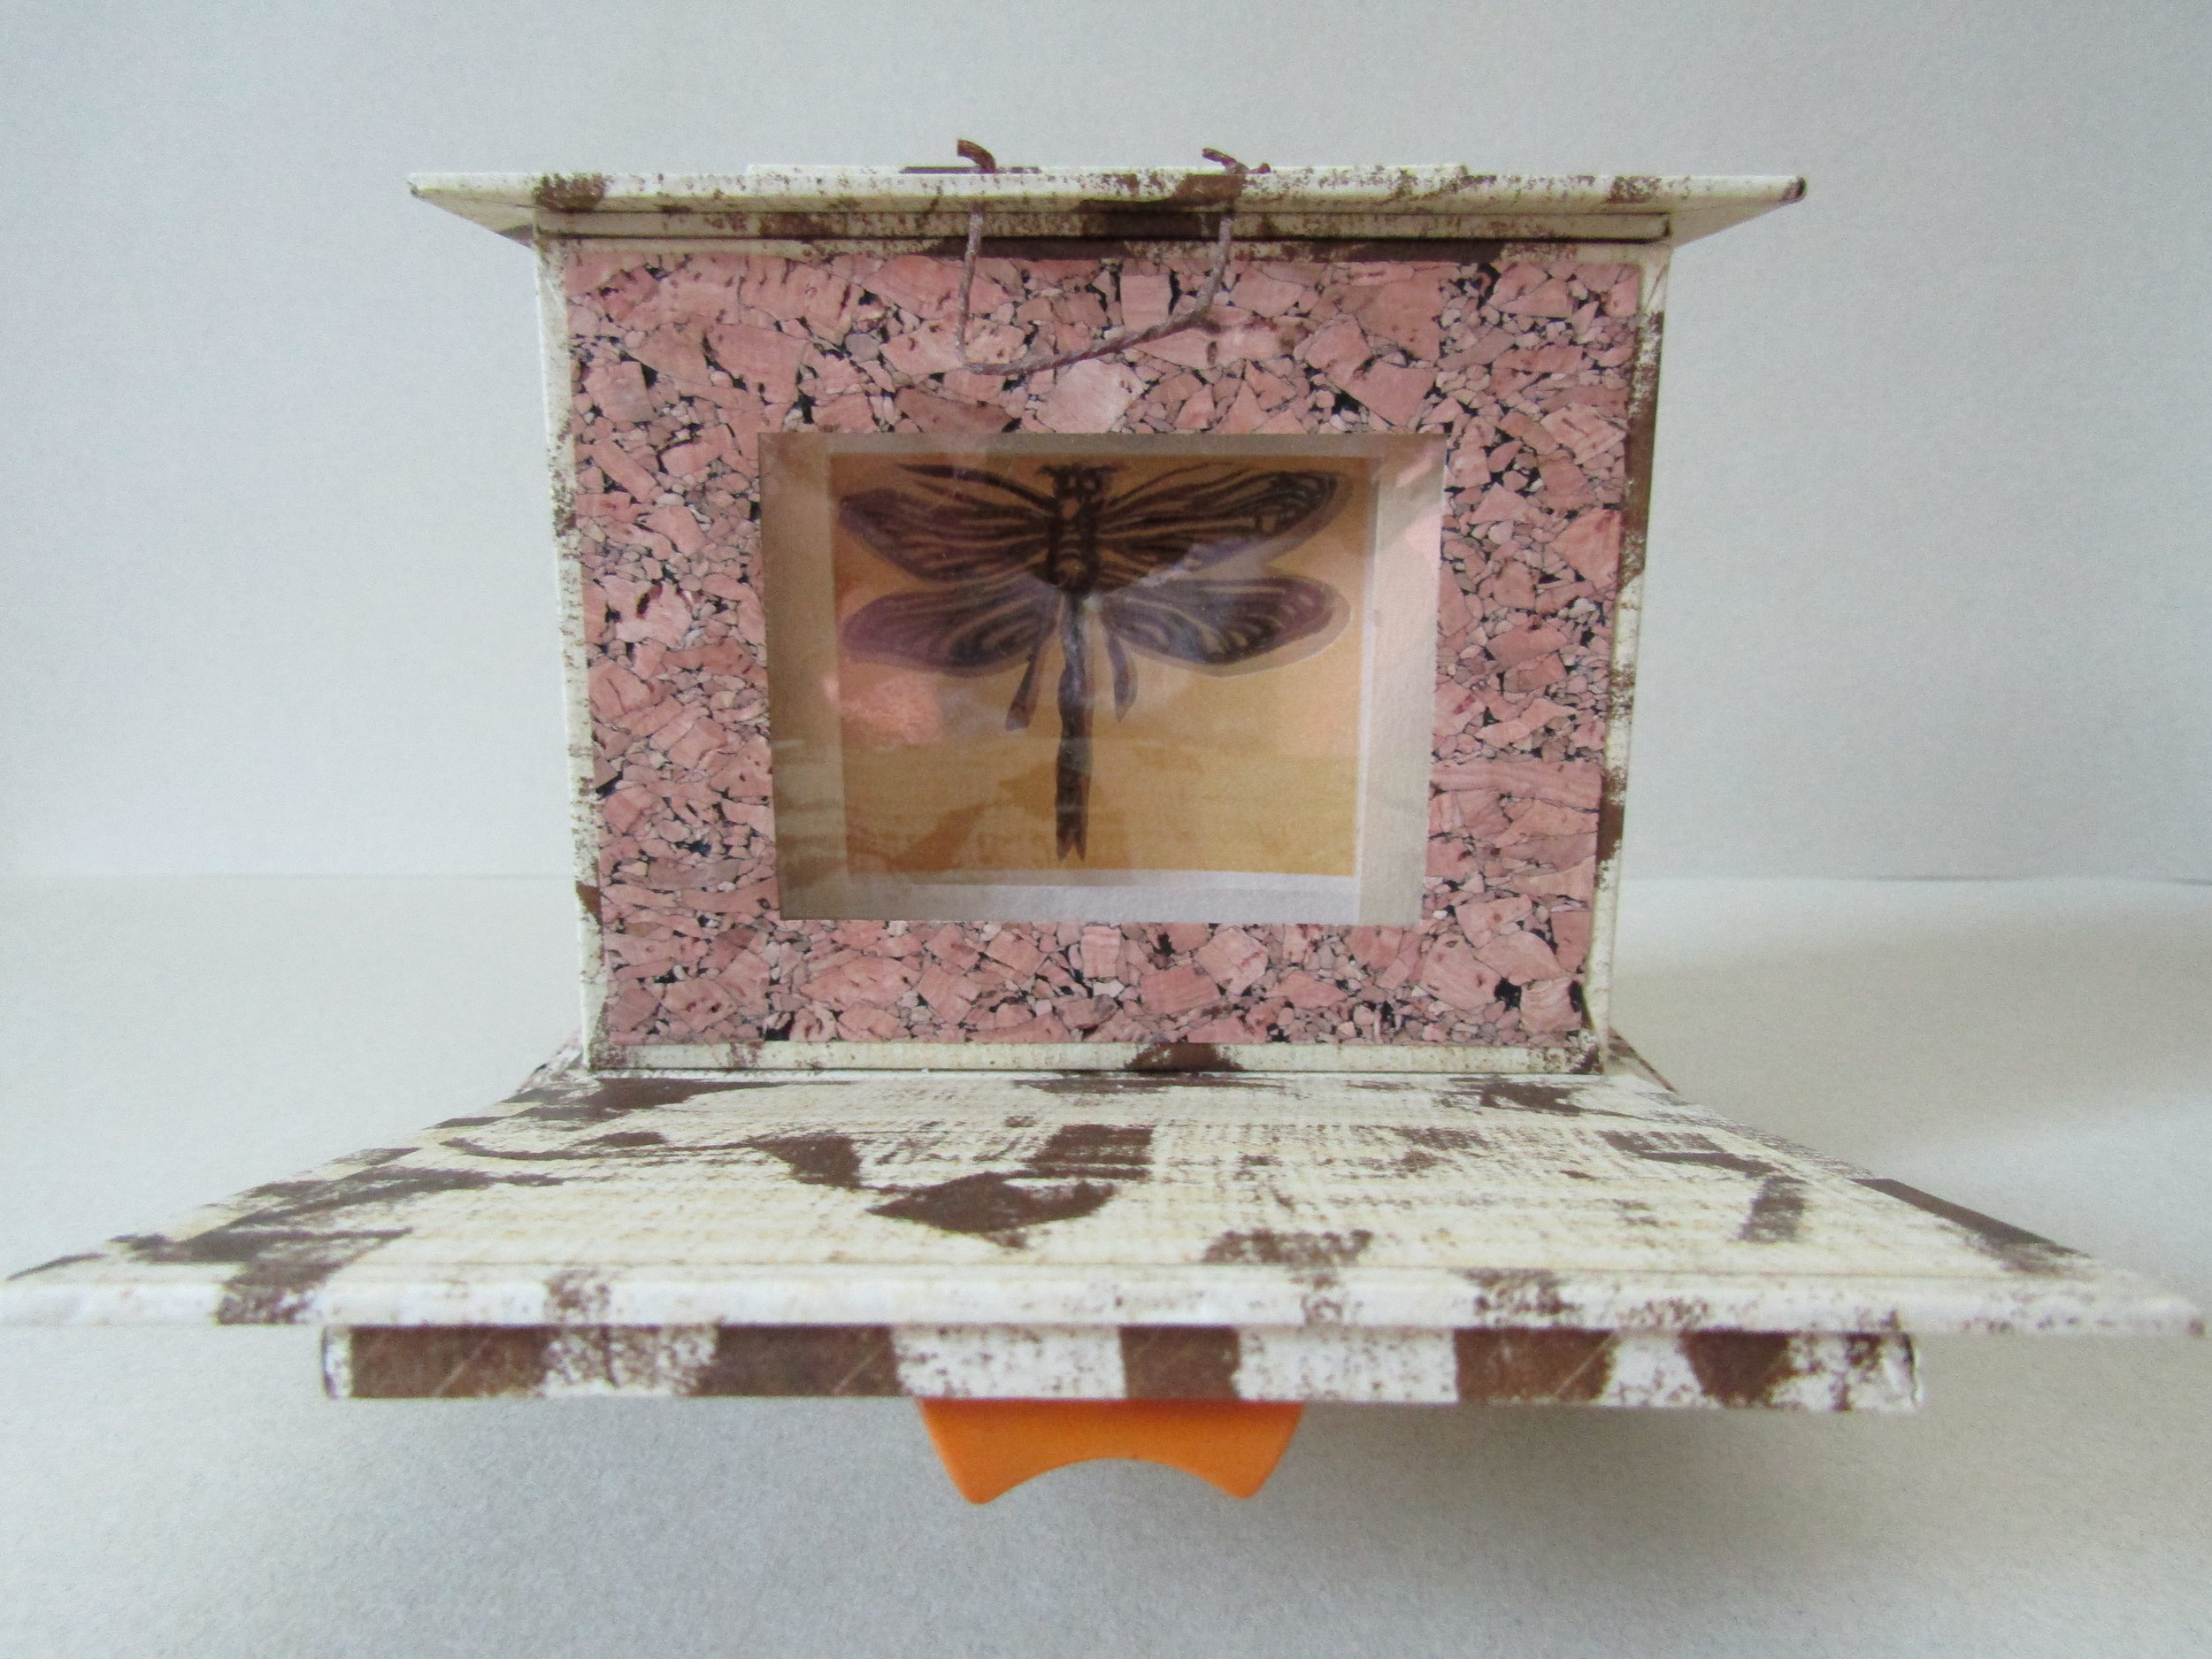
Printing the dragonfly and calla lilly.

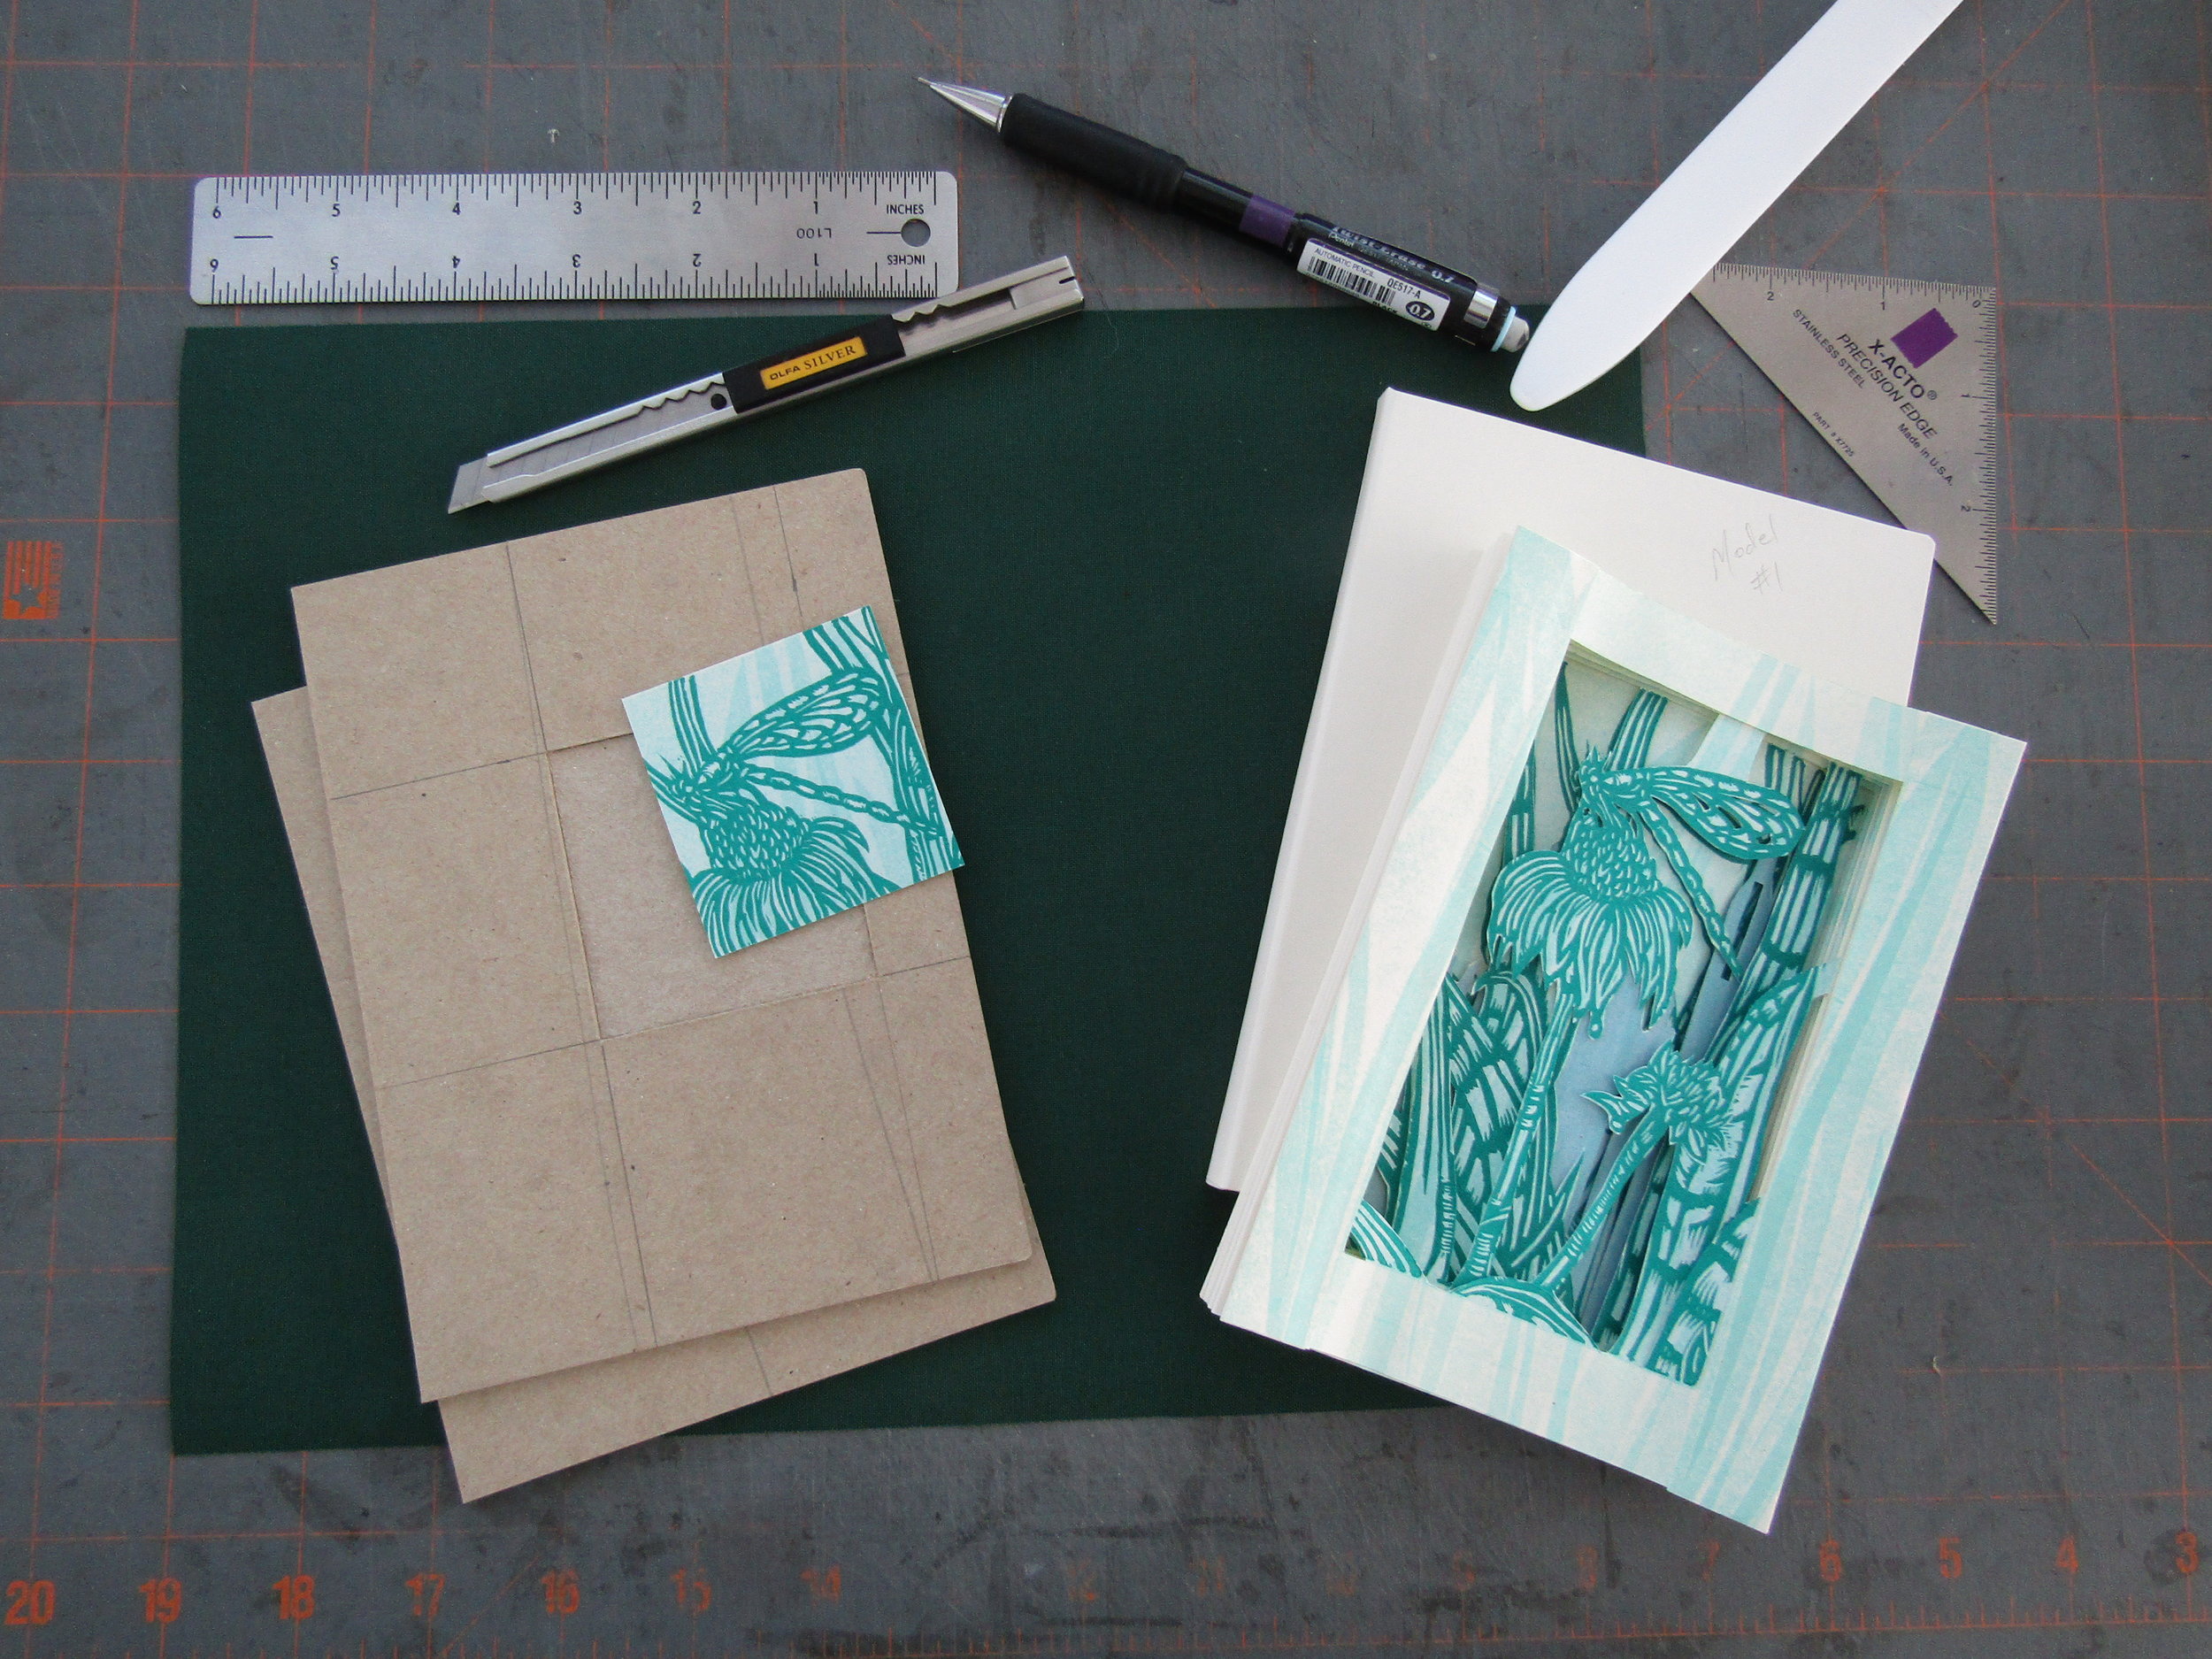
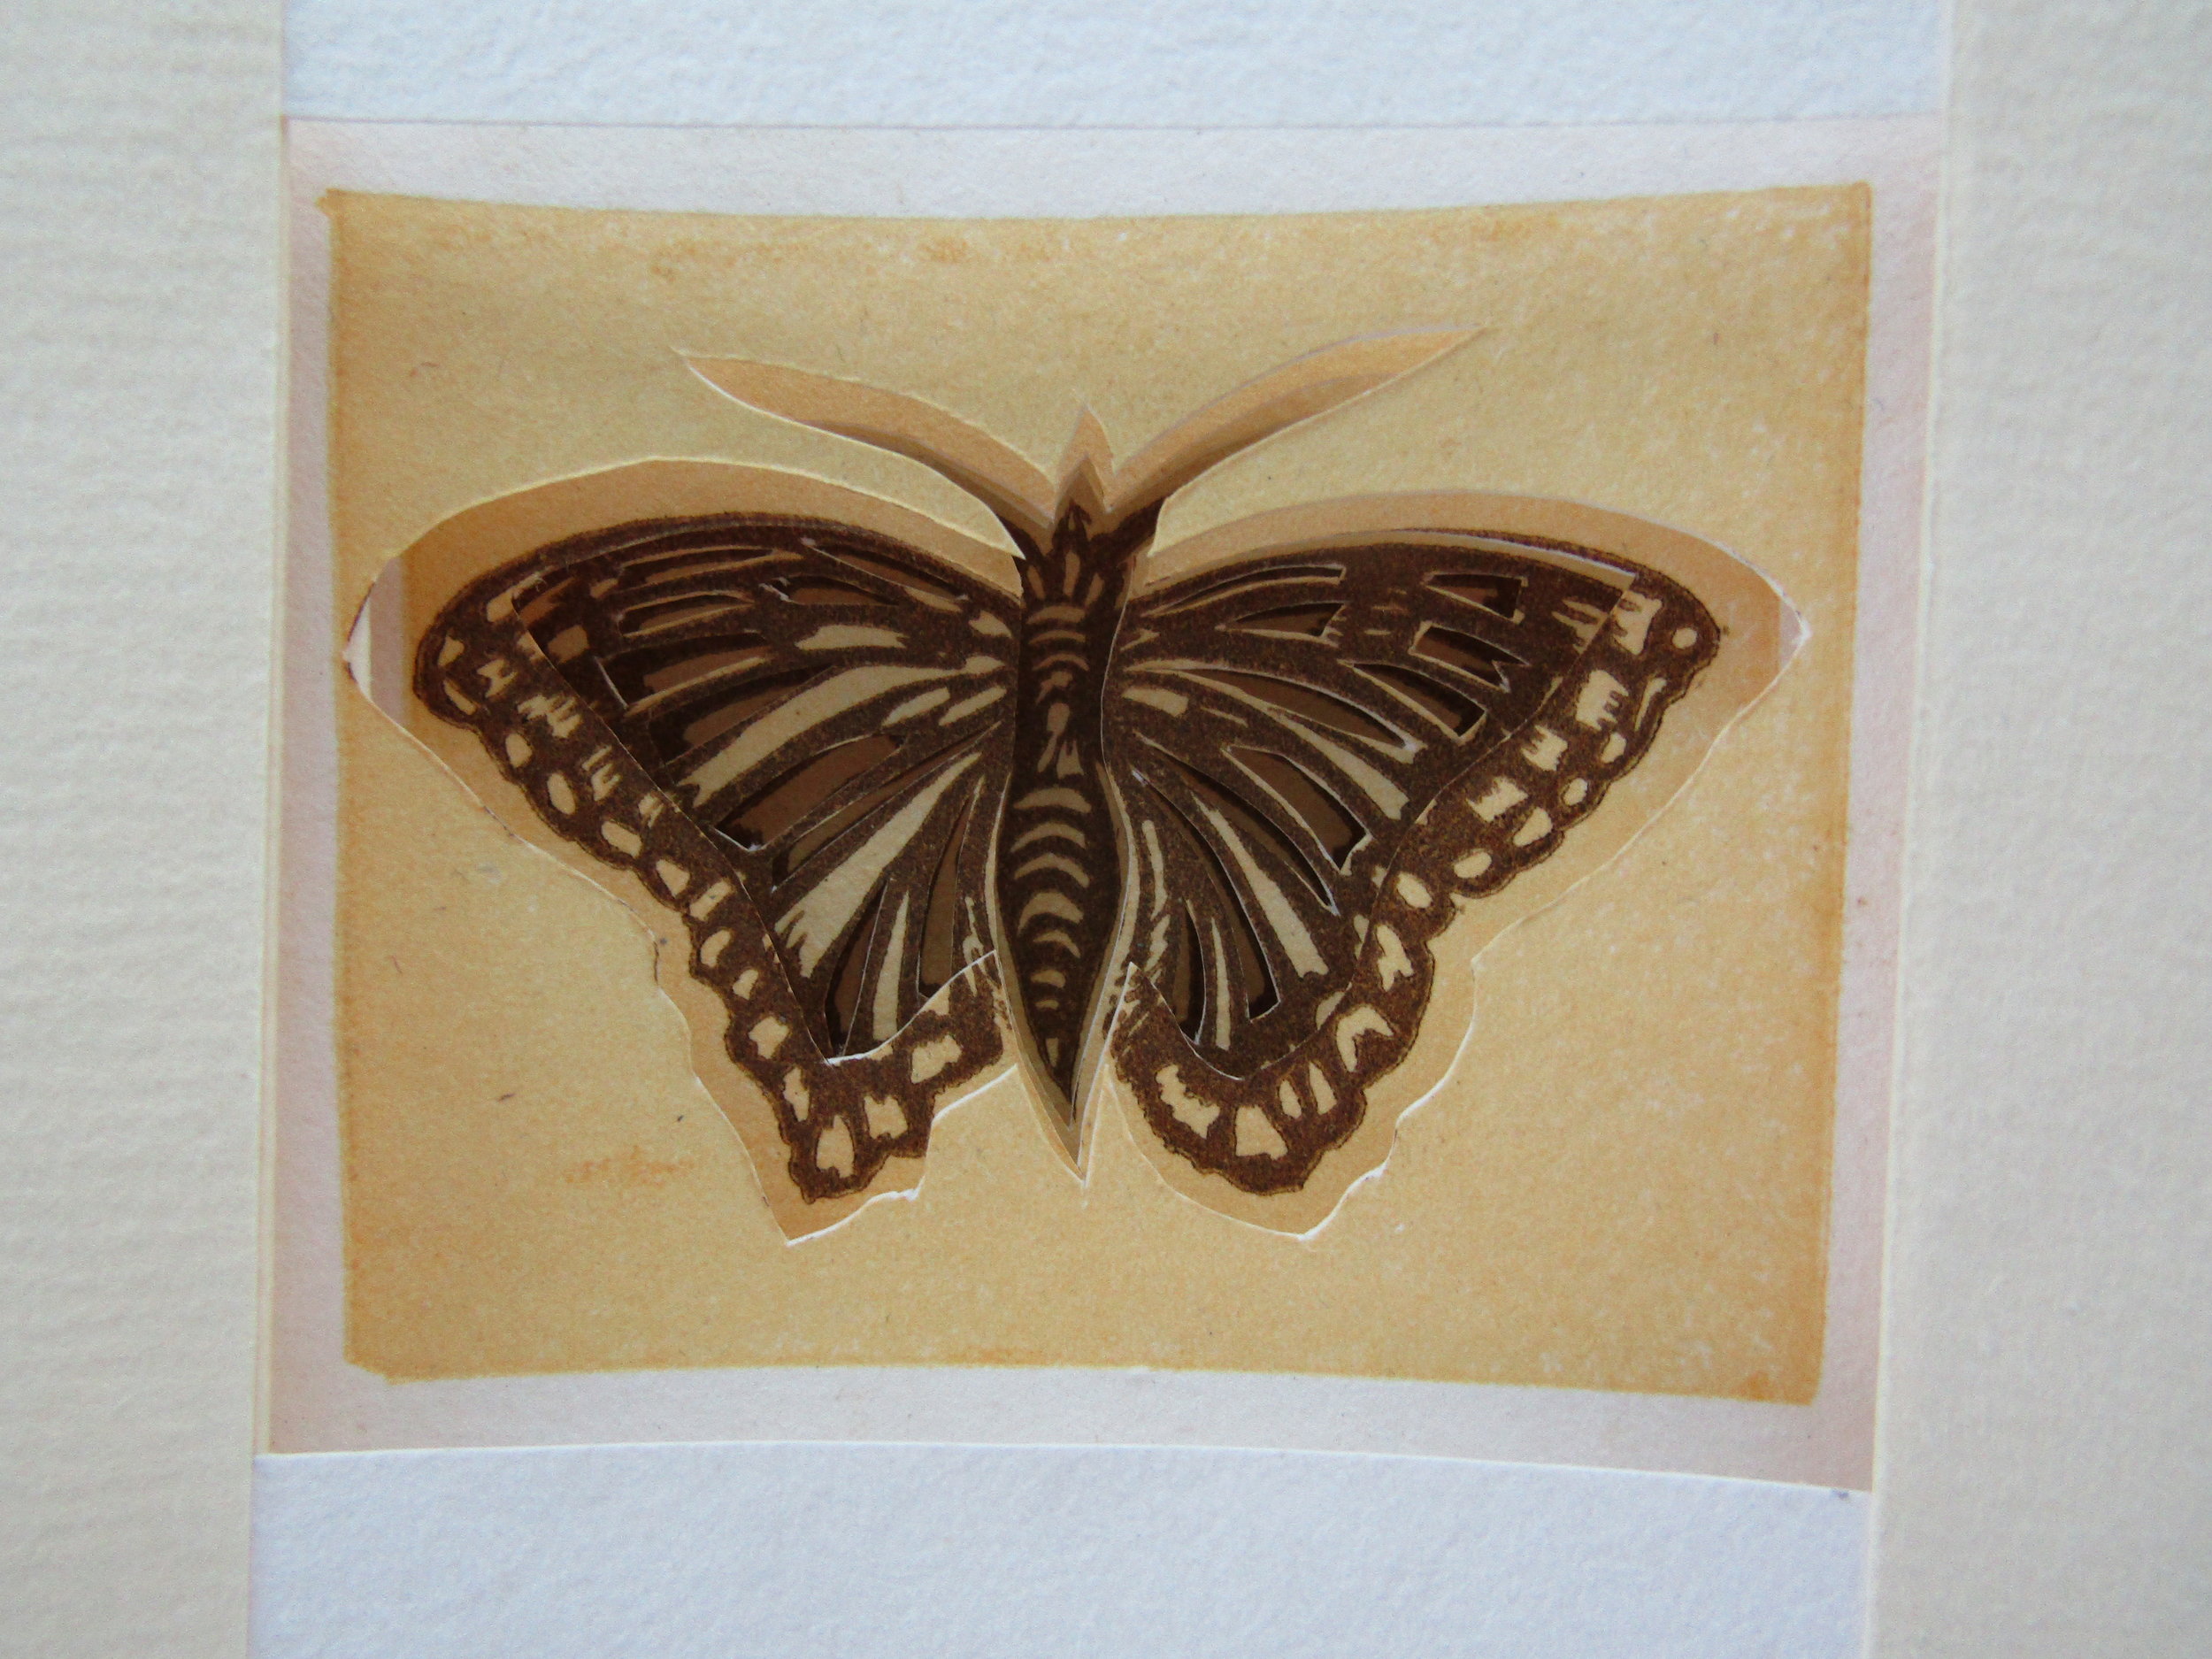
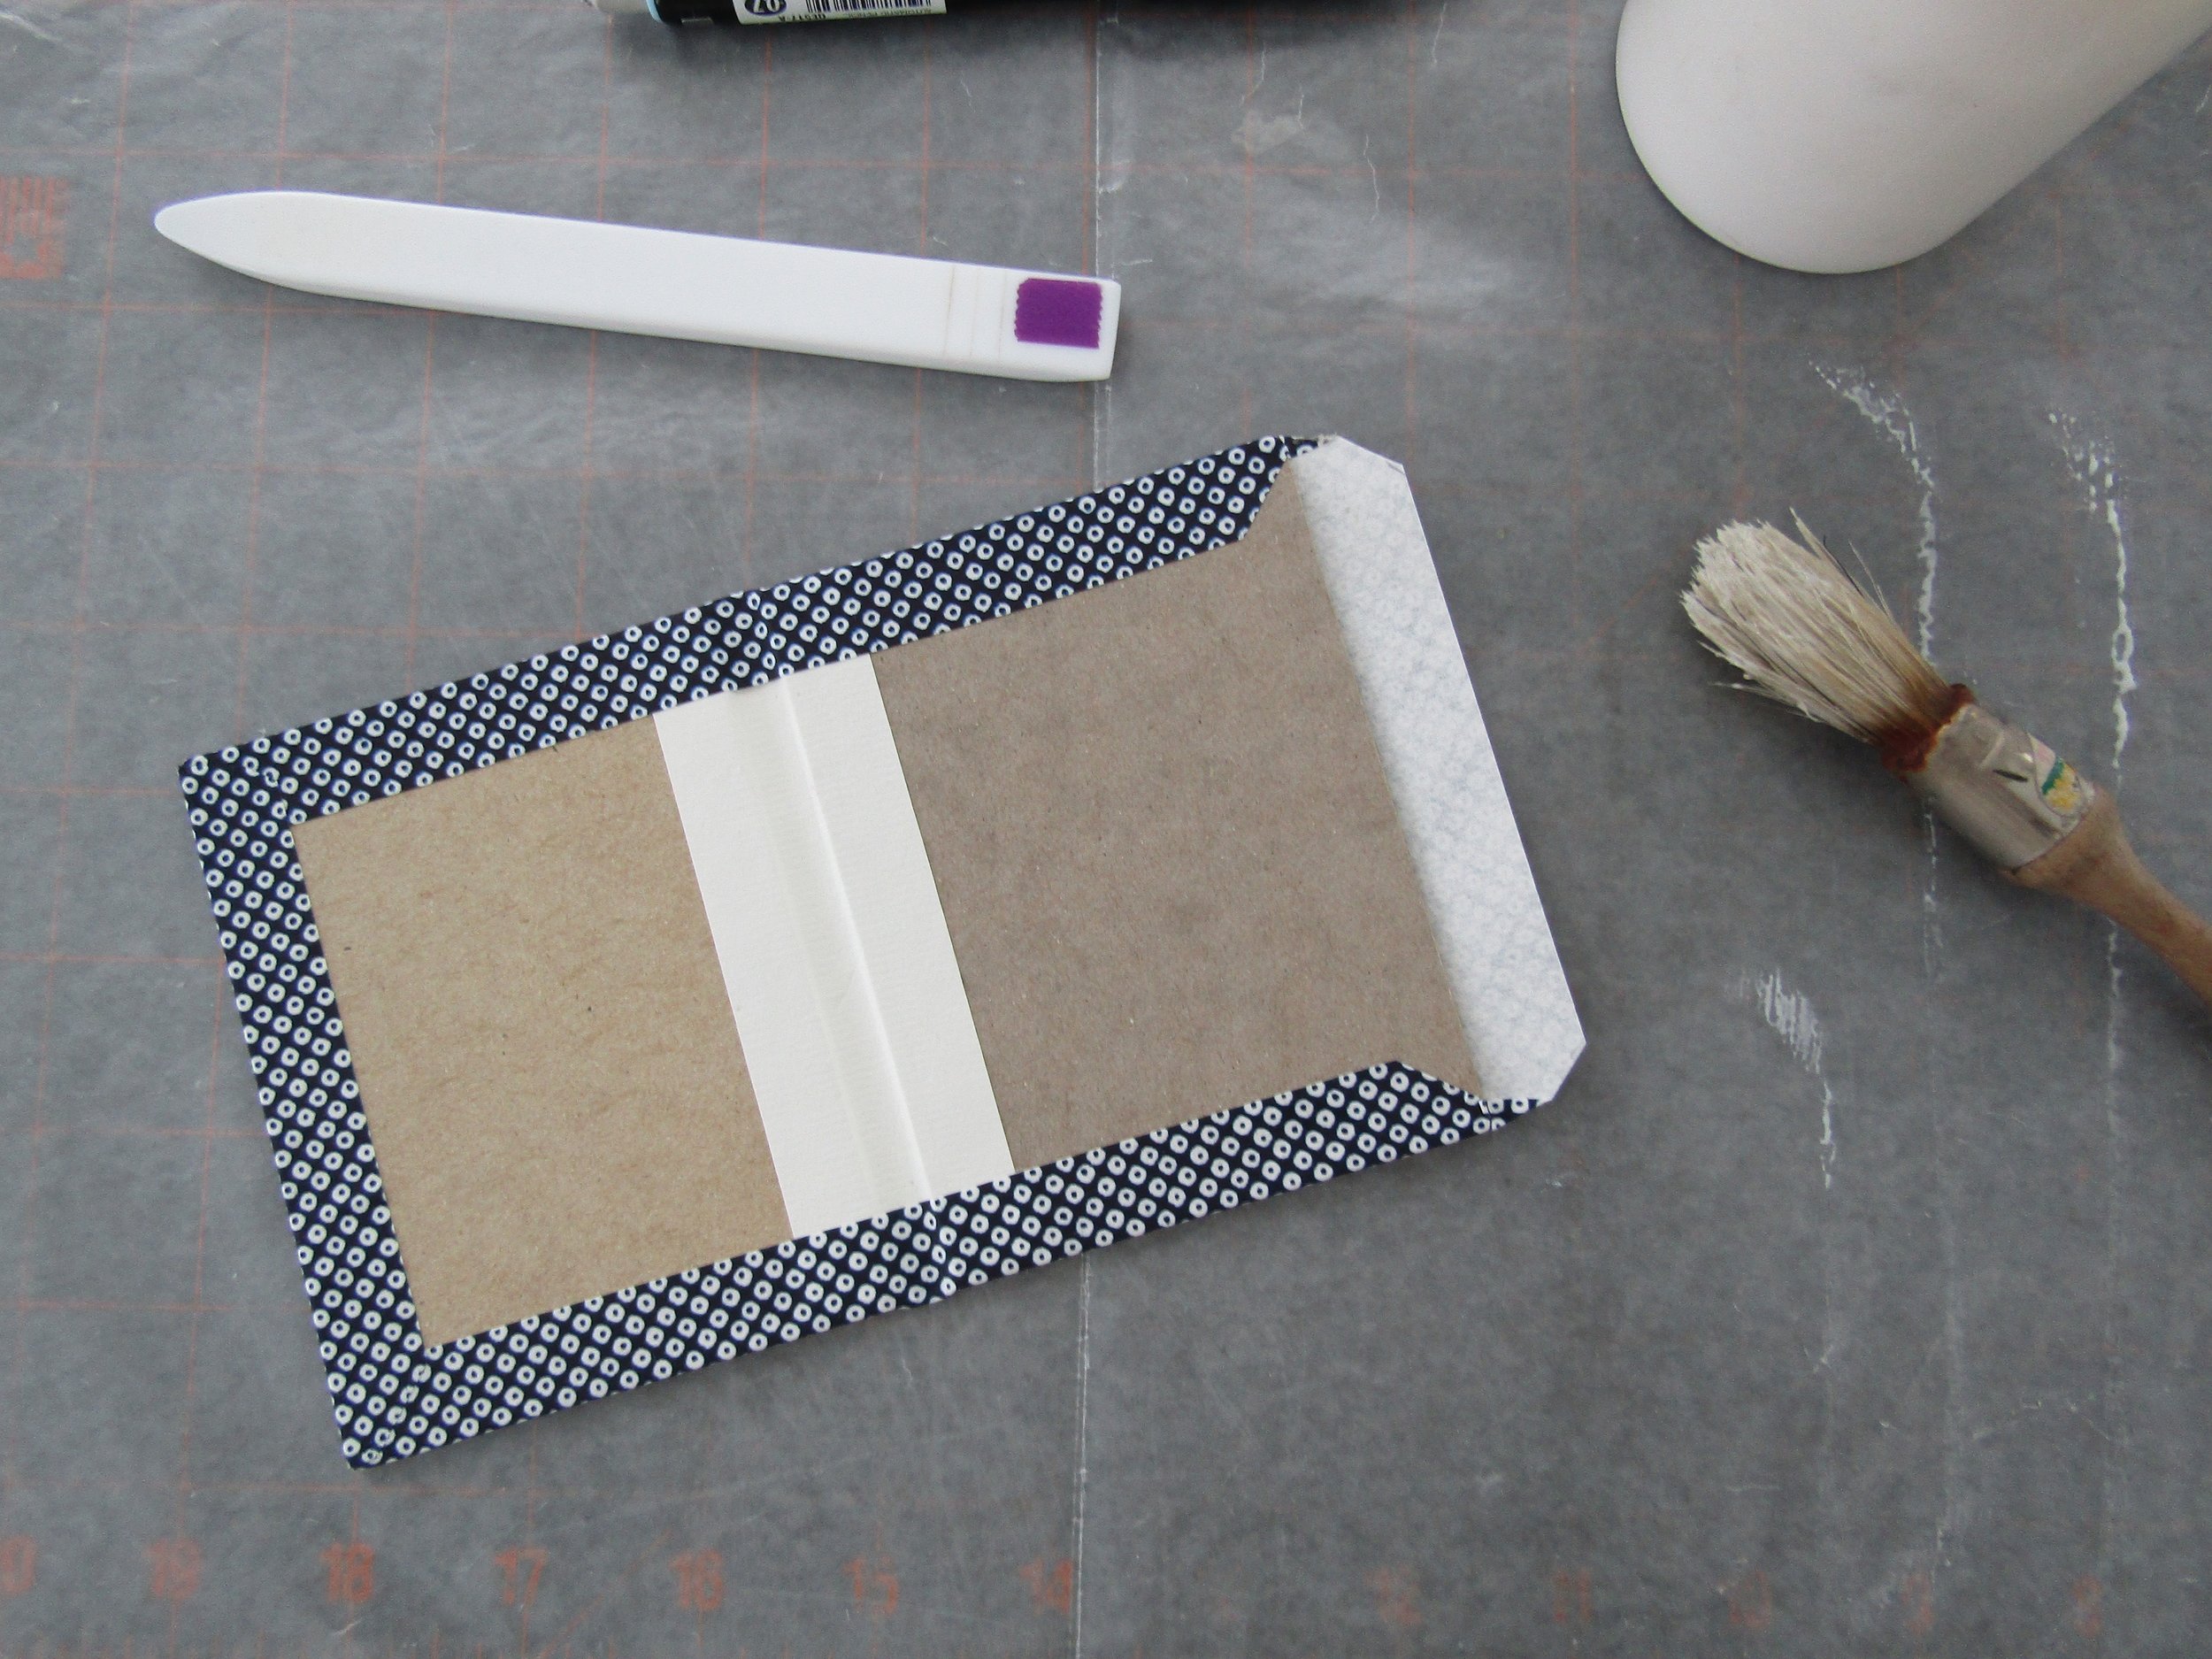
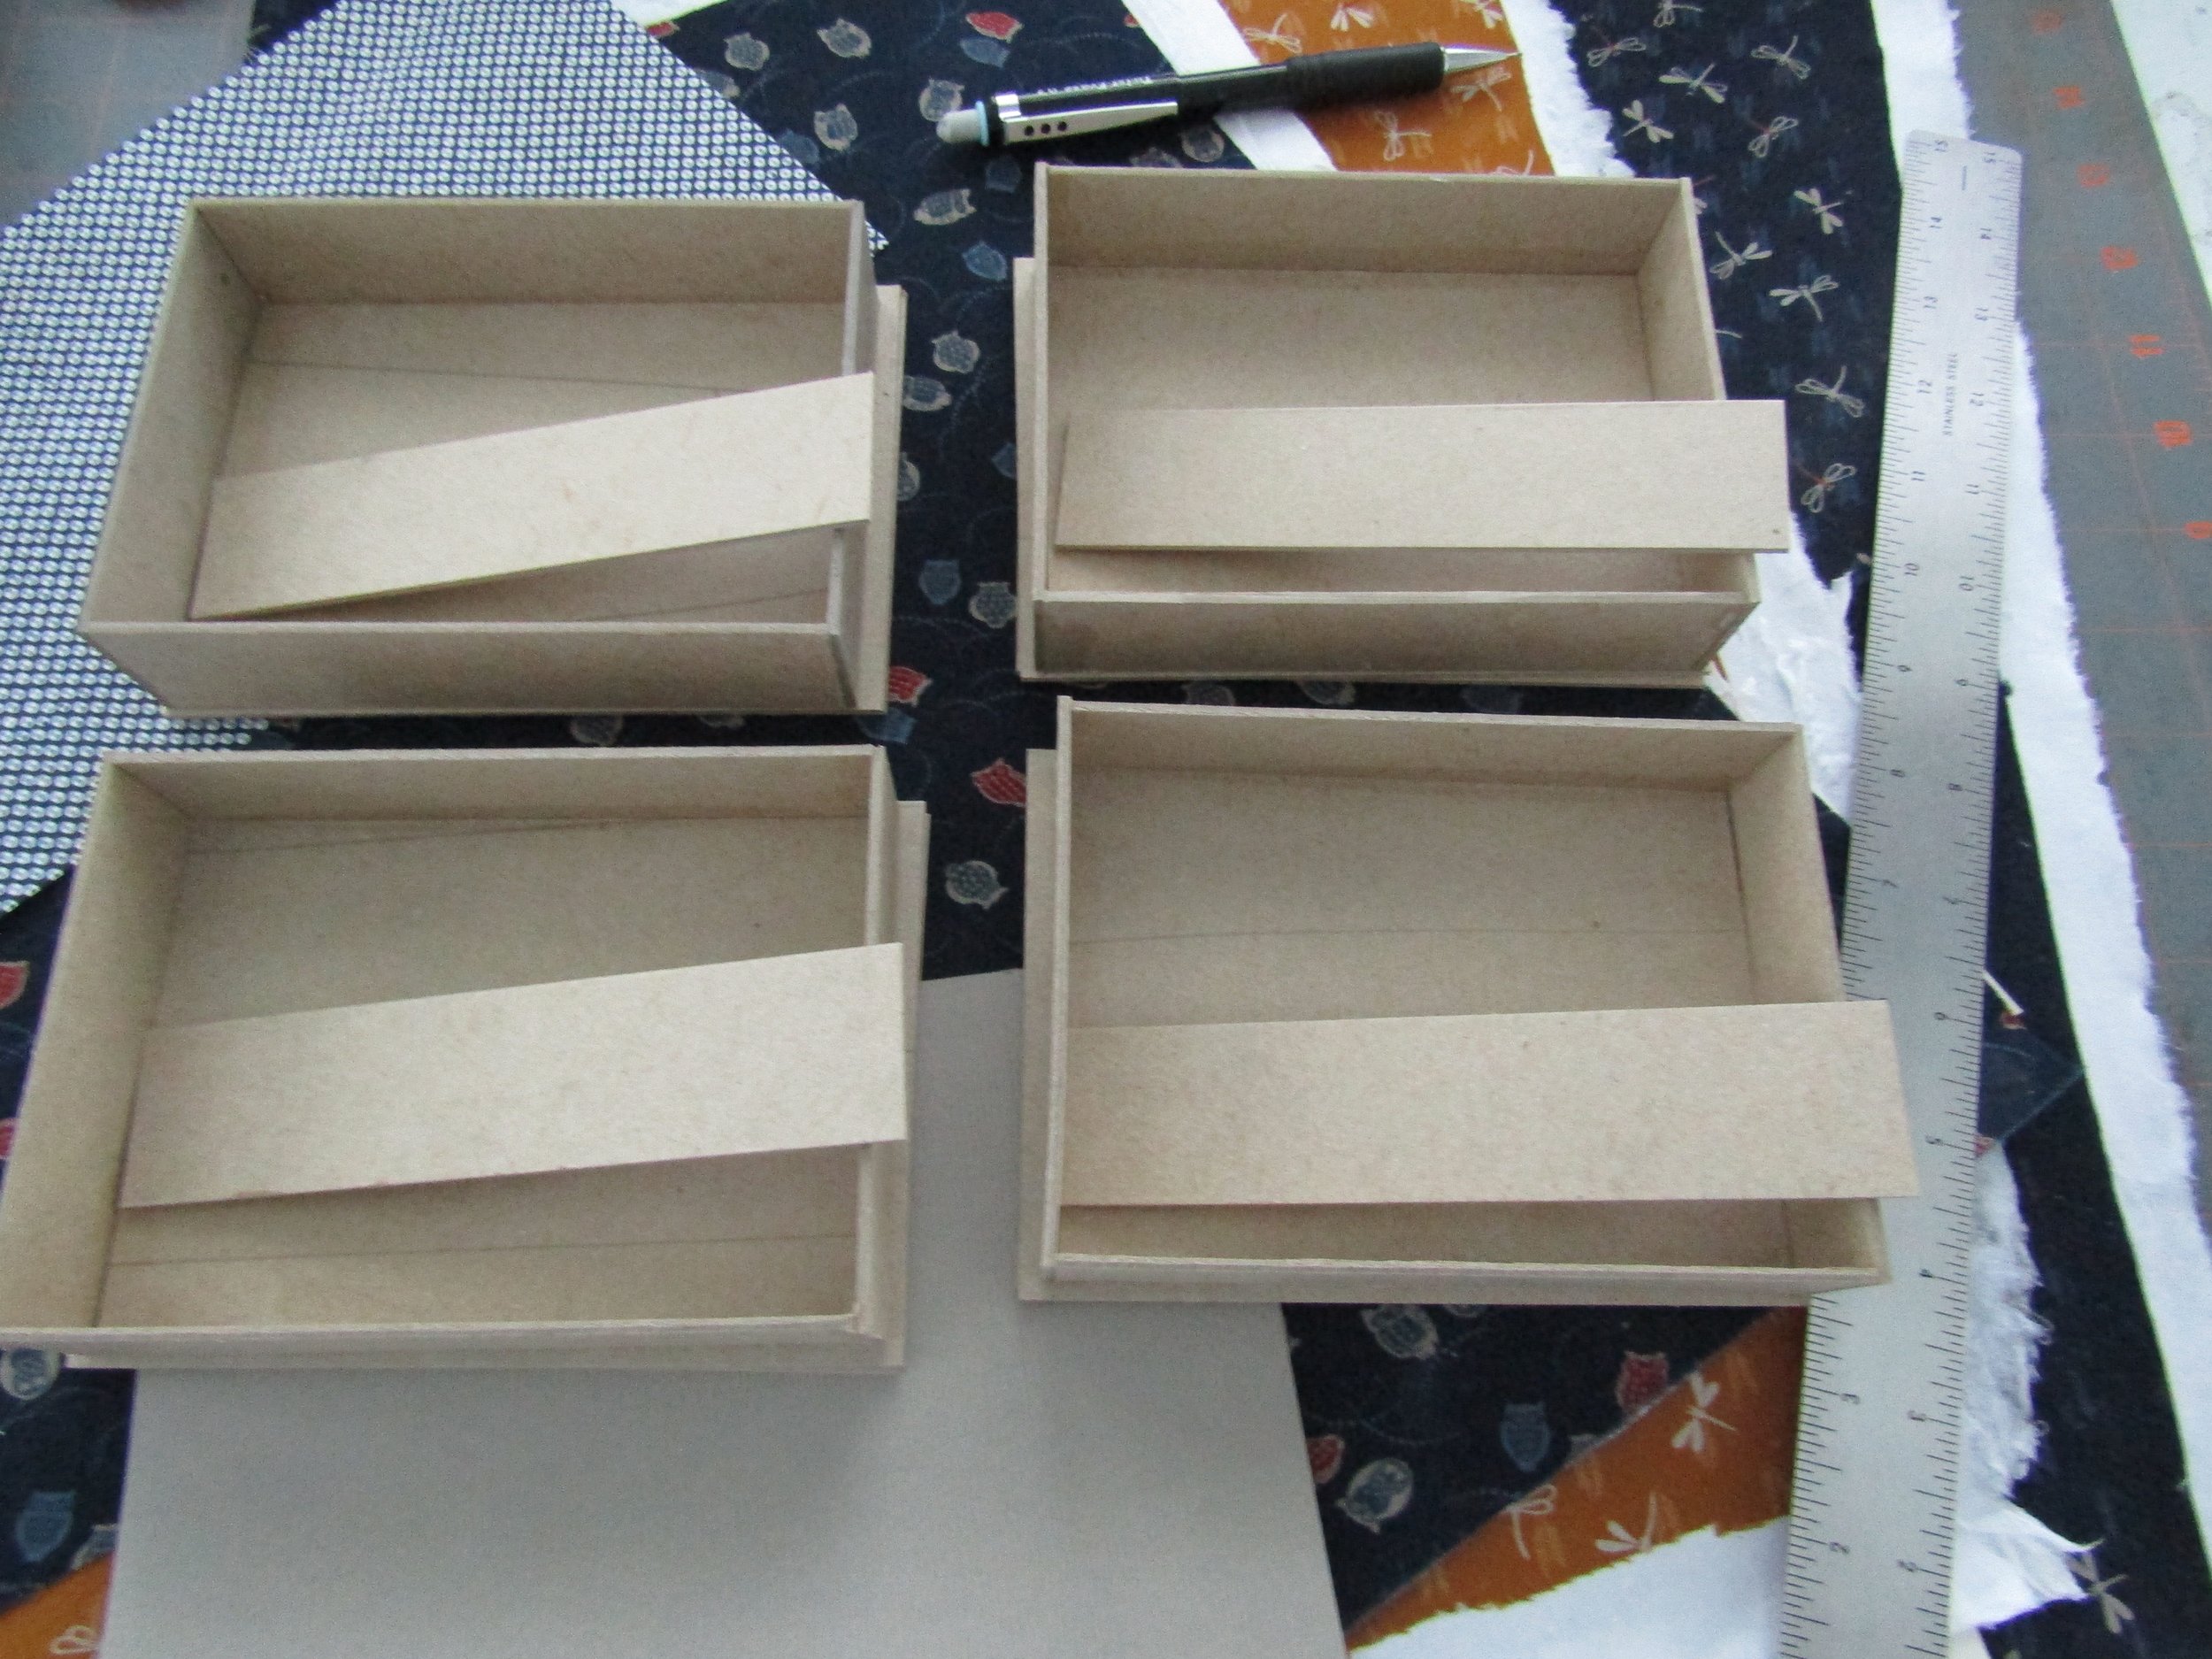
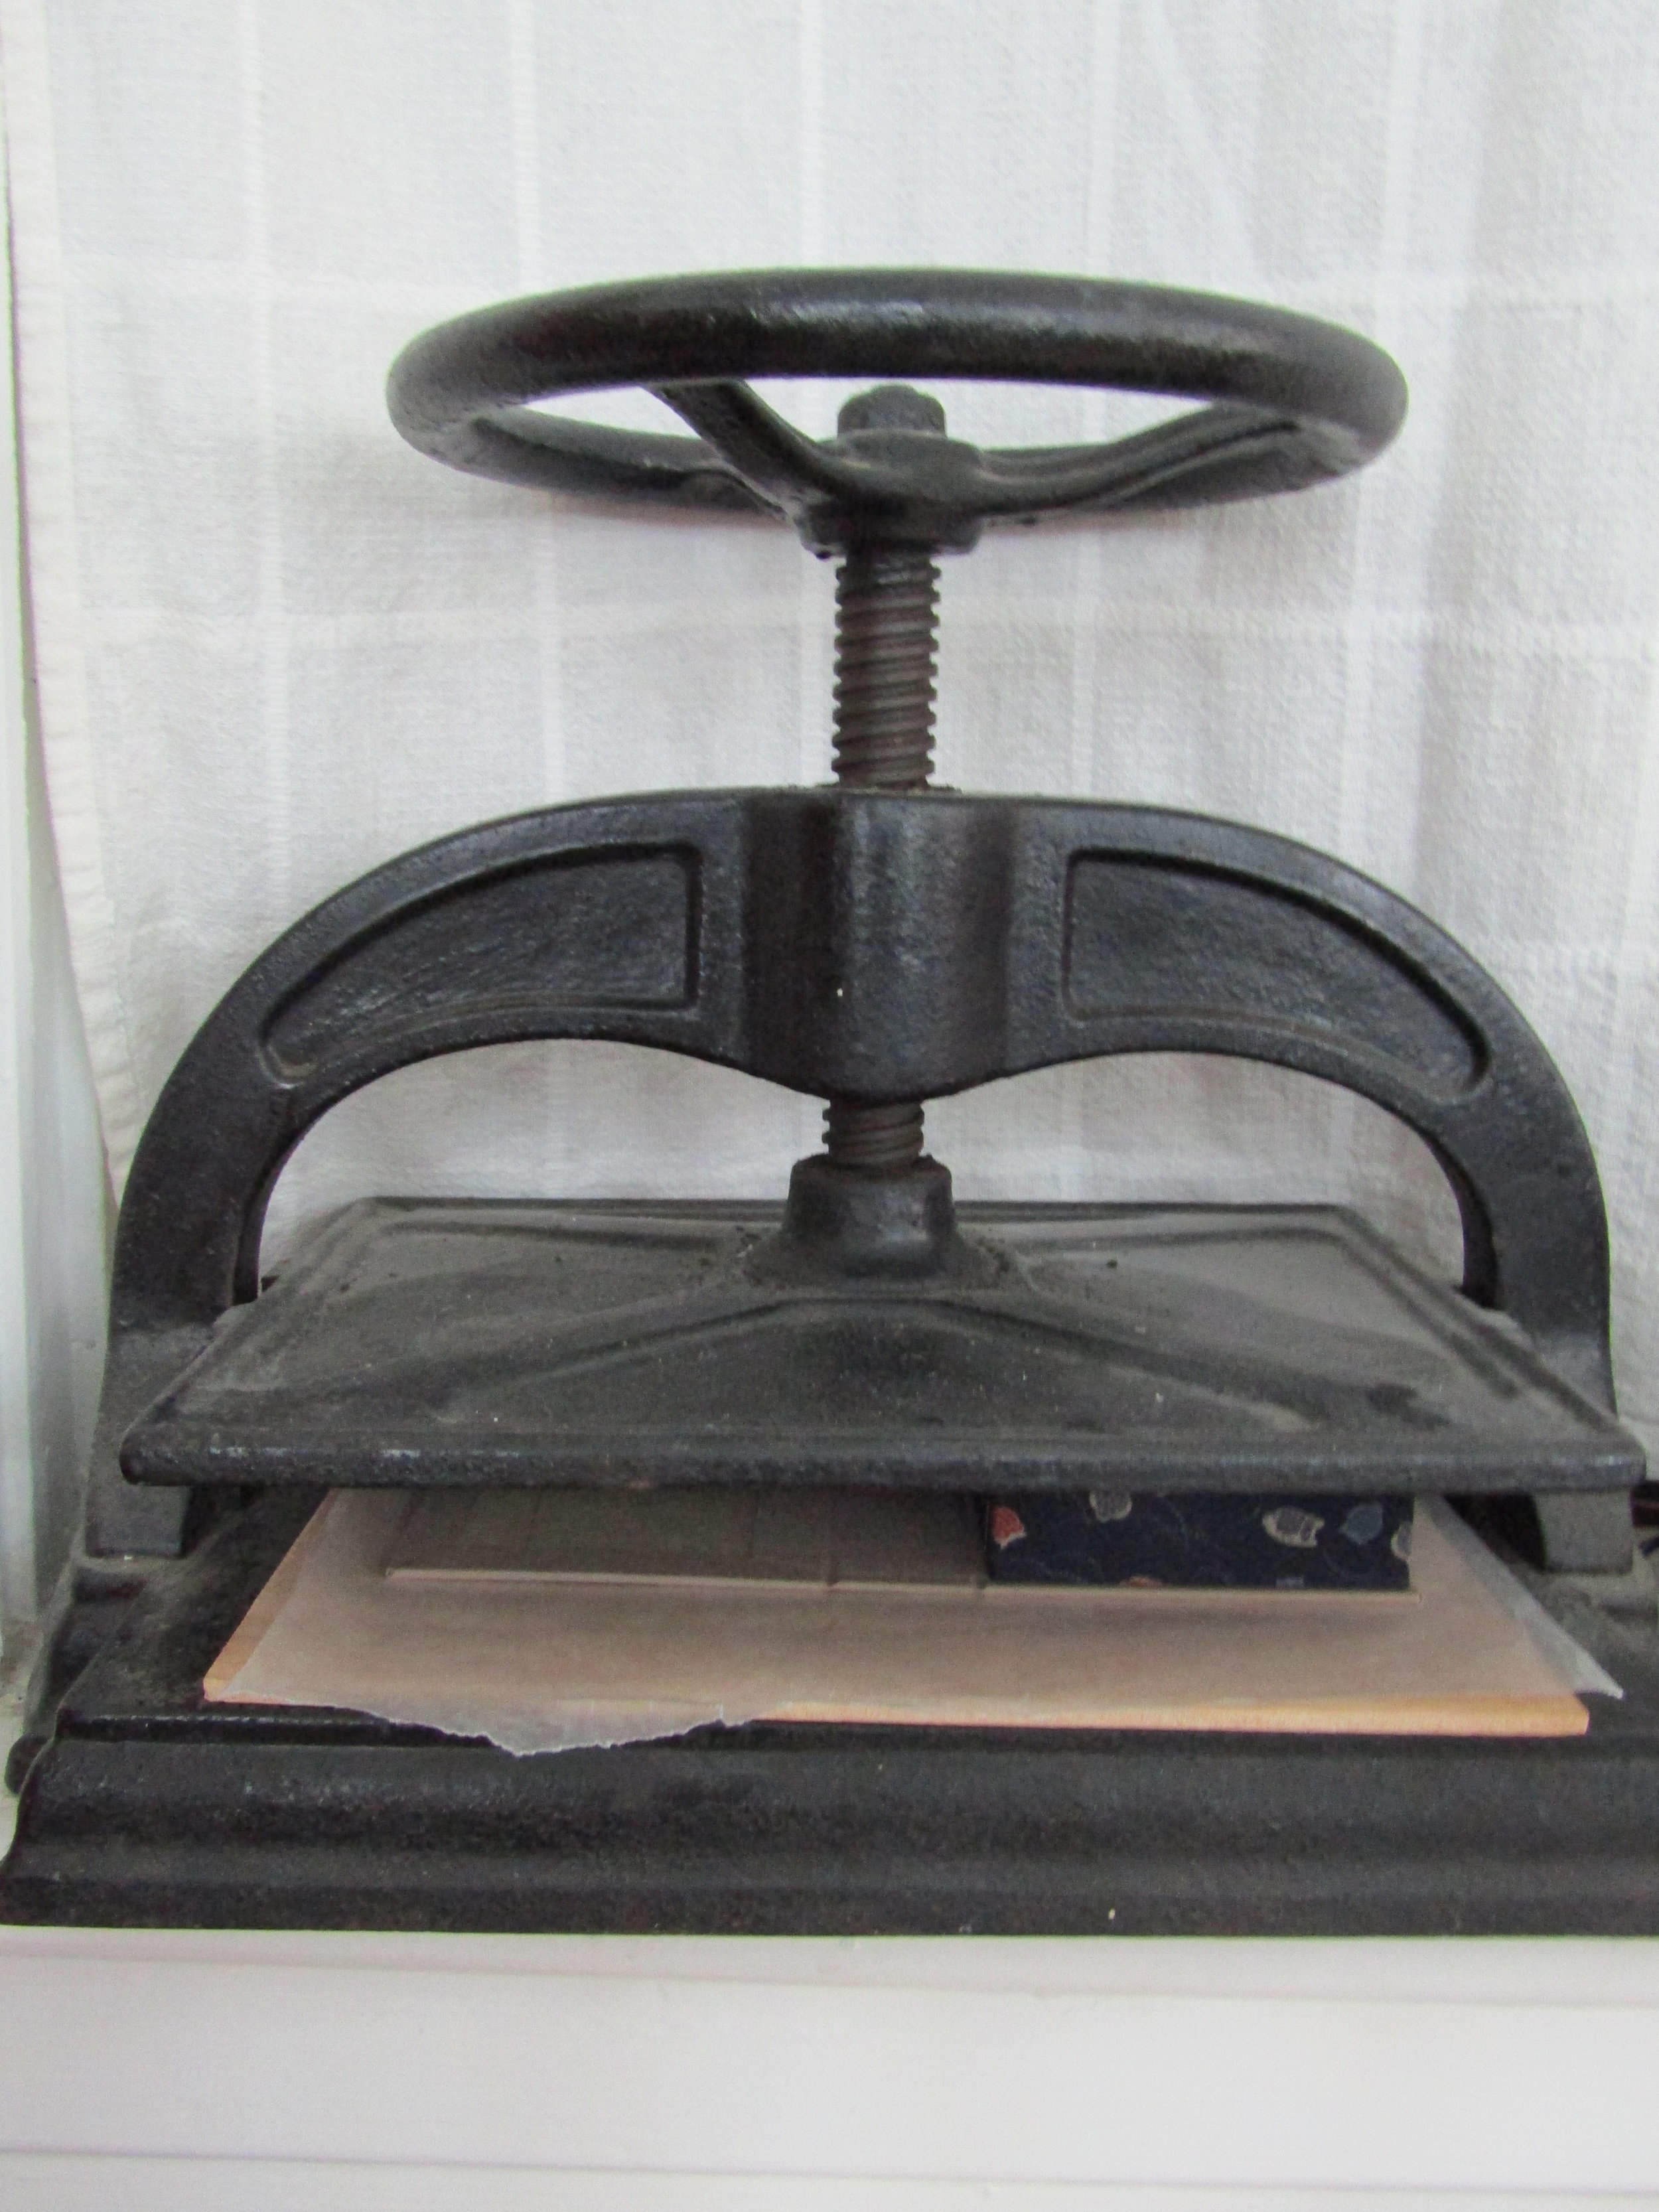
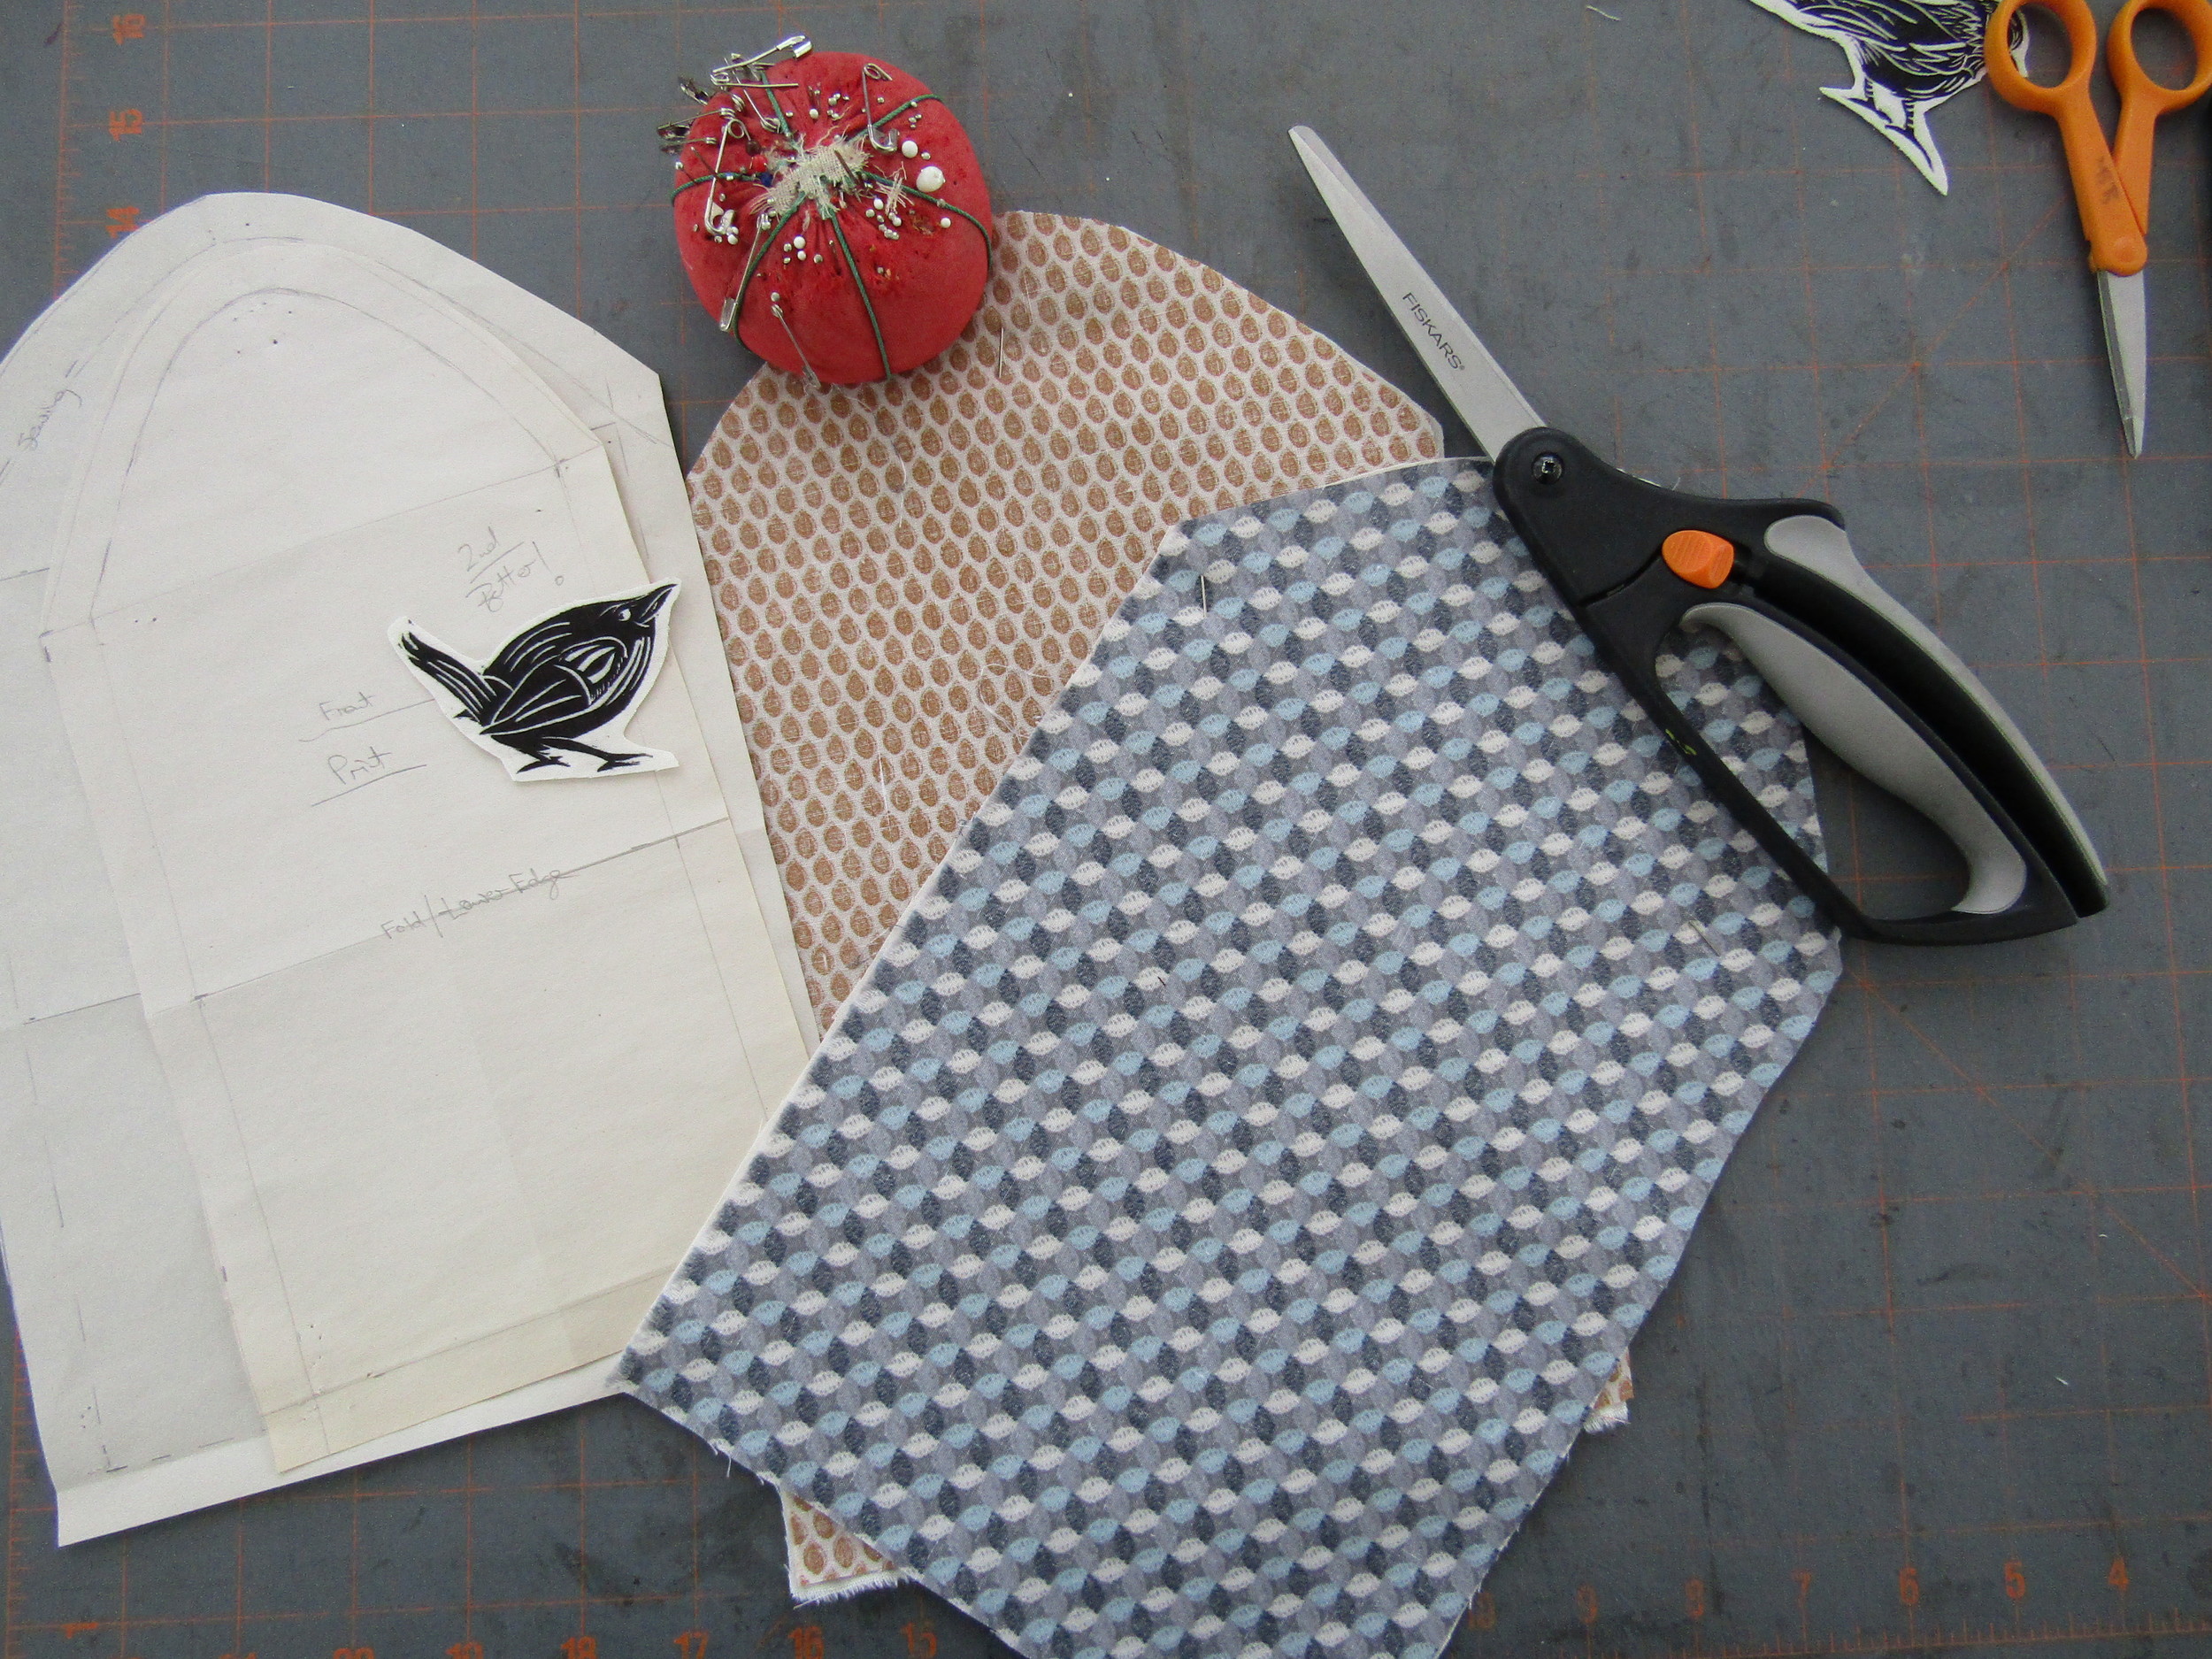
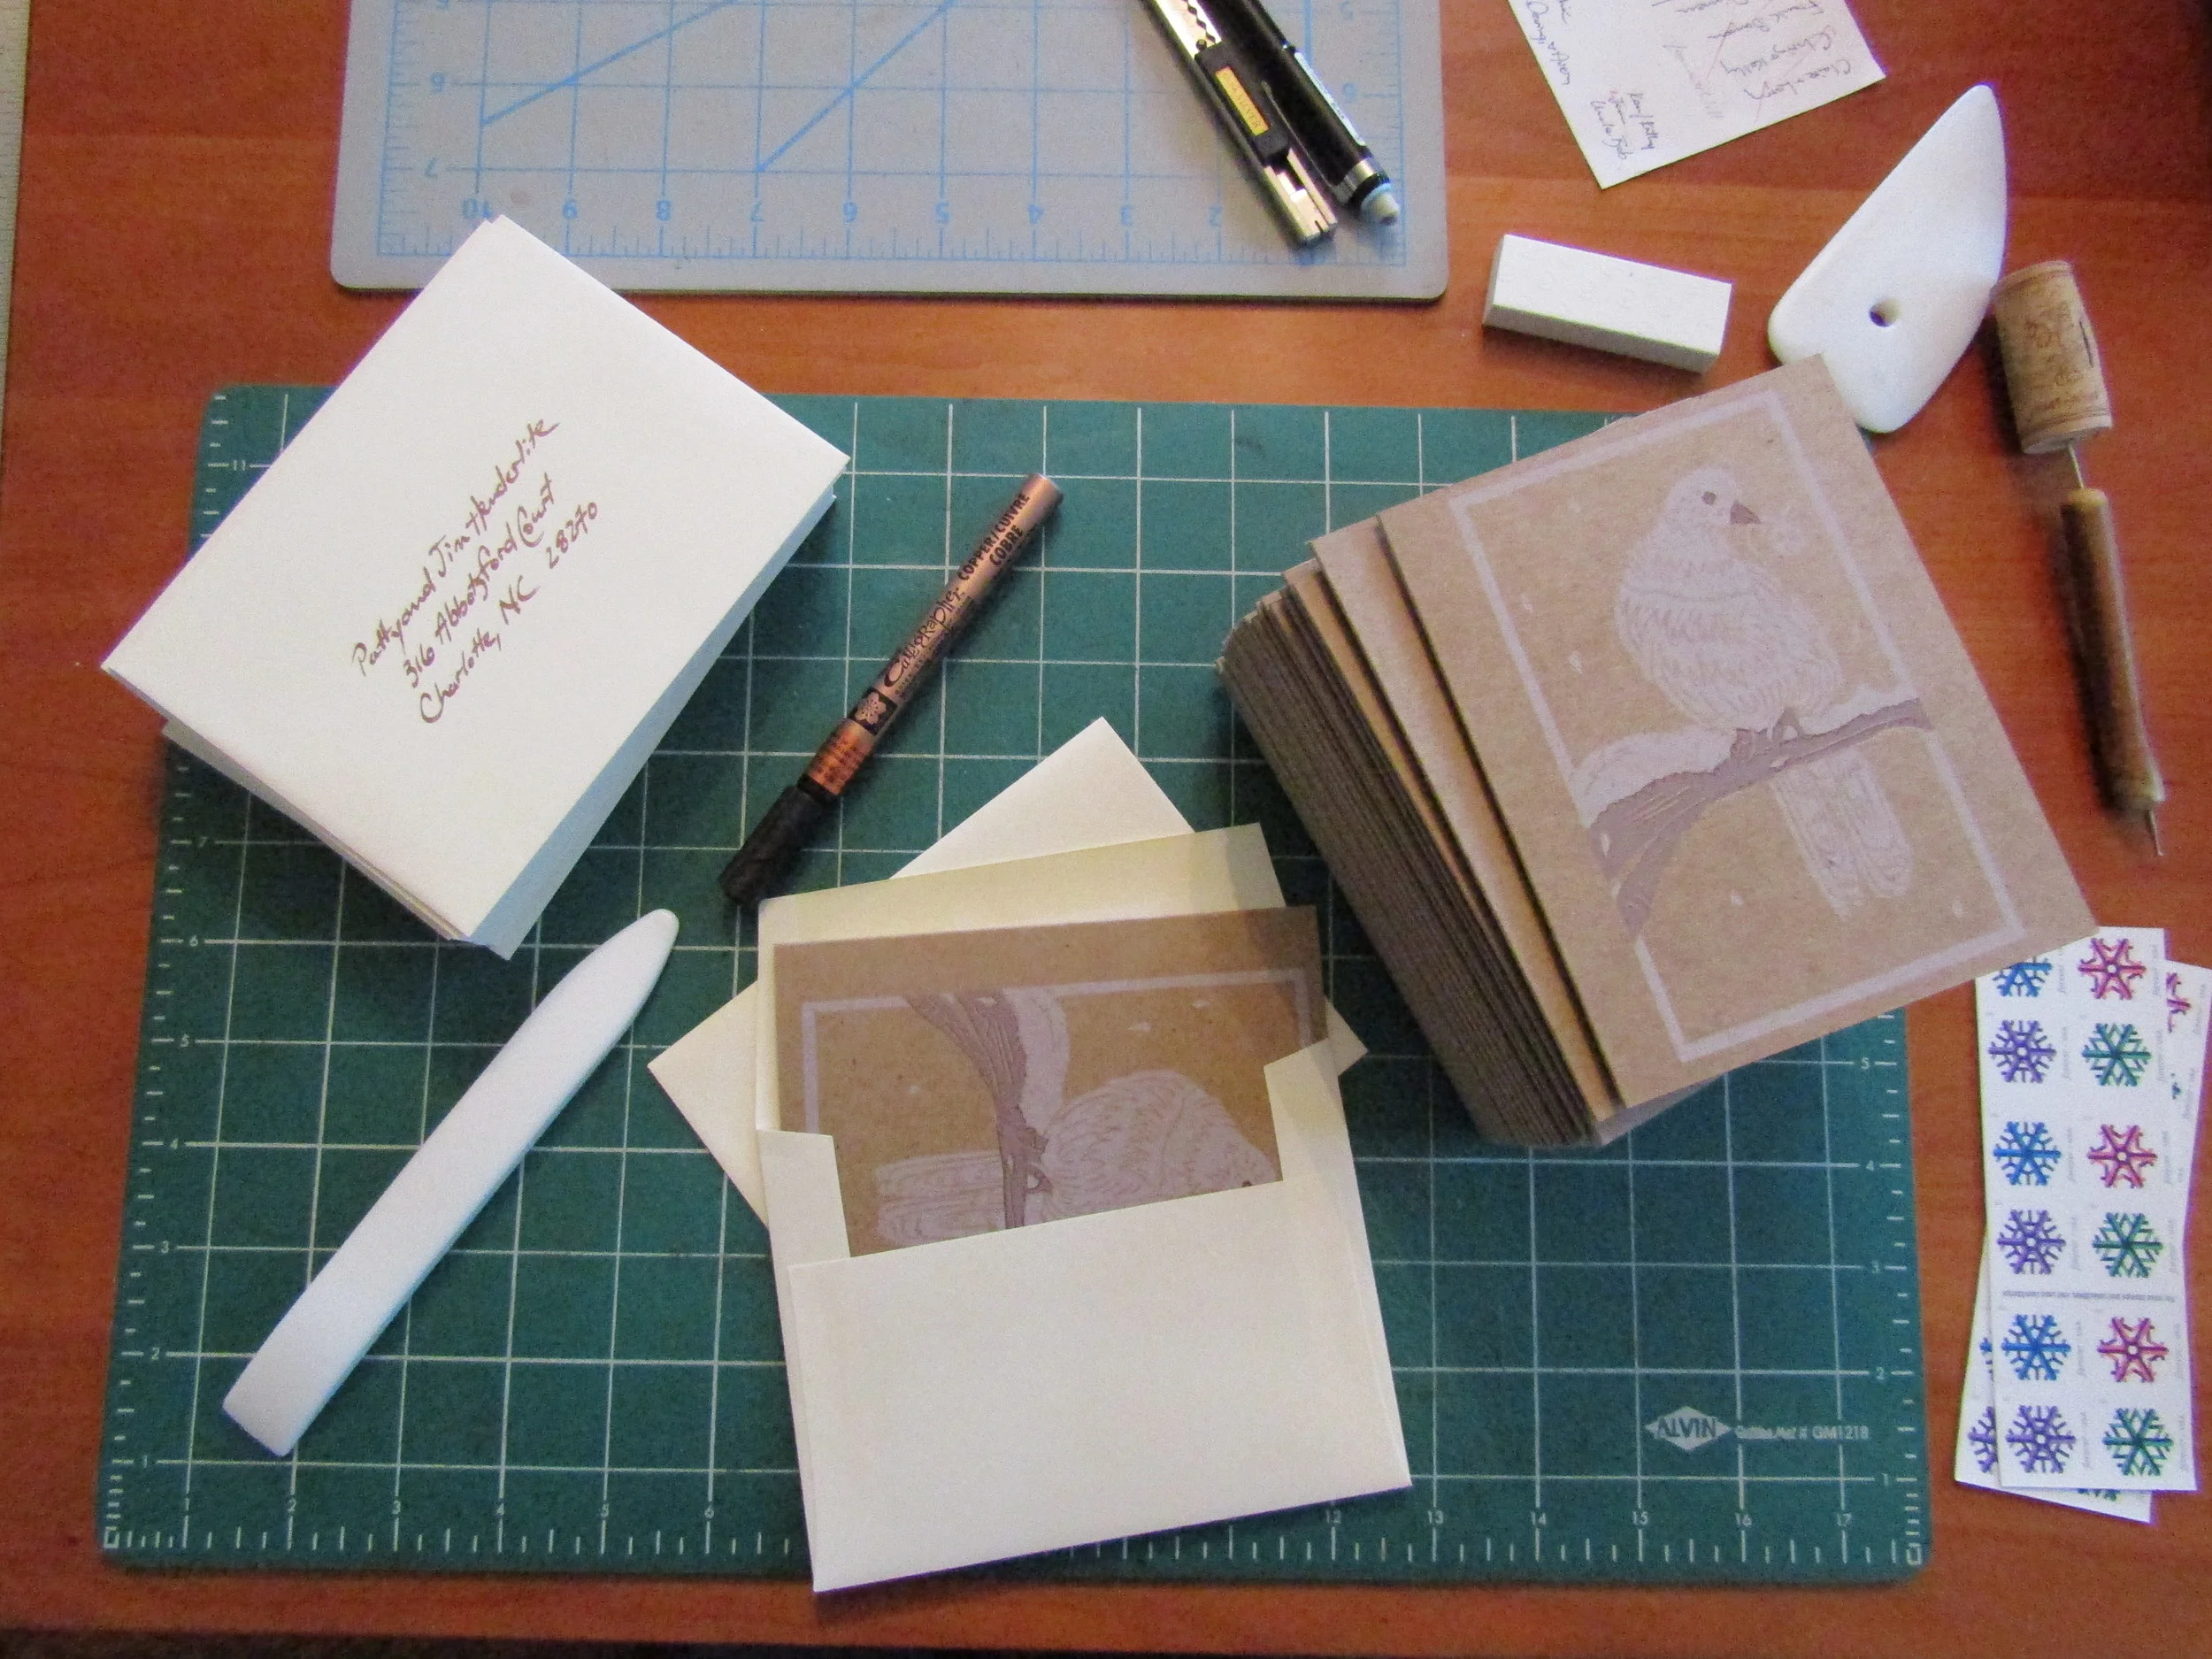
Once the prints were dry and ready to handle, I began assembling the pamphlets.

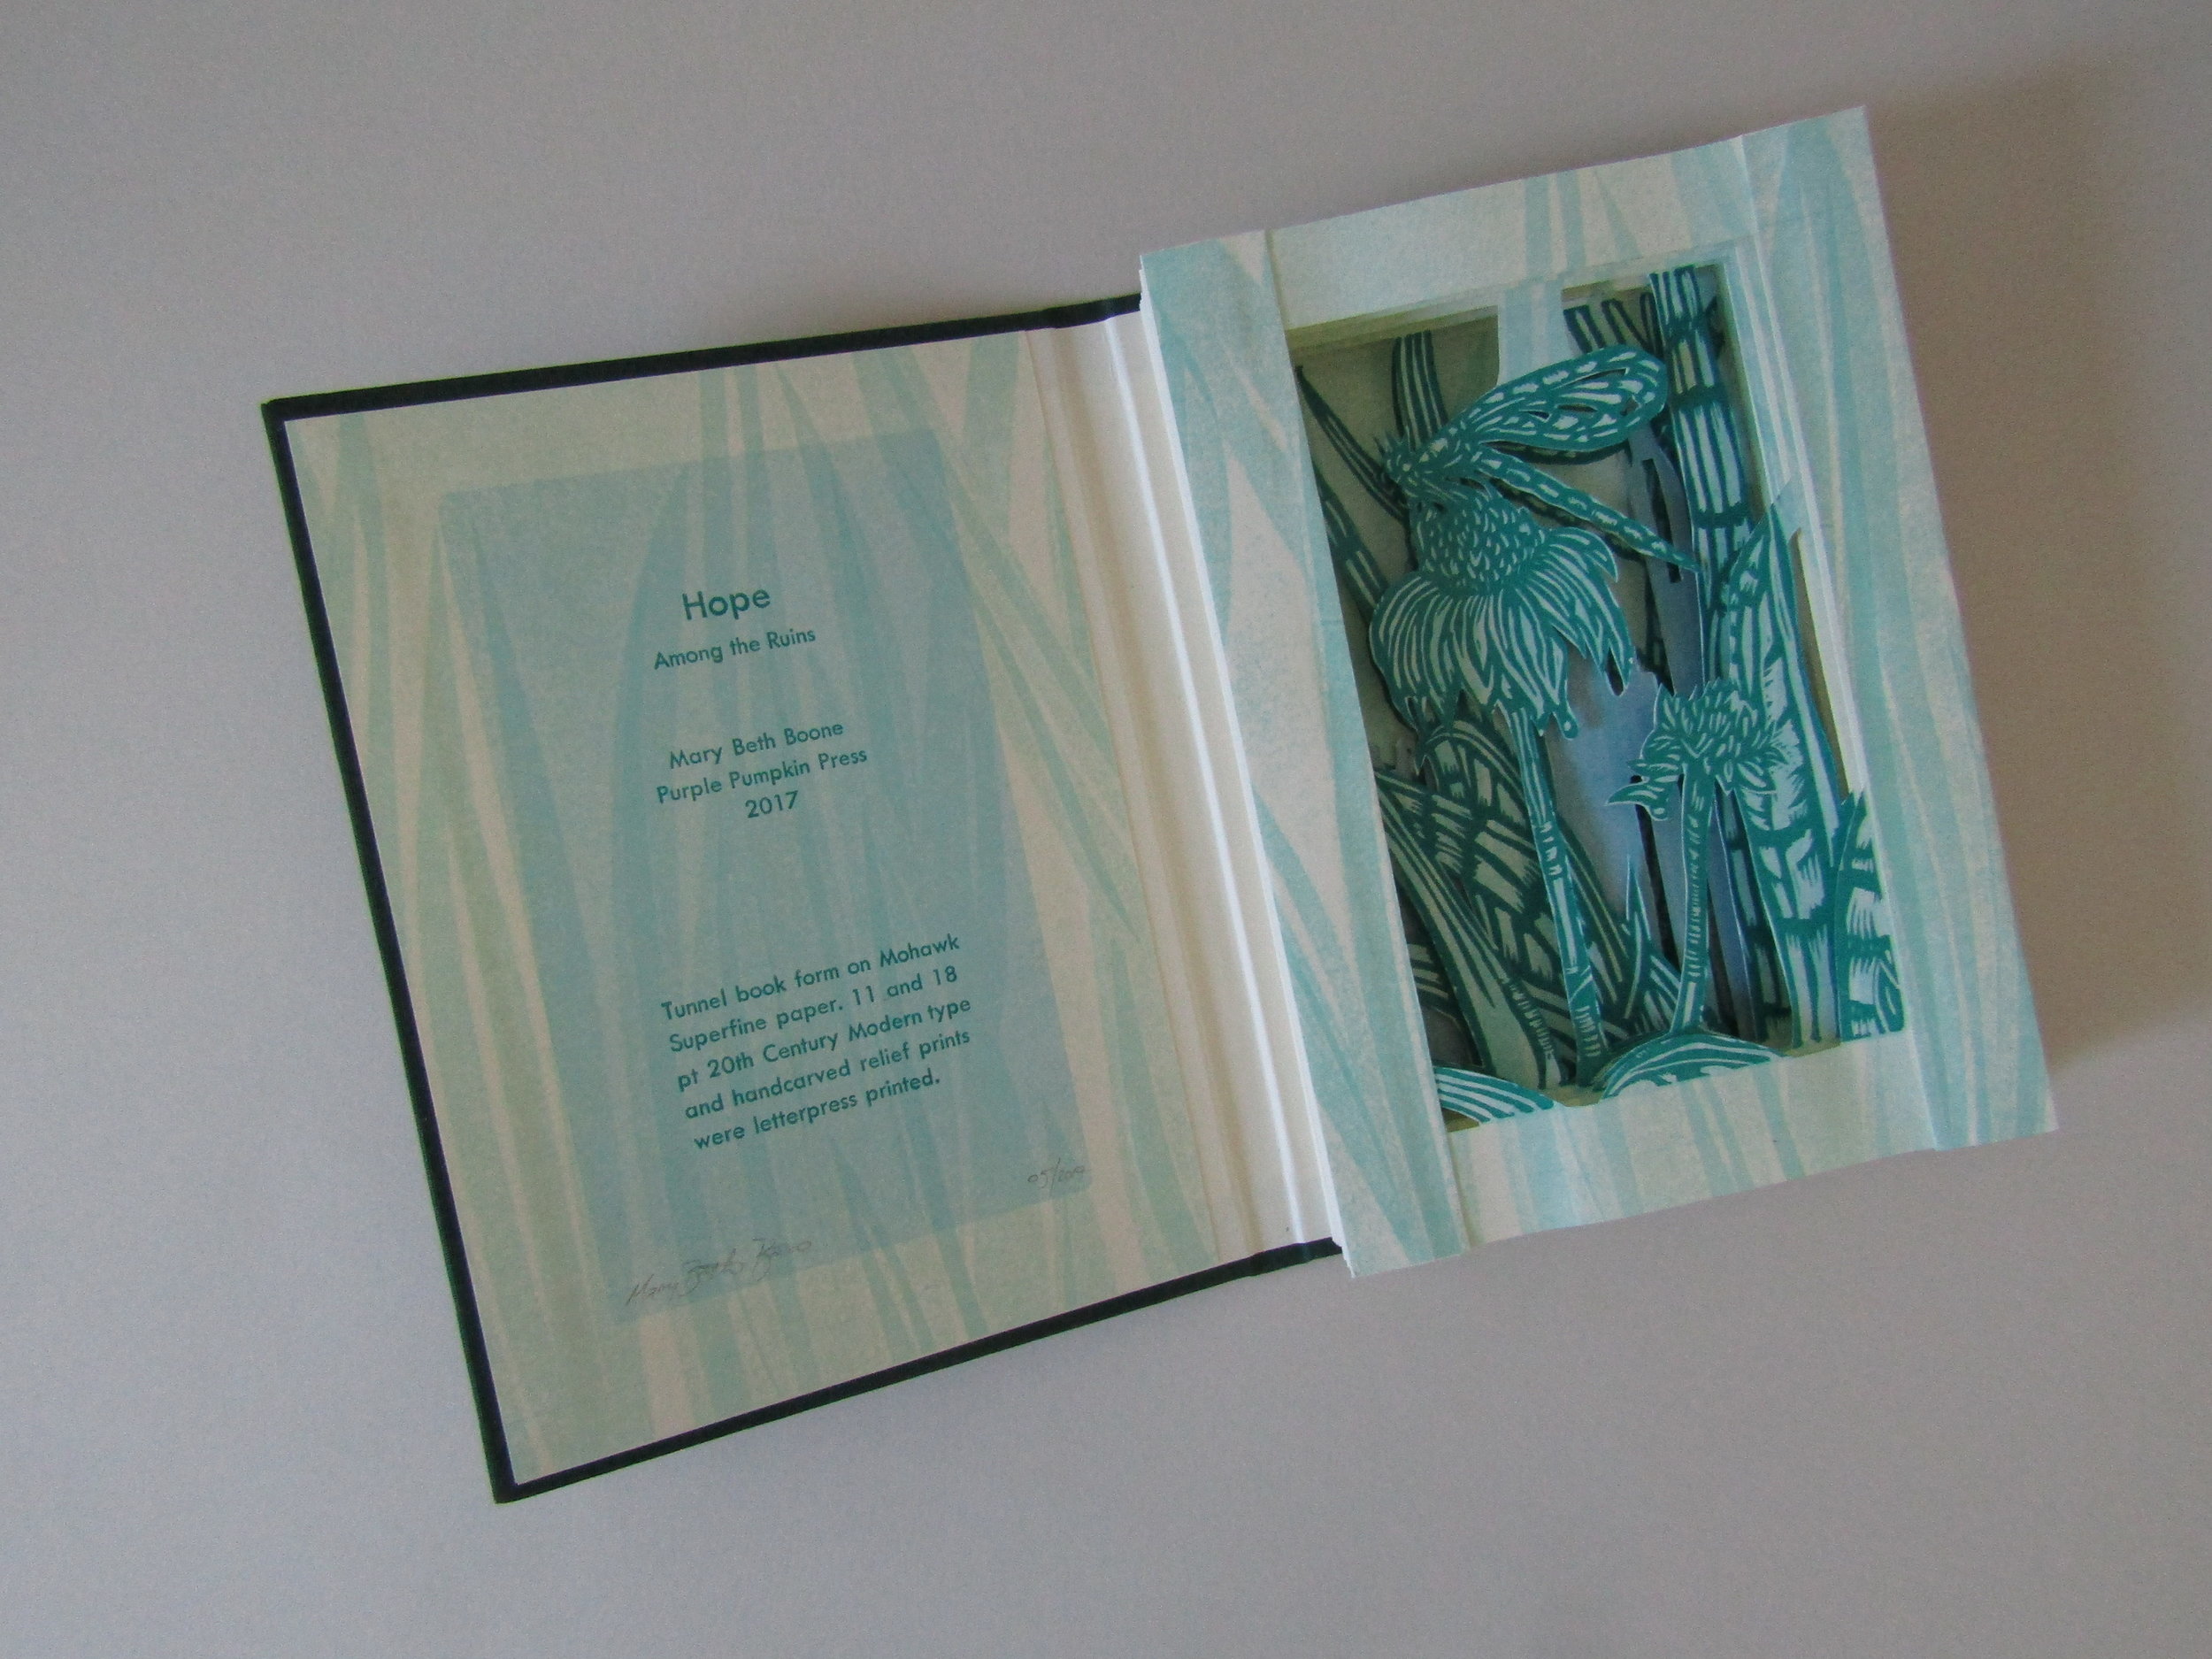
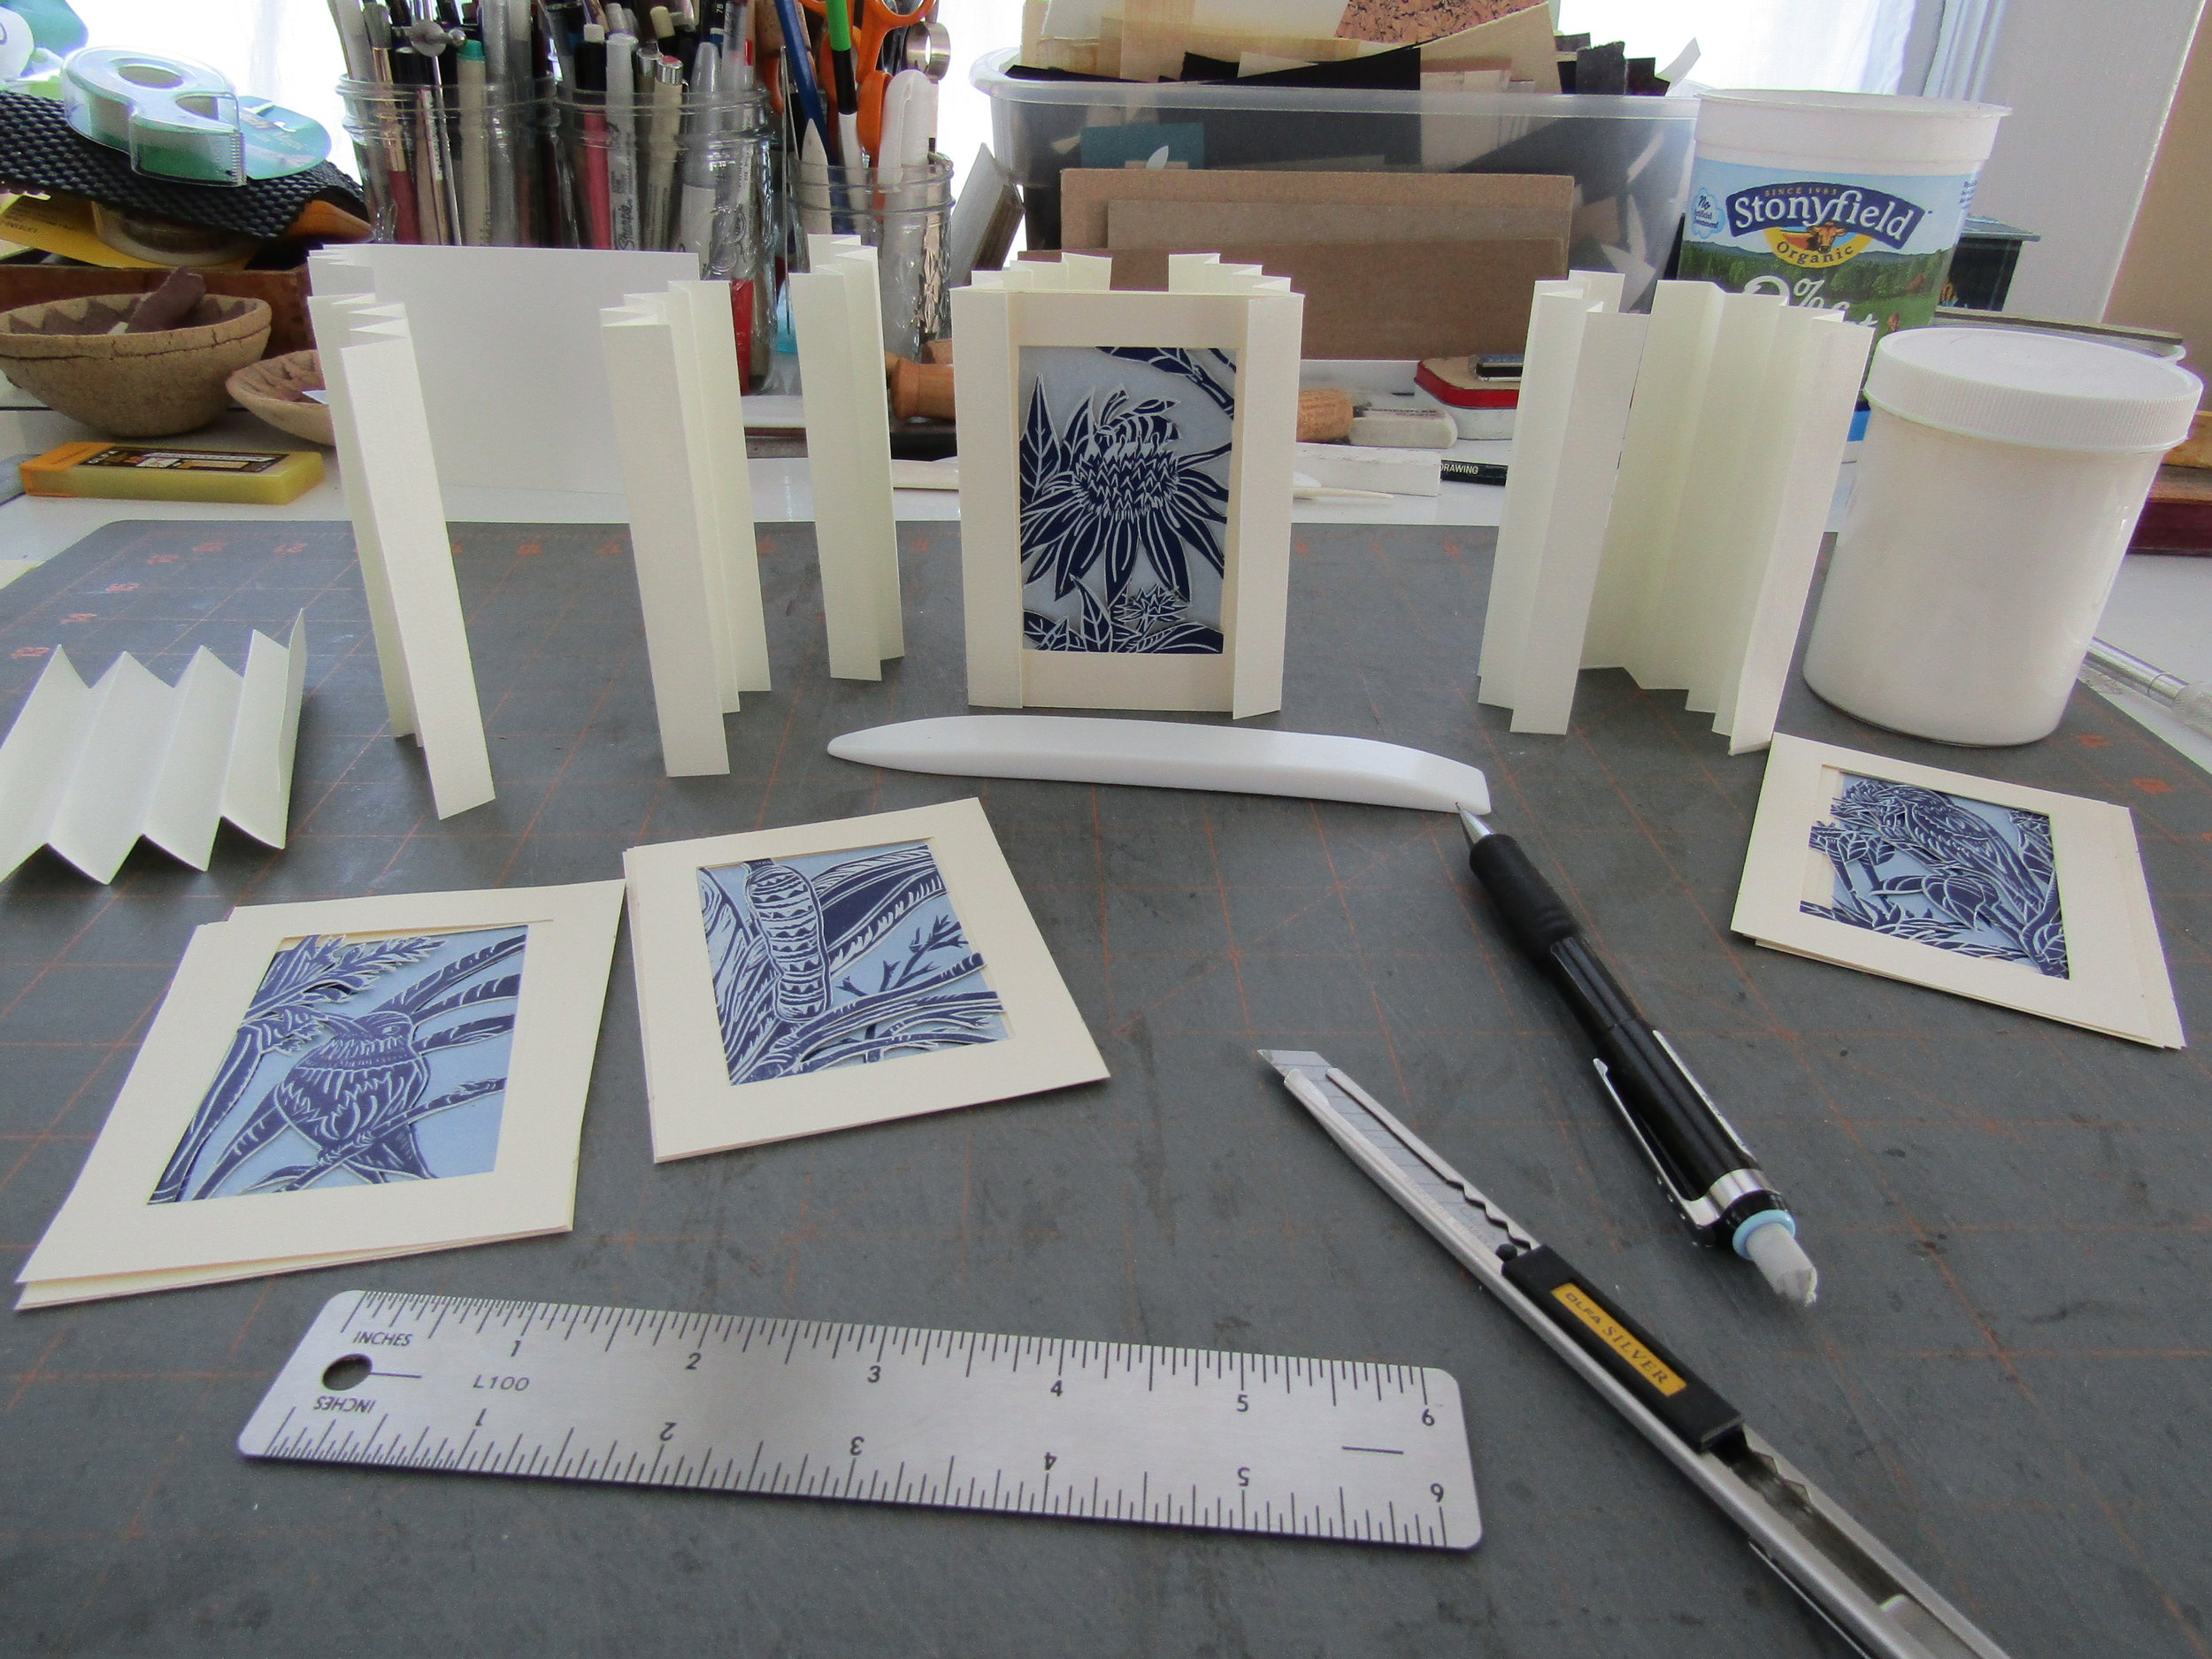
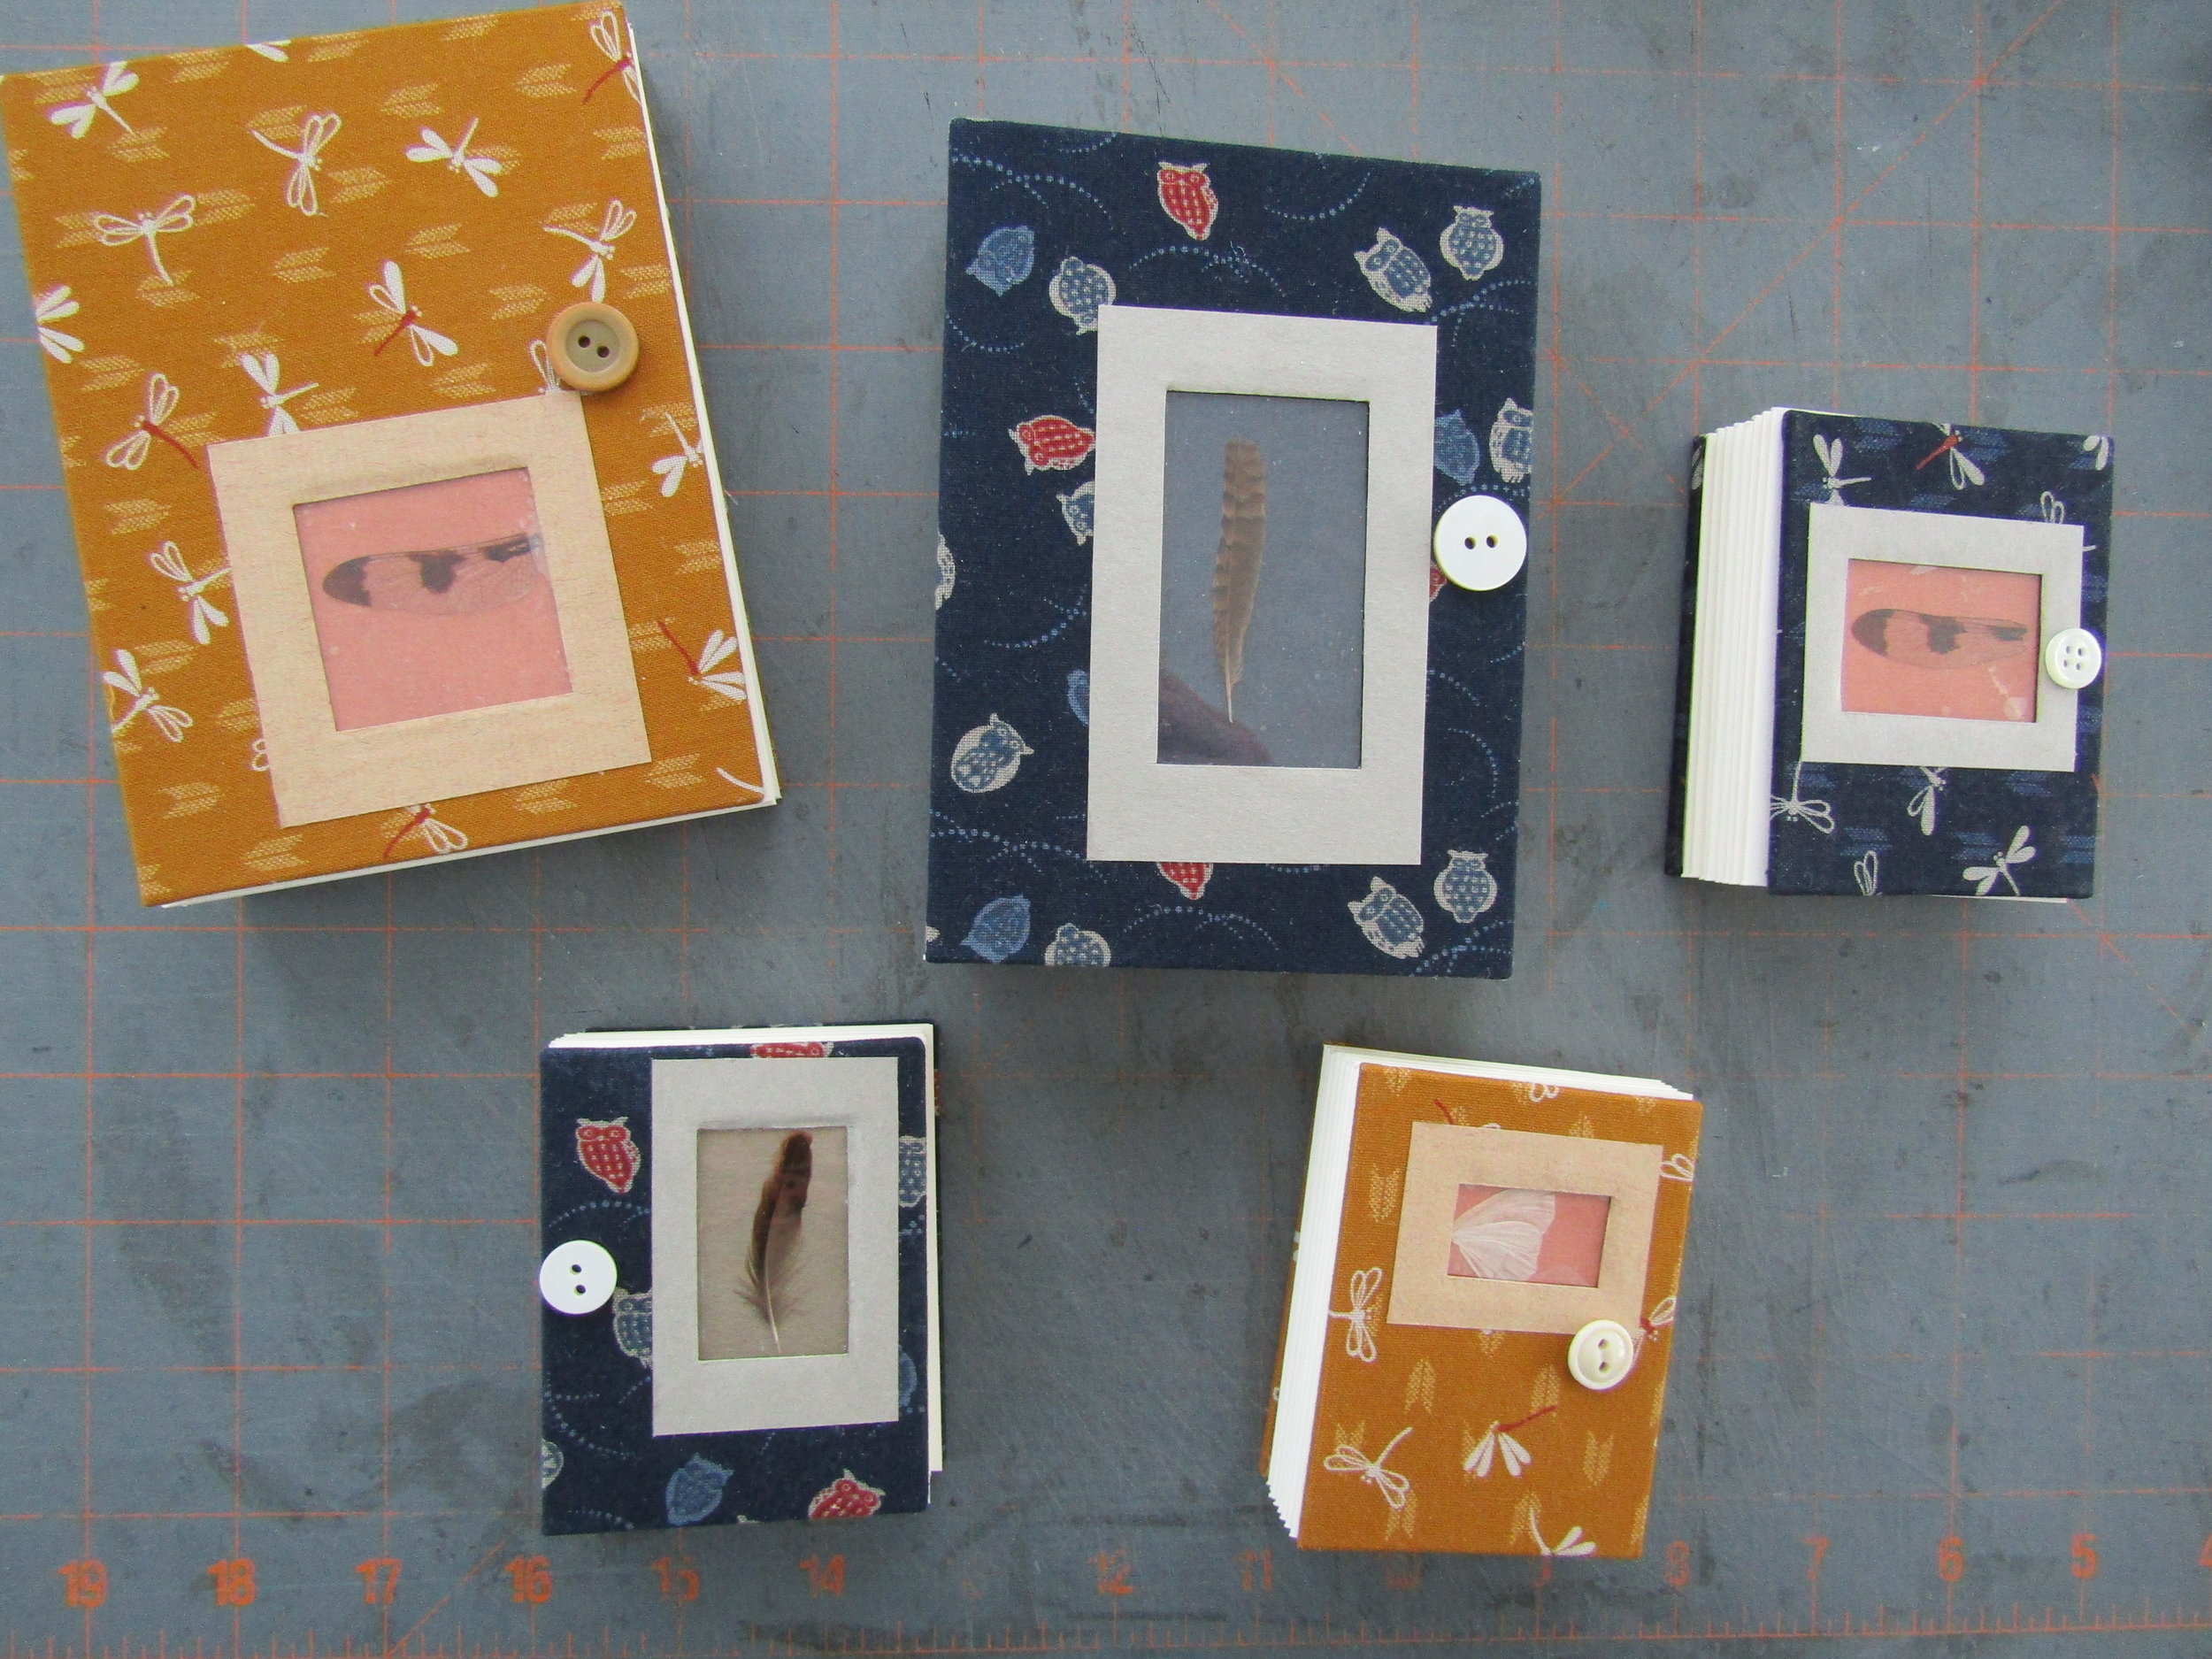
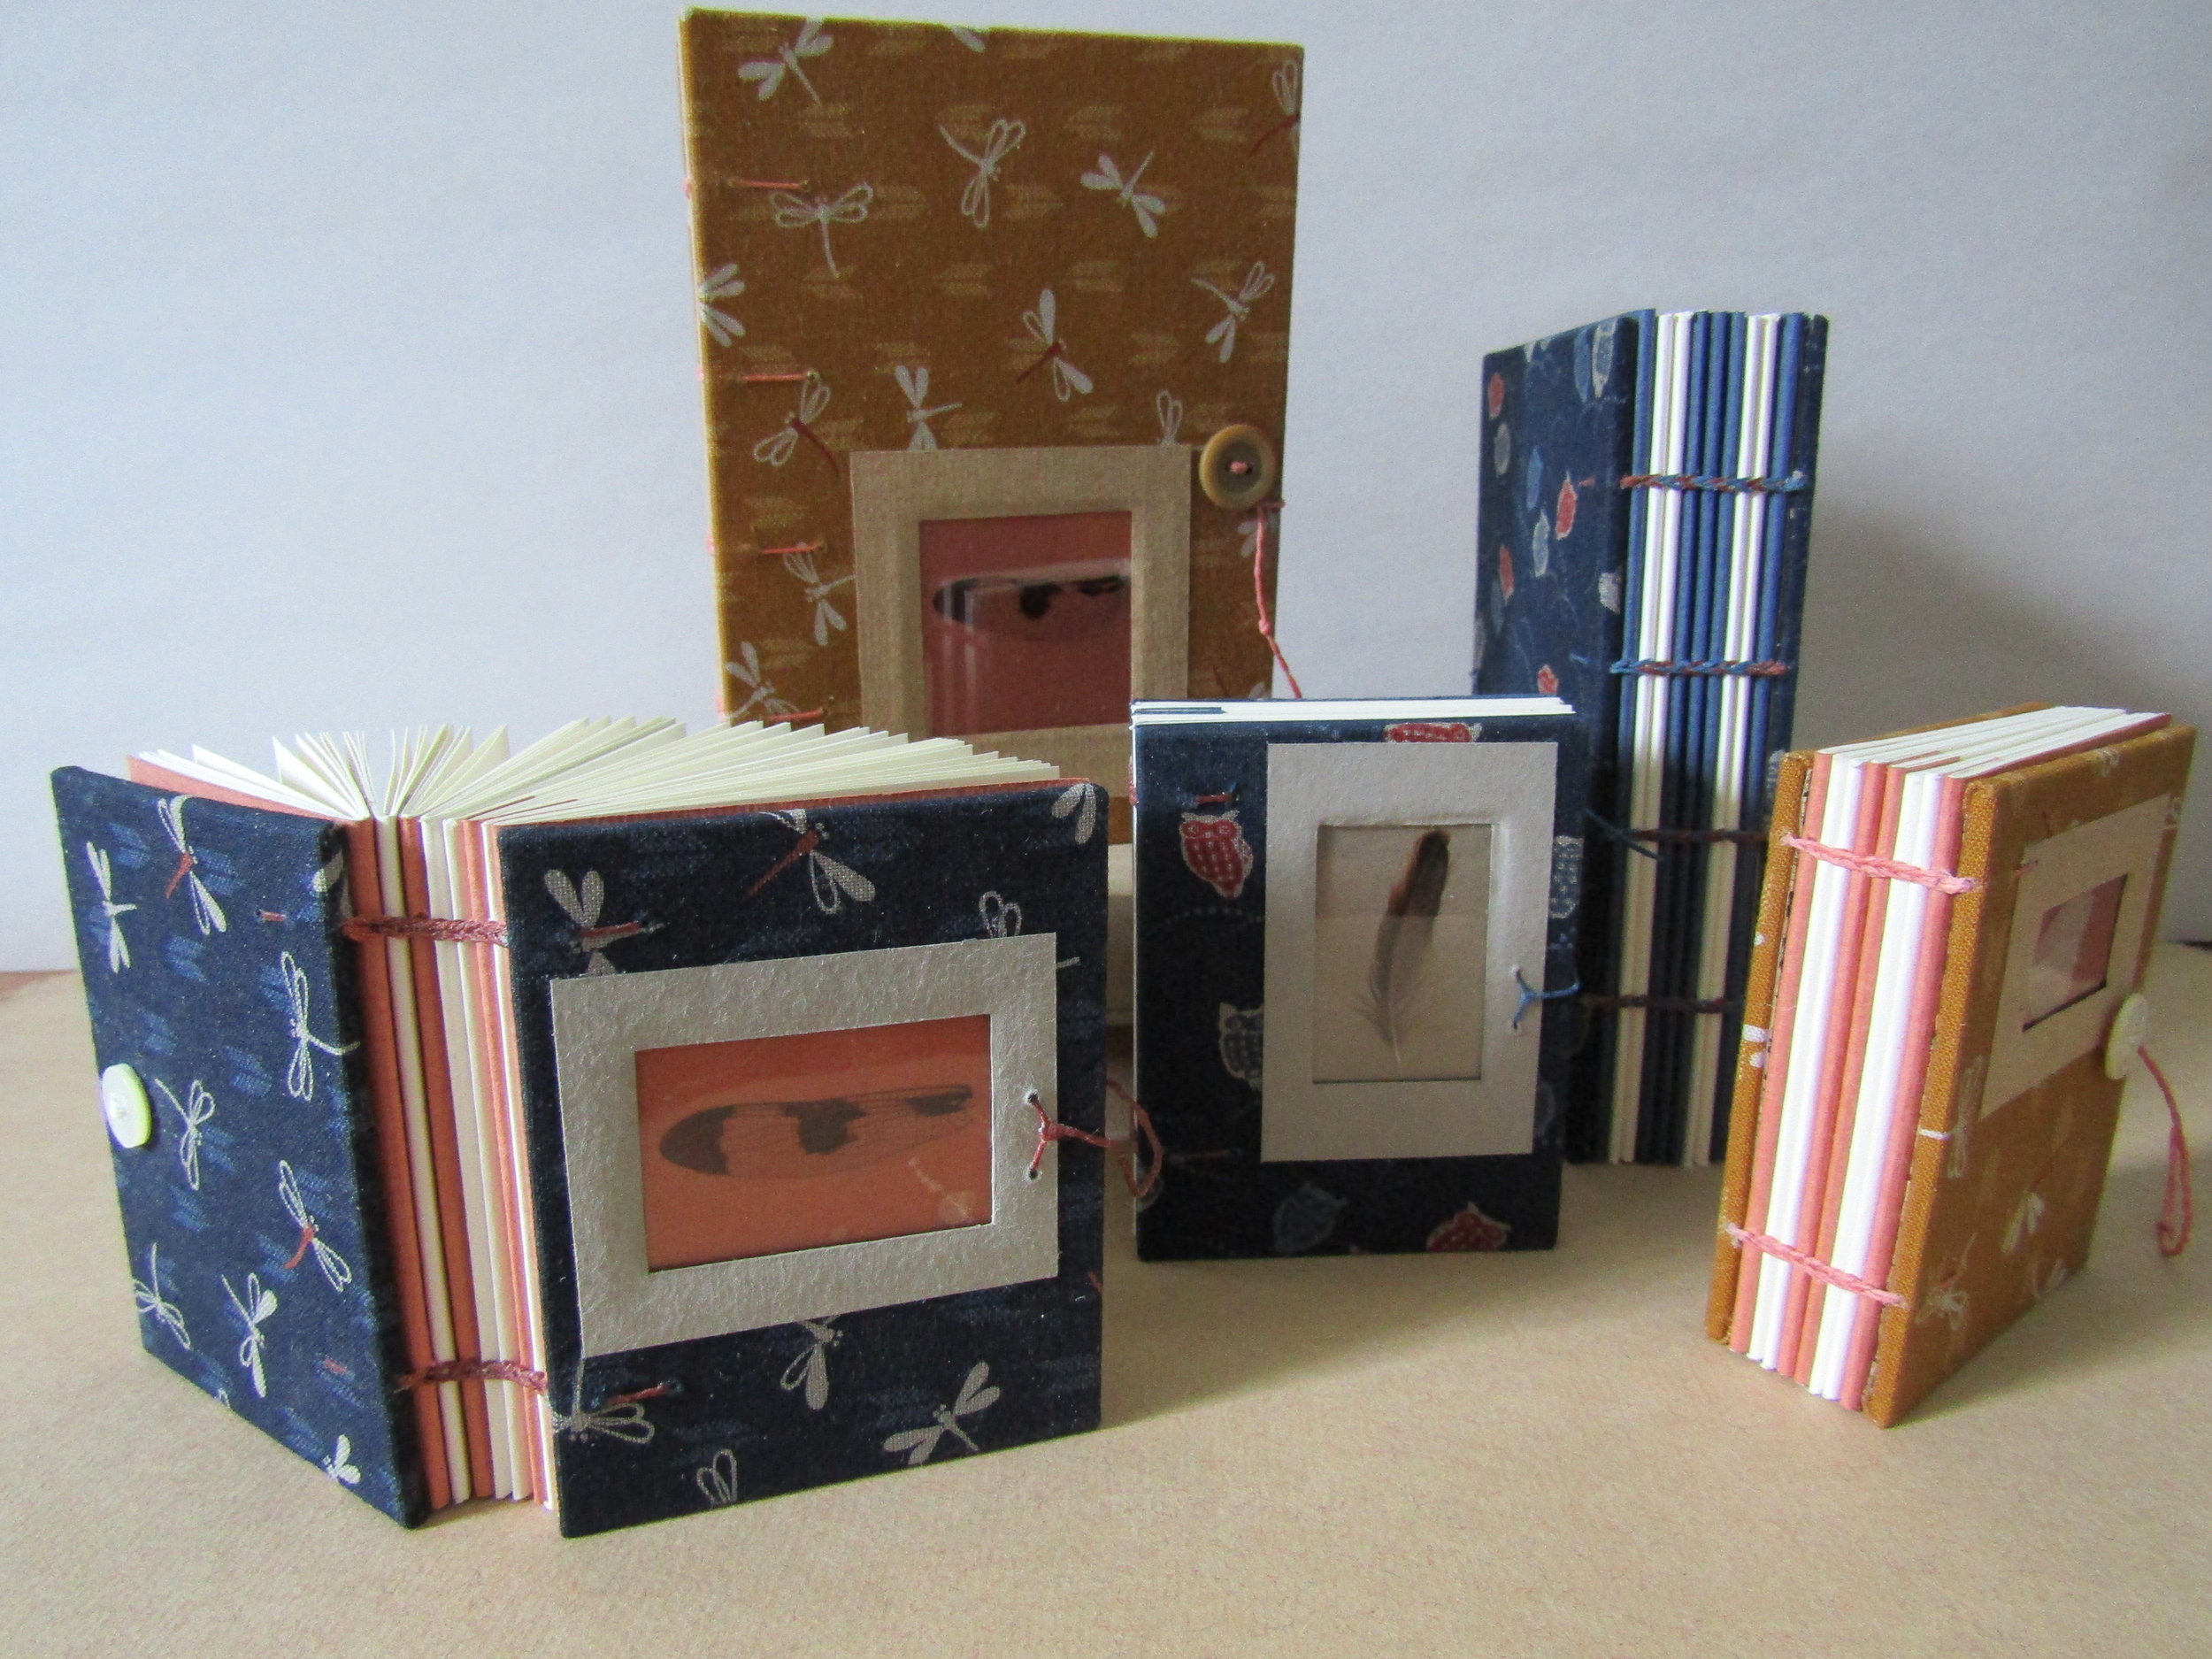
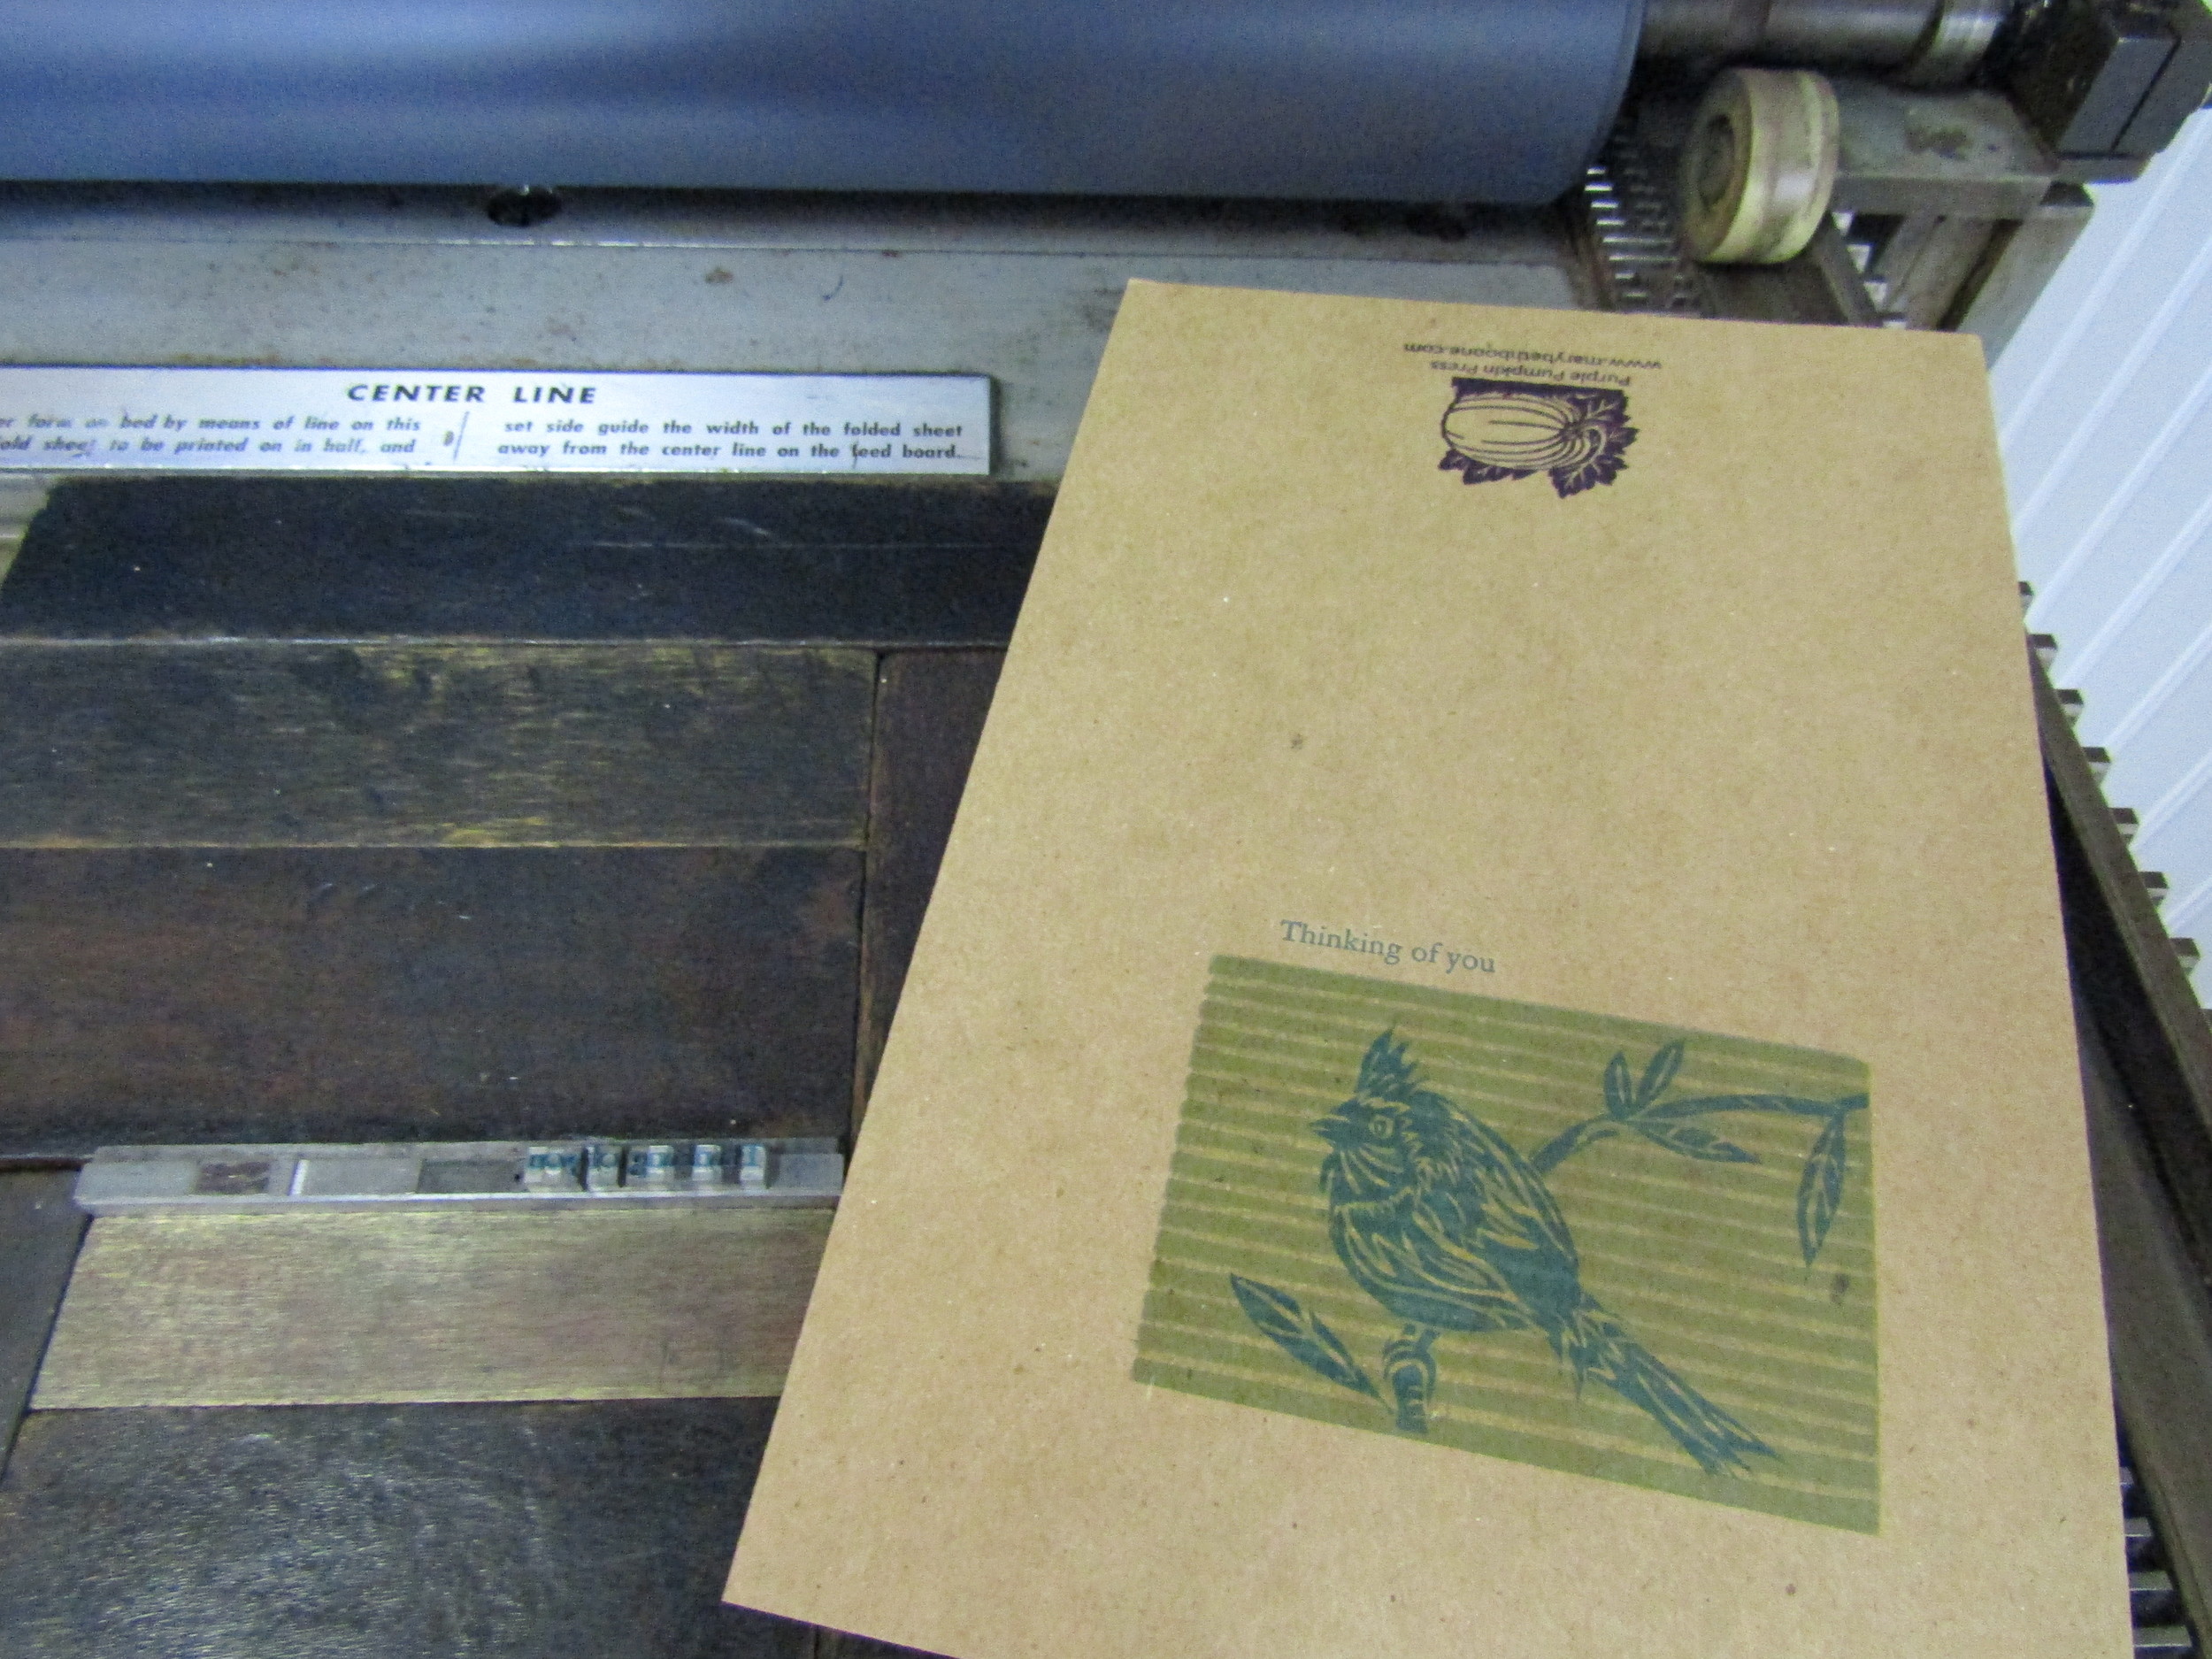
I was quite pleased with the quality of the prints on the French paper!
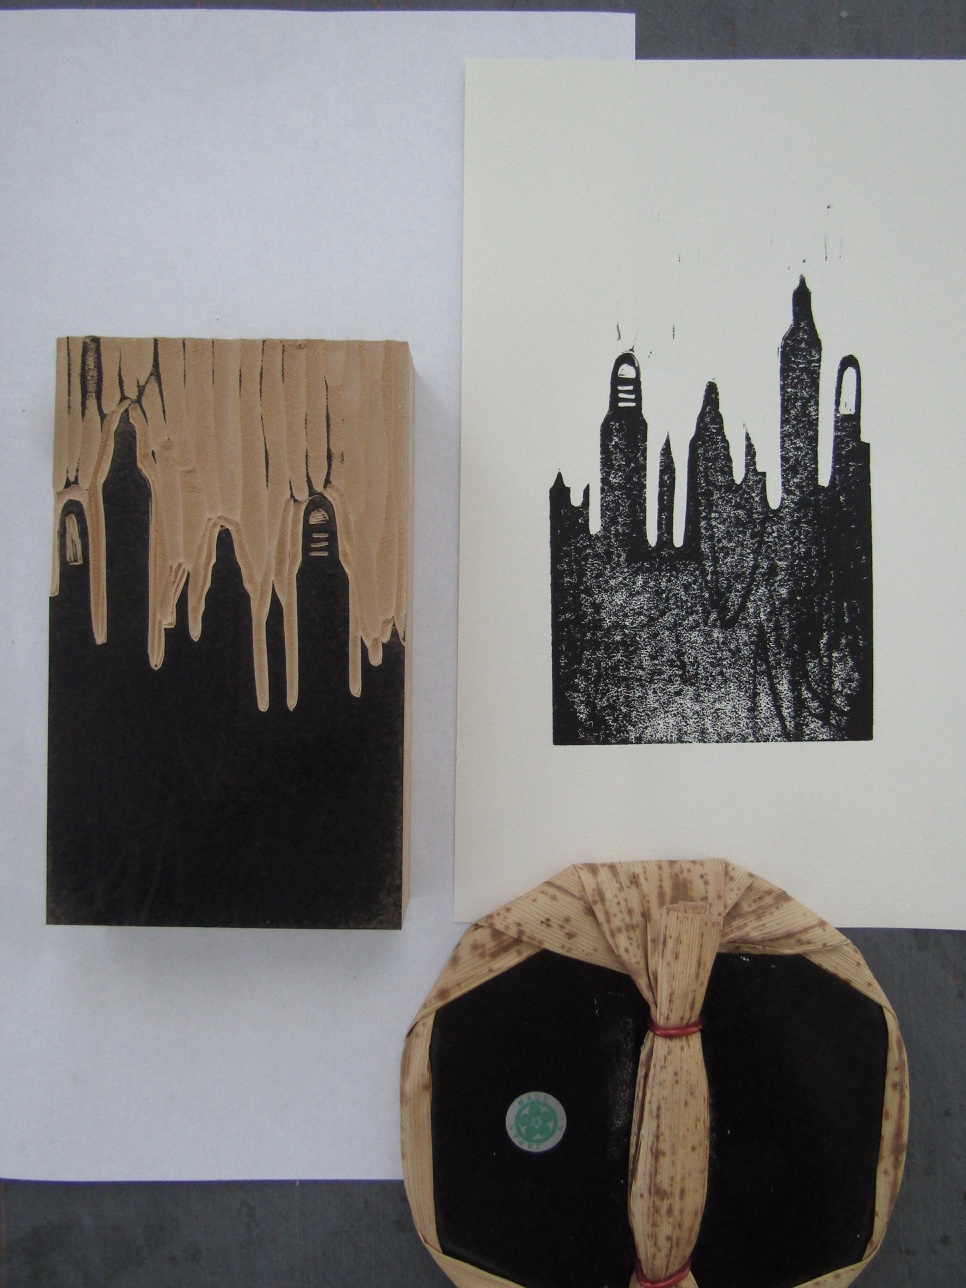
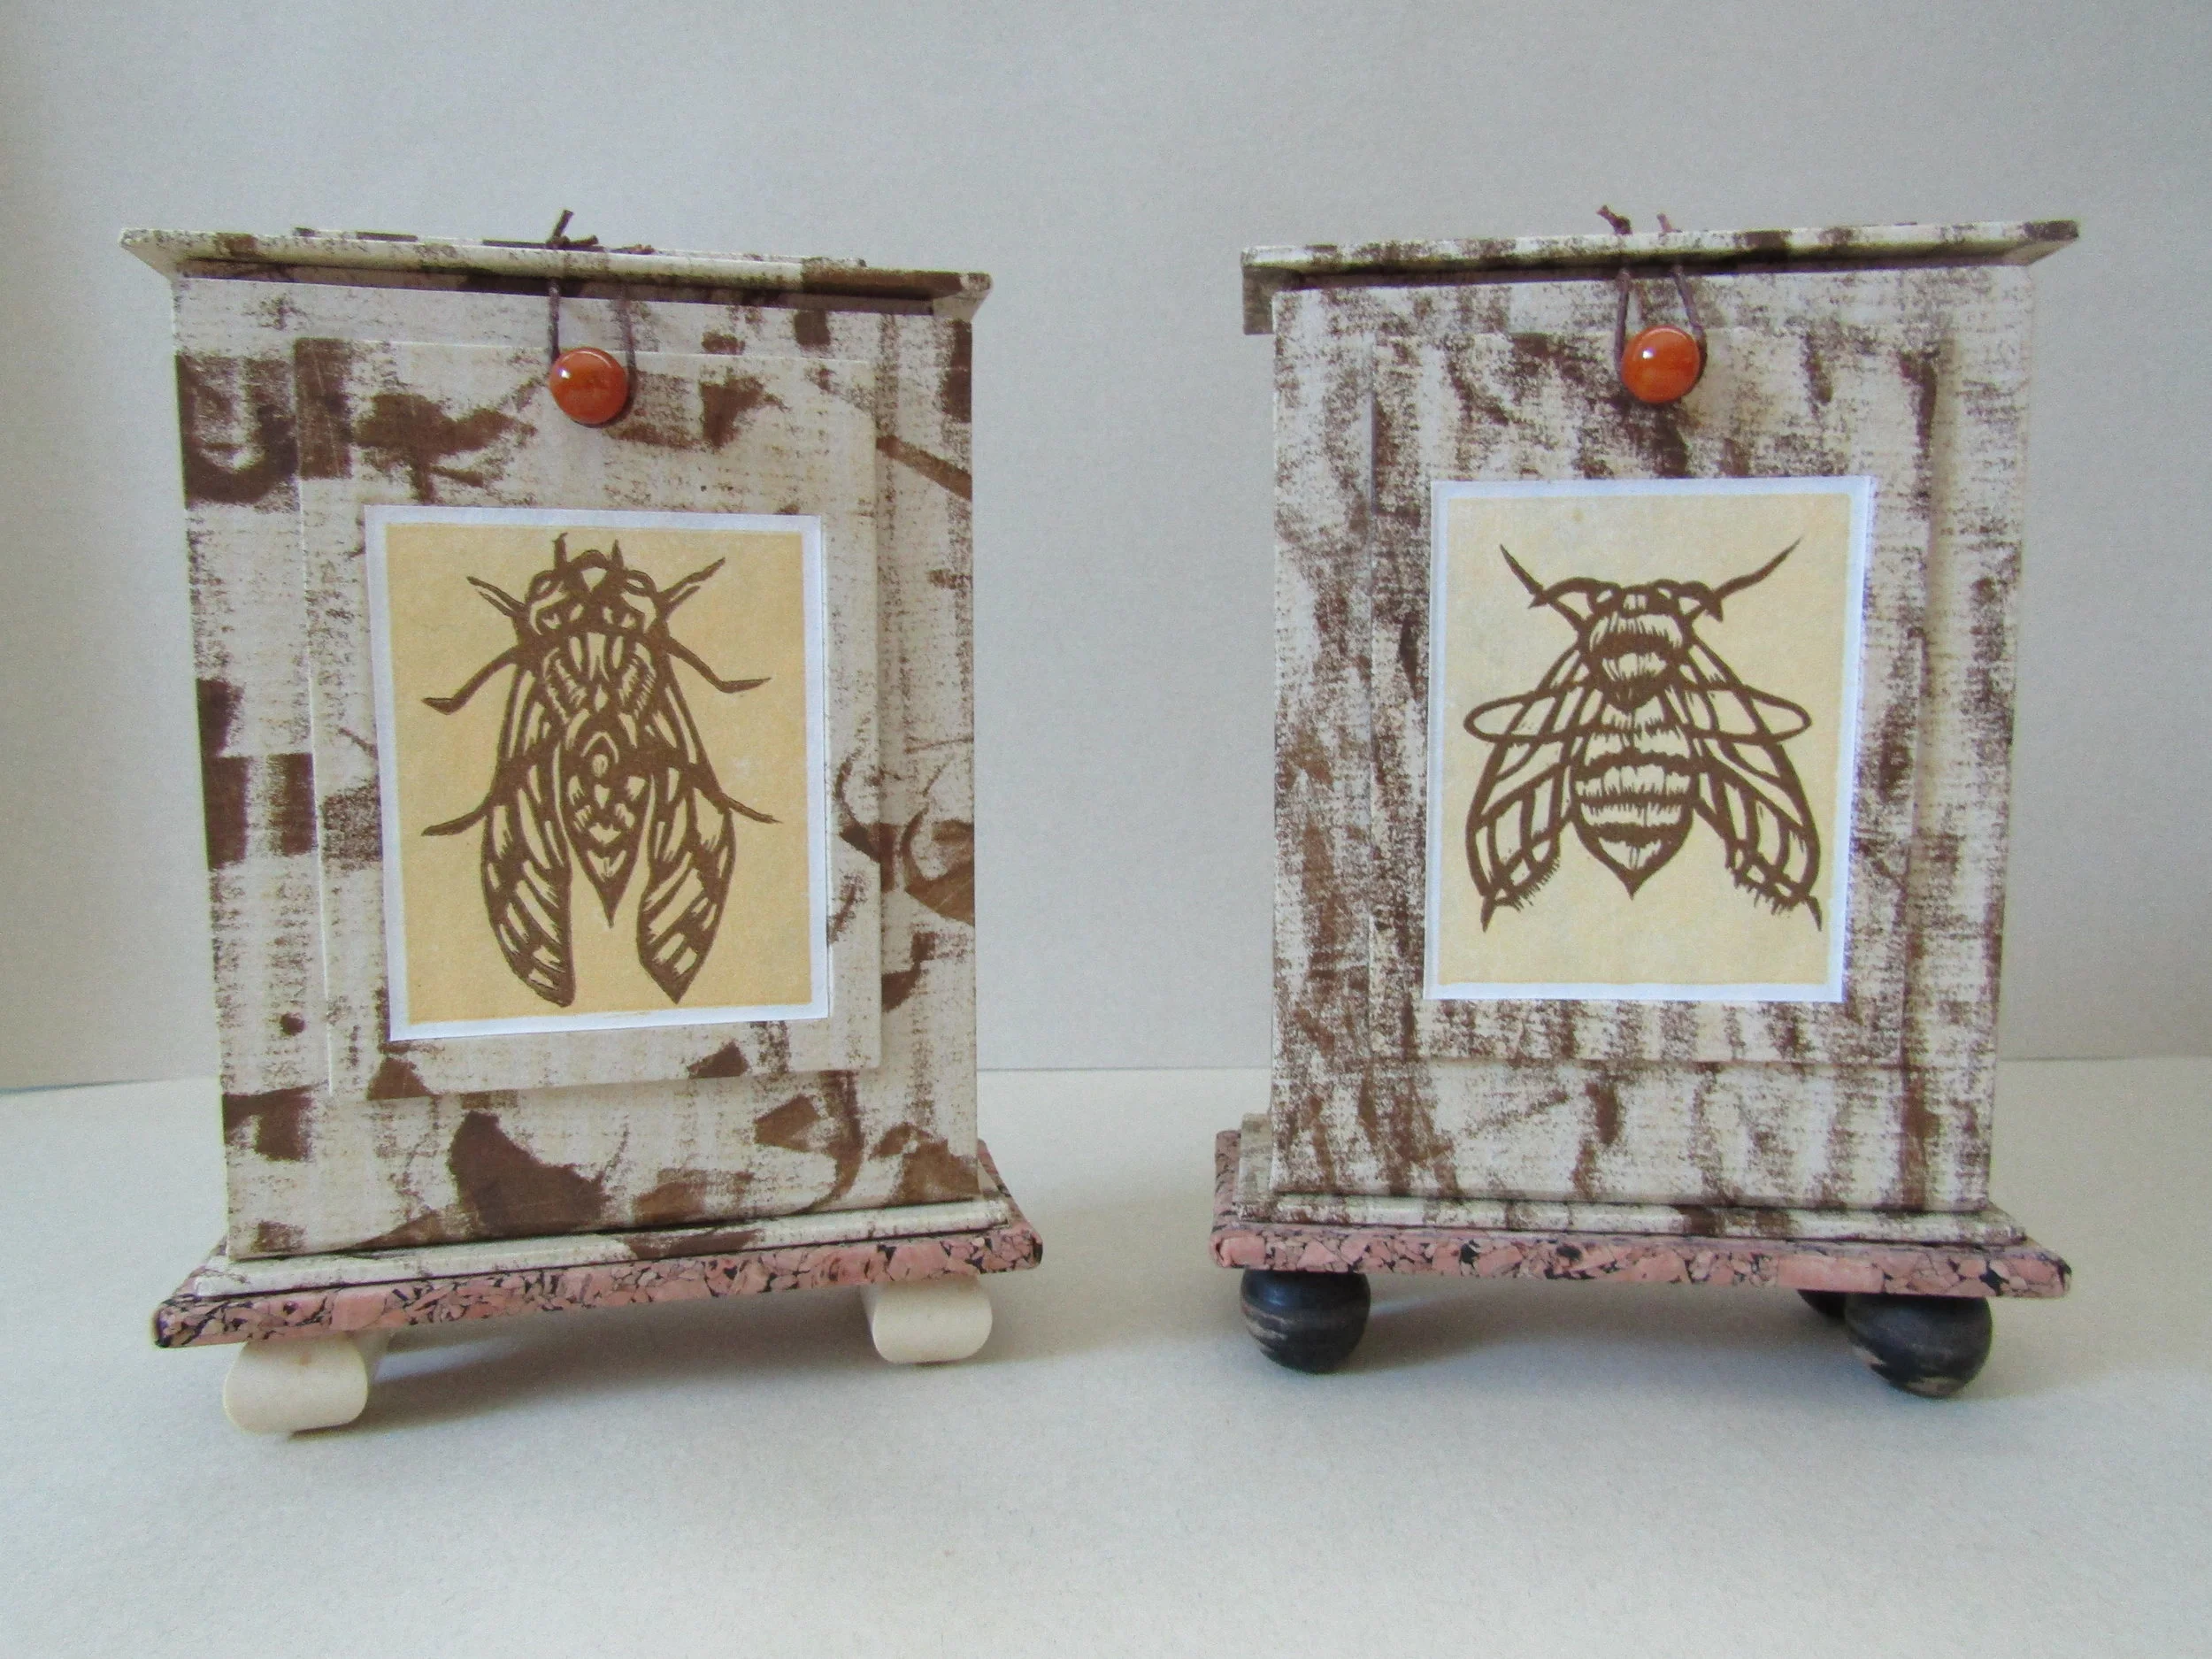
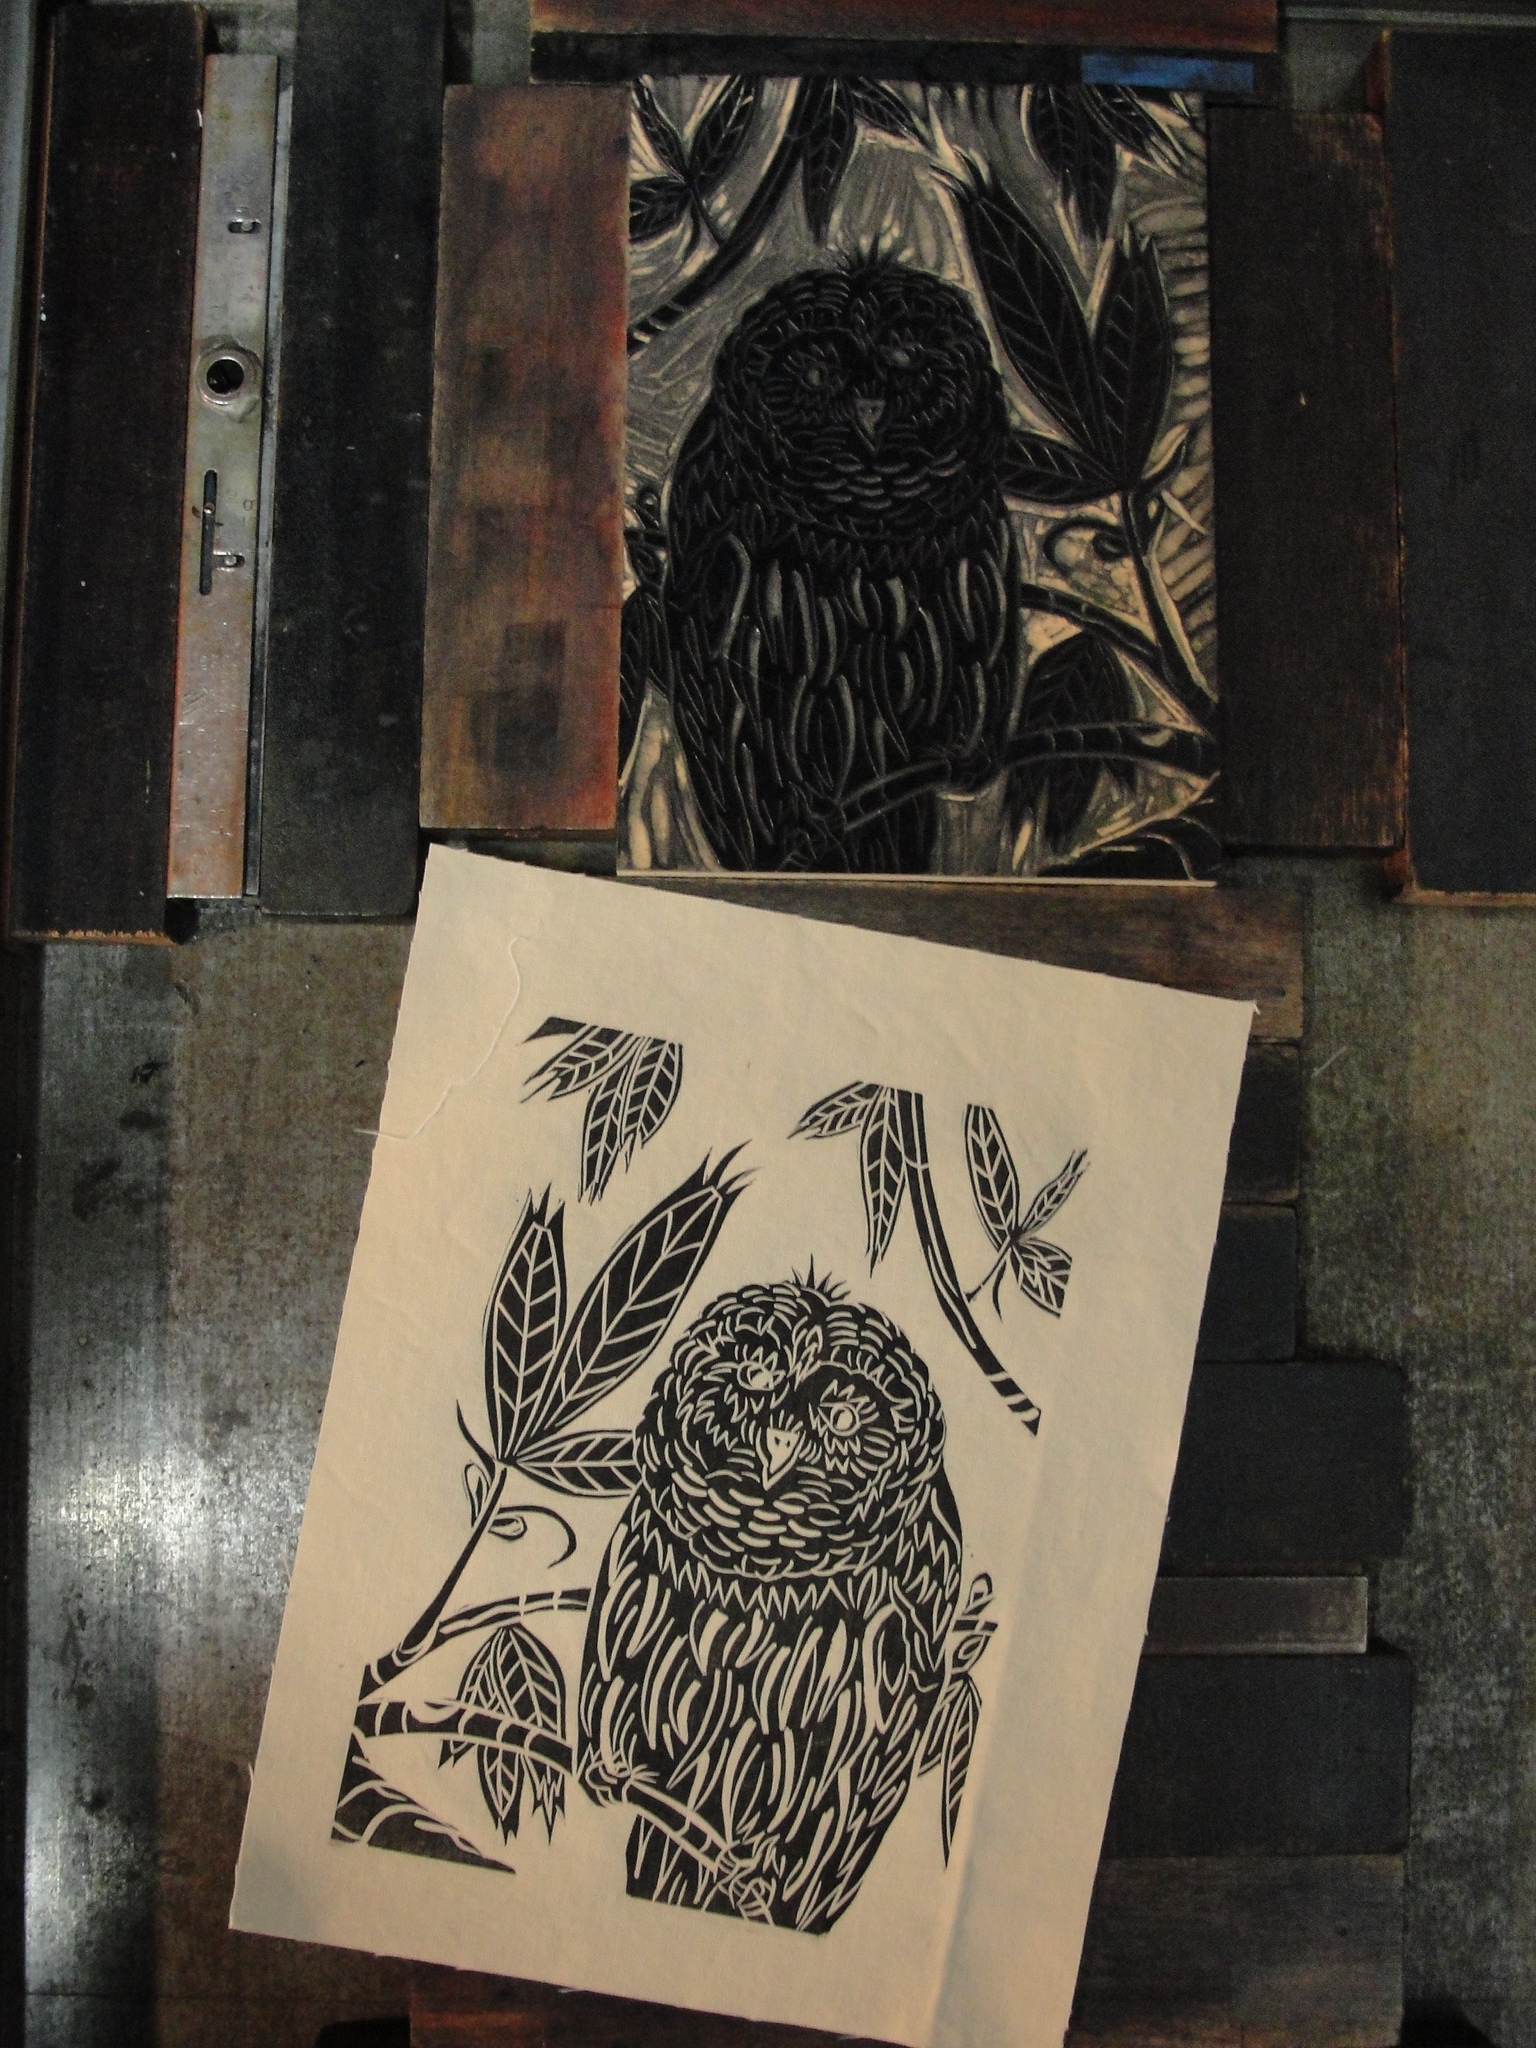
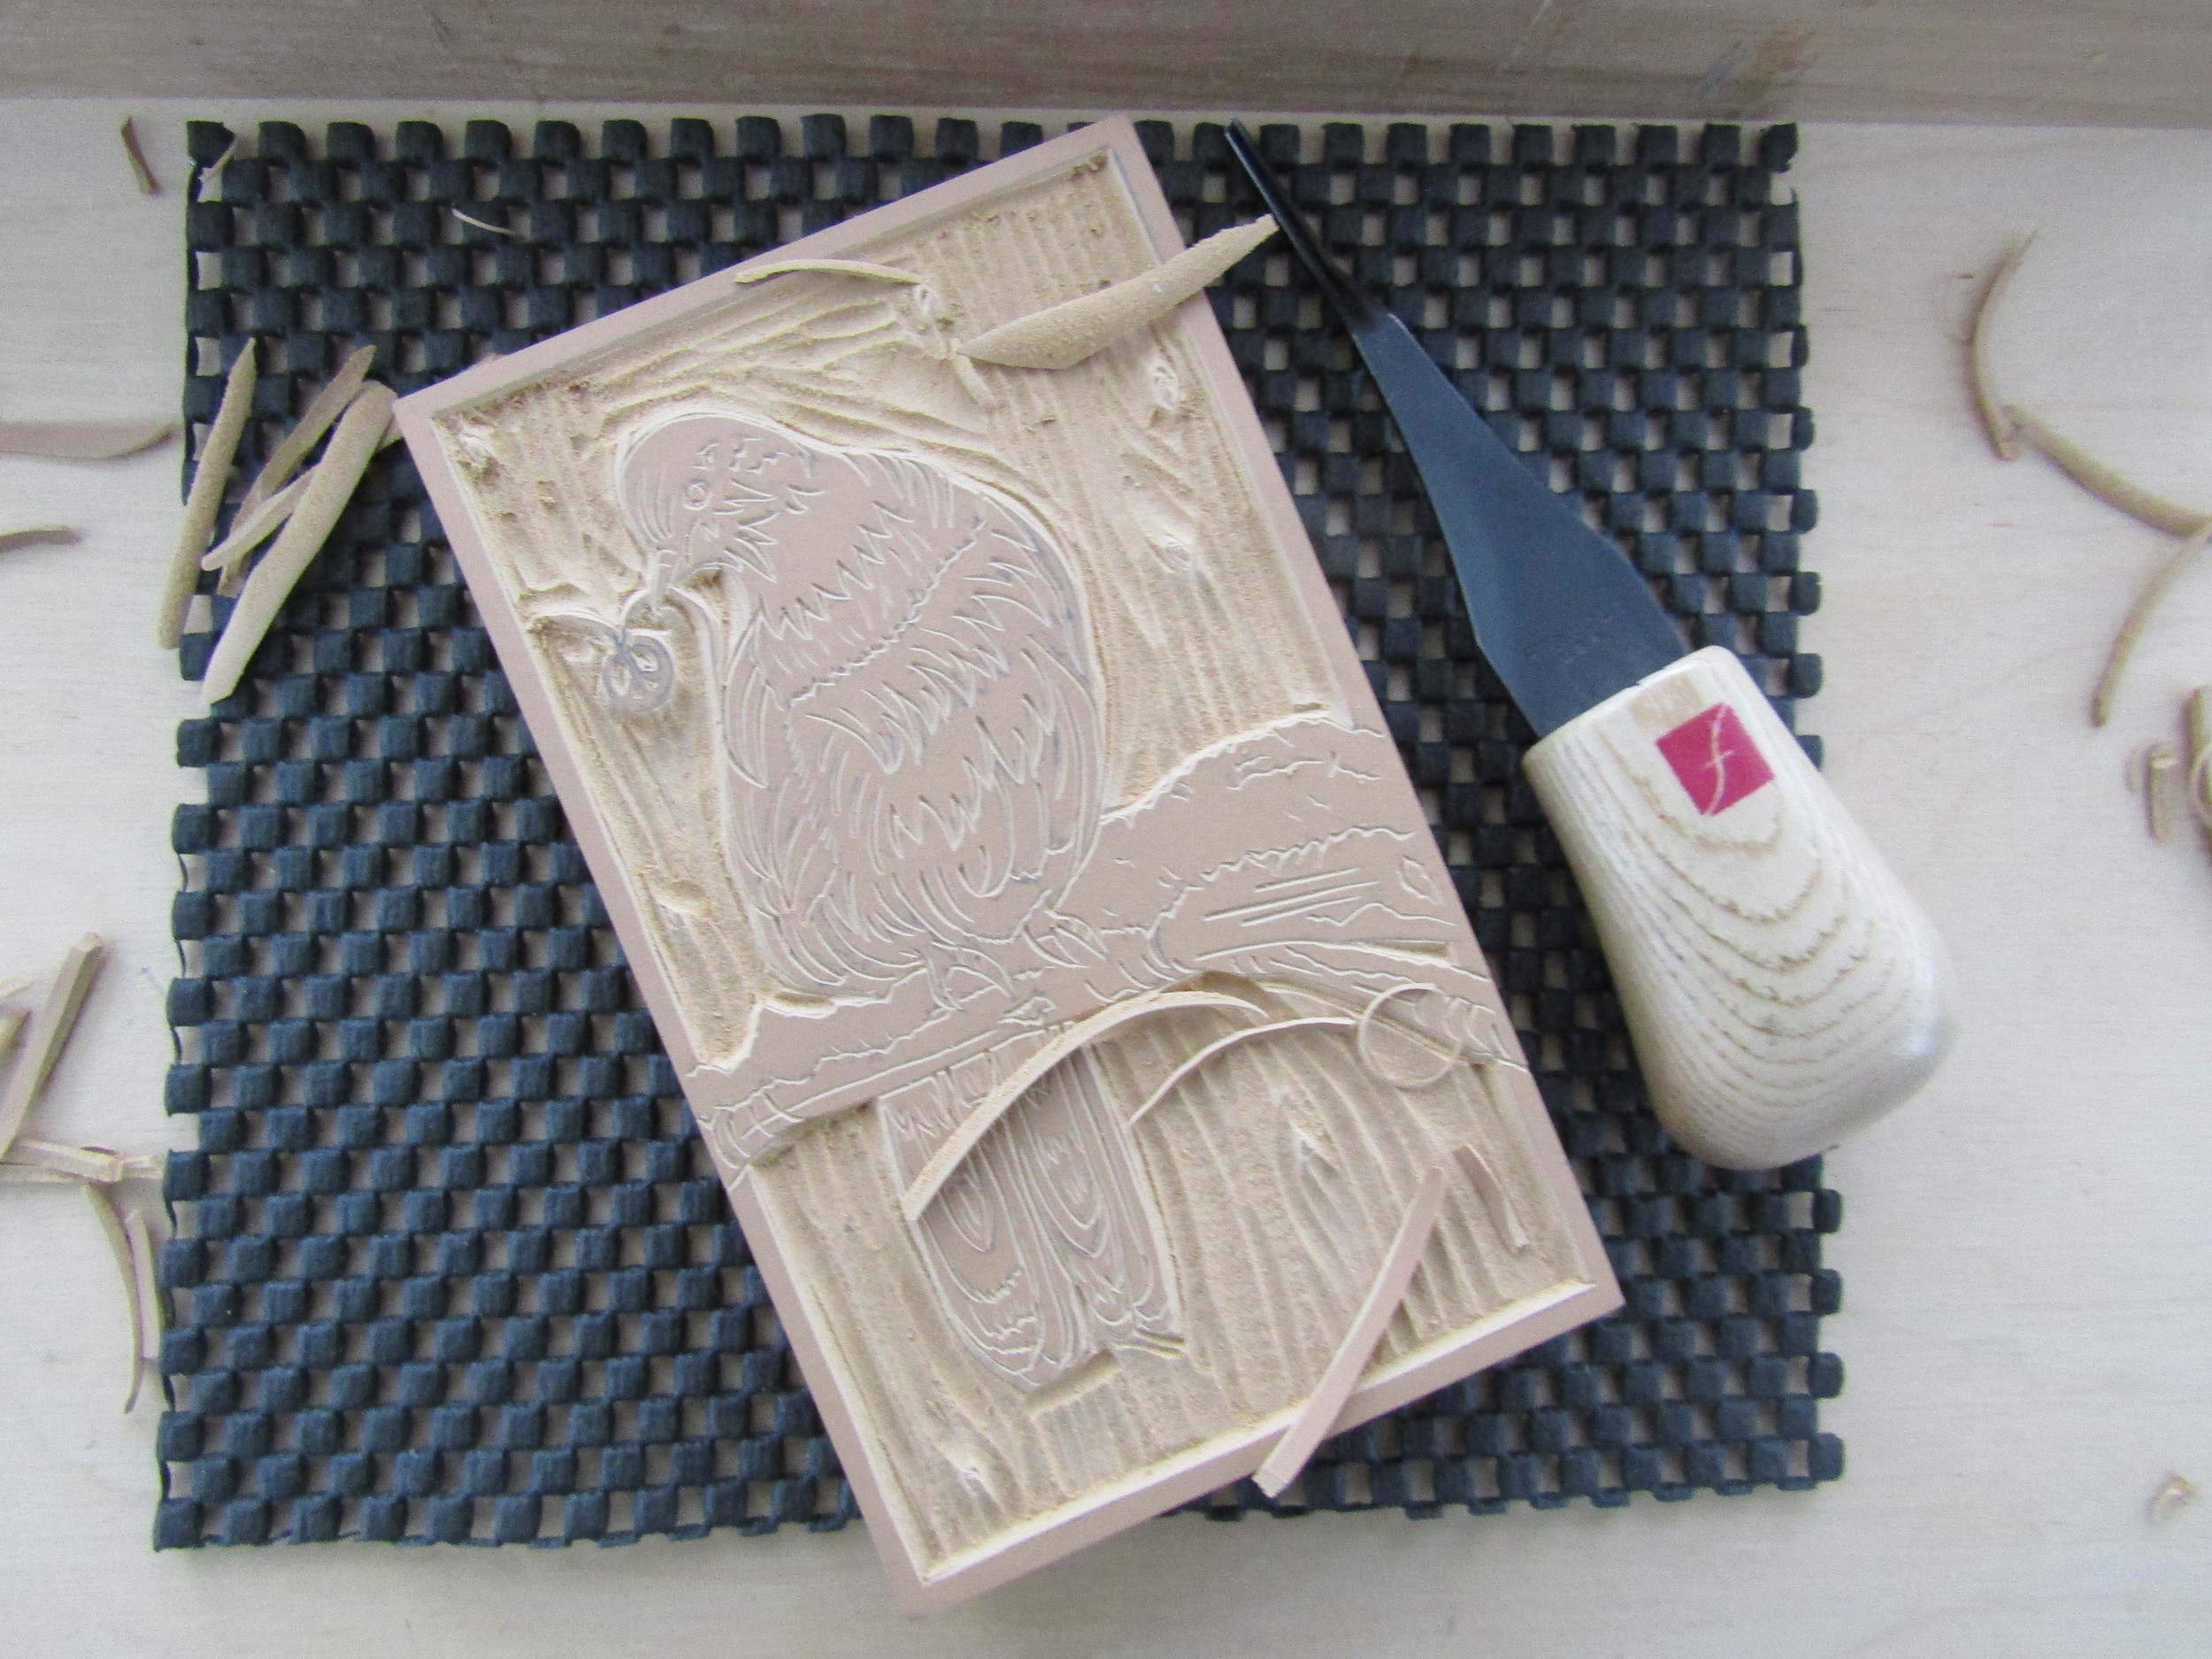
I decided it would be fun to use some of the blocks I had carved for Garden Reverie as cover imagery for blank pamphlet journals. I printed them on French paper and sewed them up with waxed linen thread. Here is a look at the process.

Printing the tulips - one of my personal favorites!
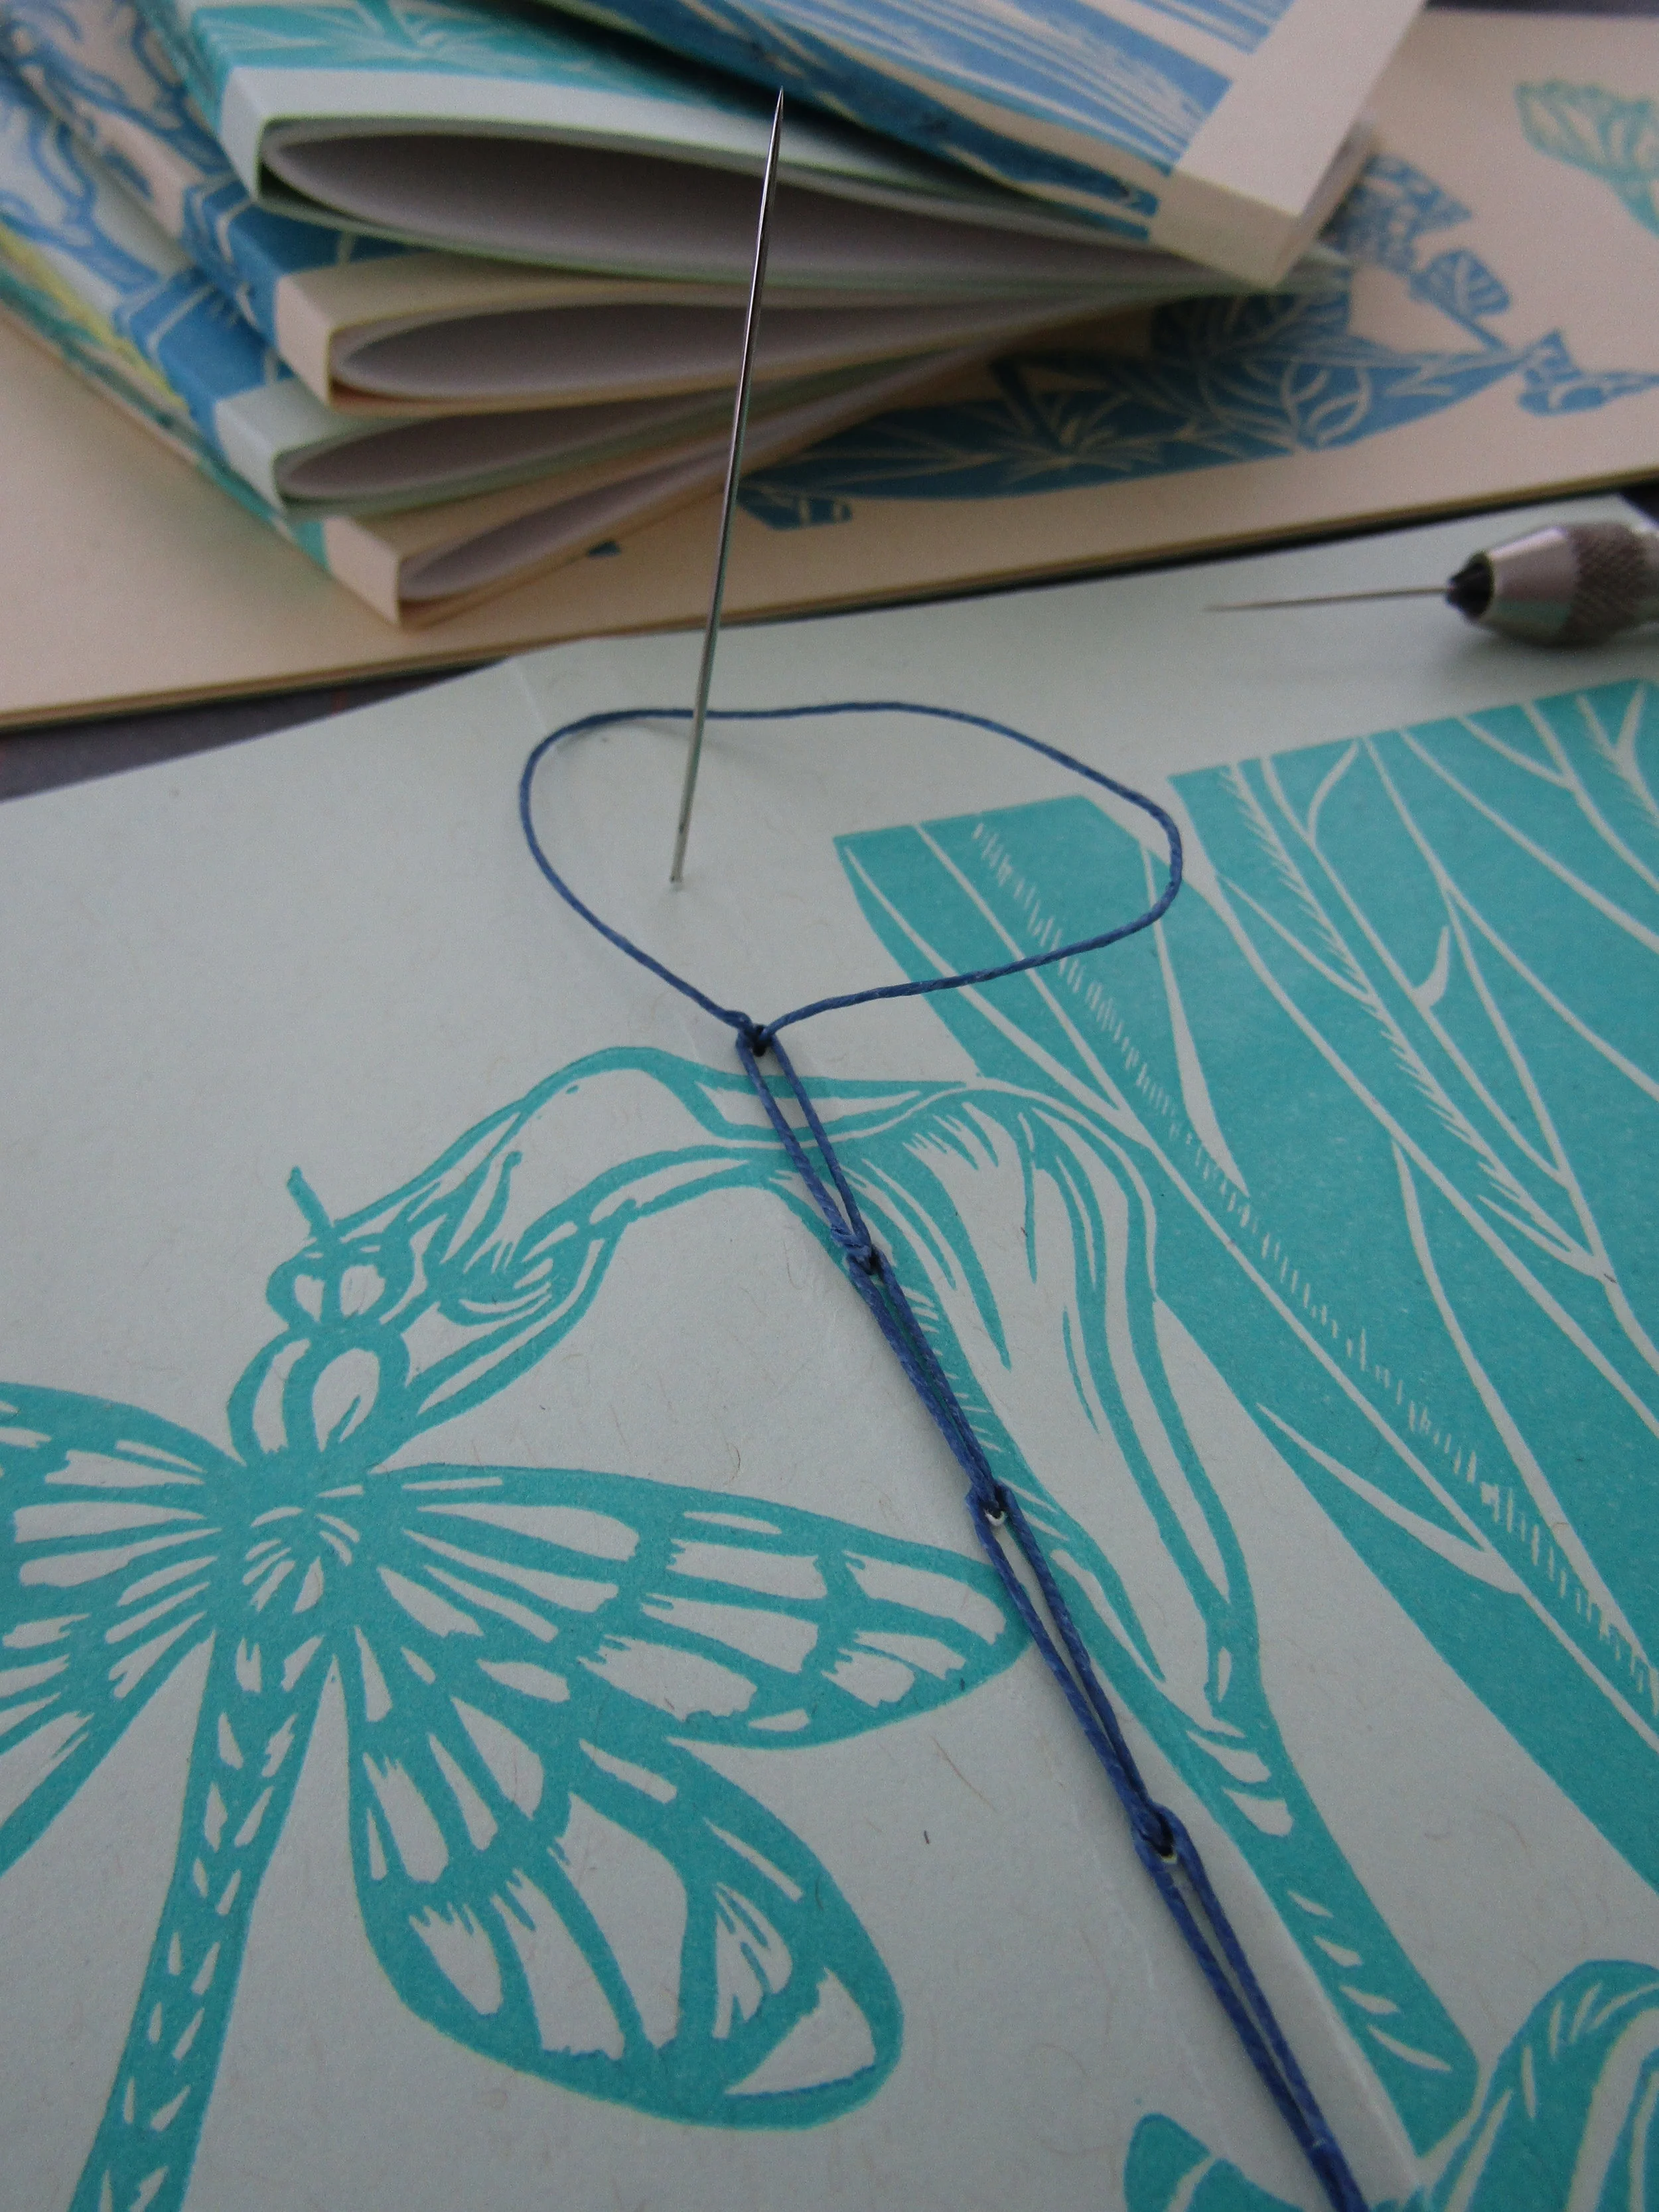
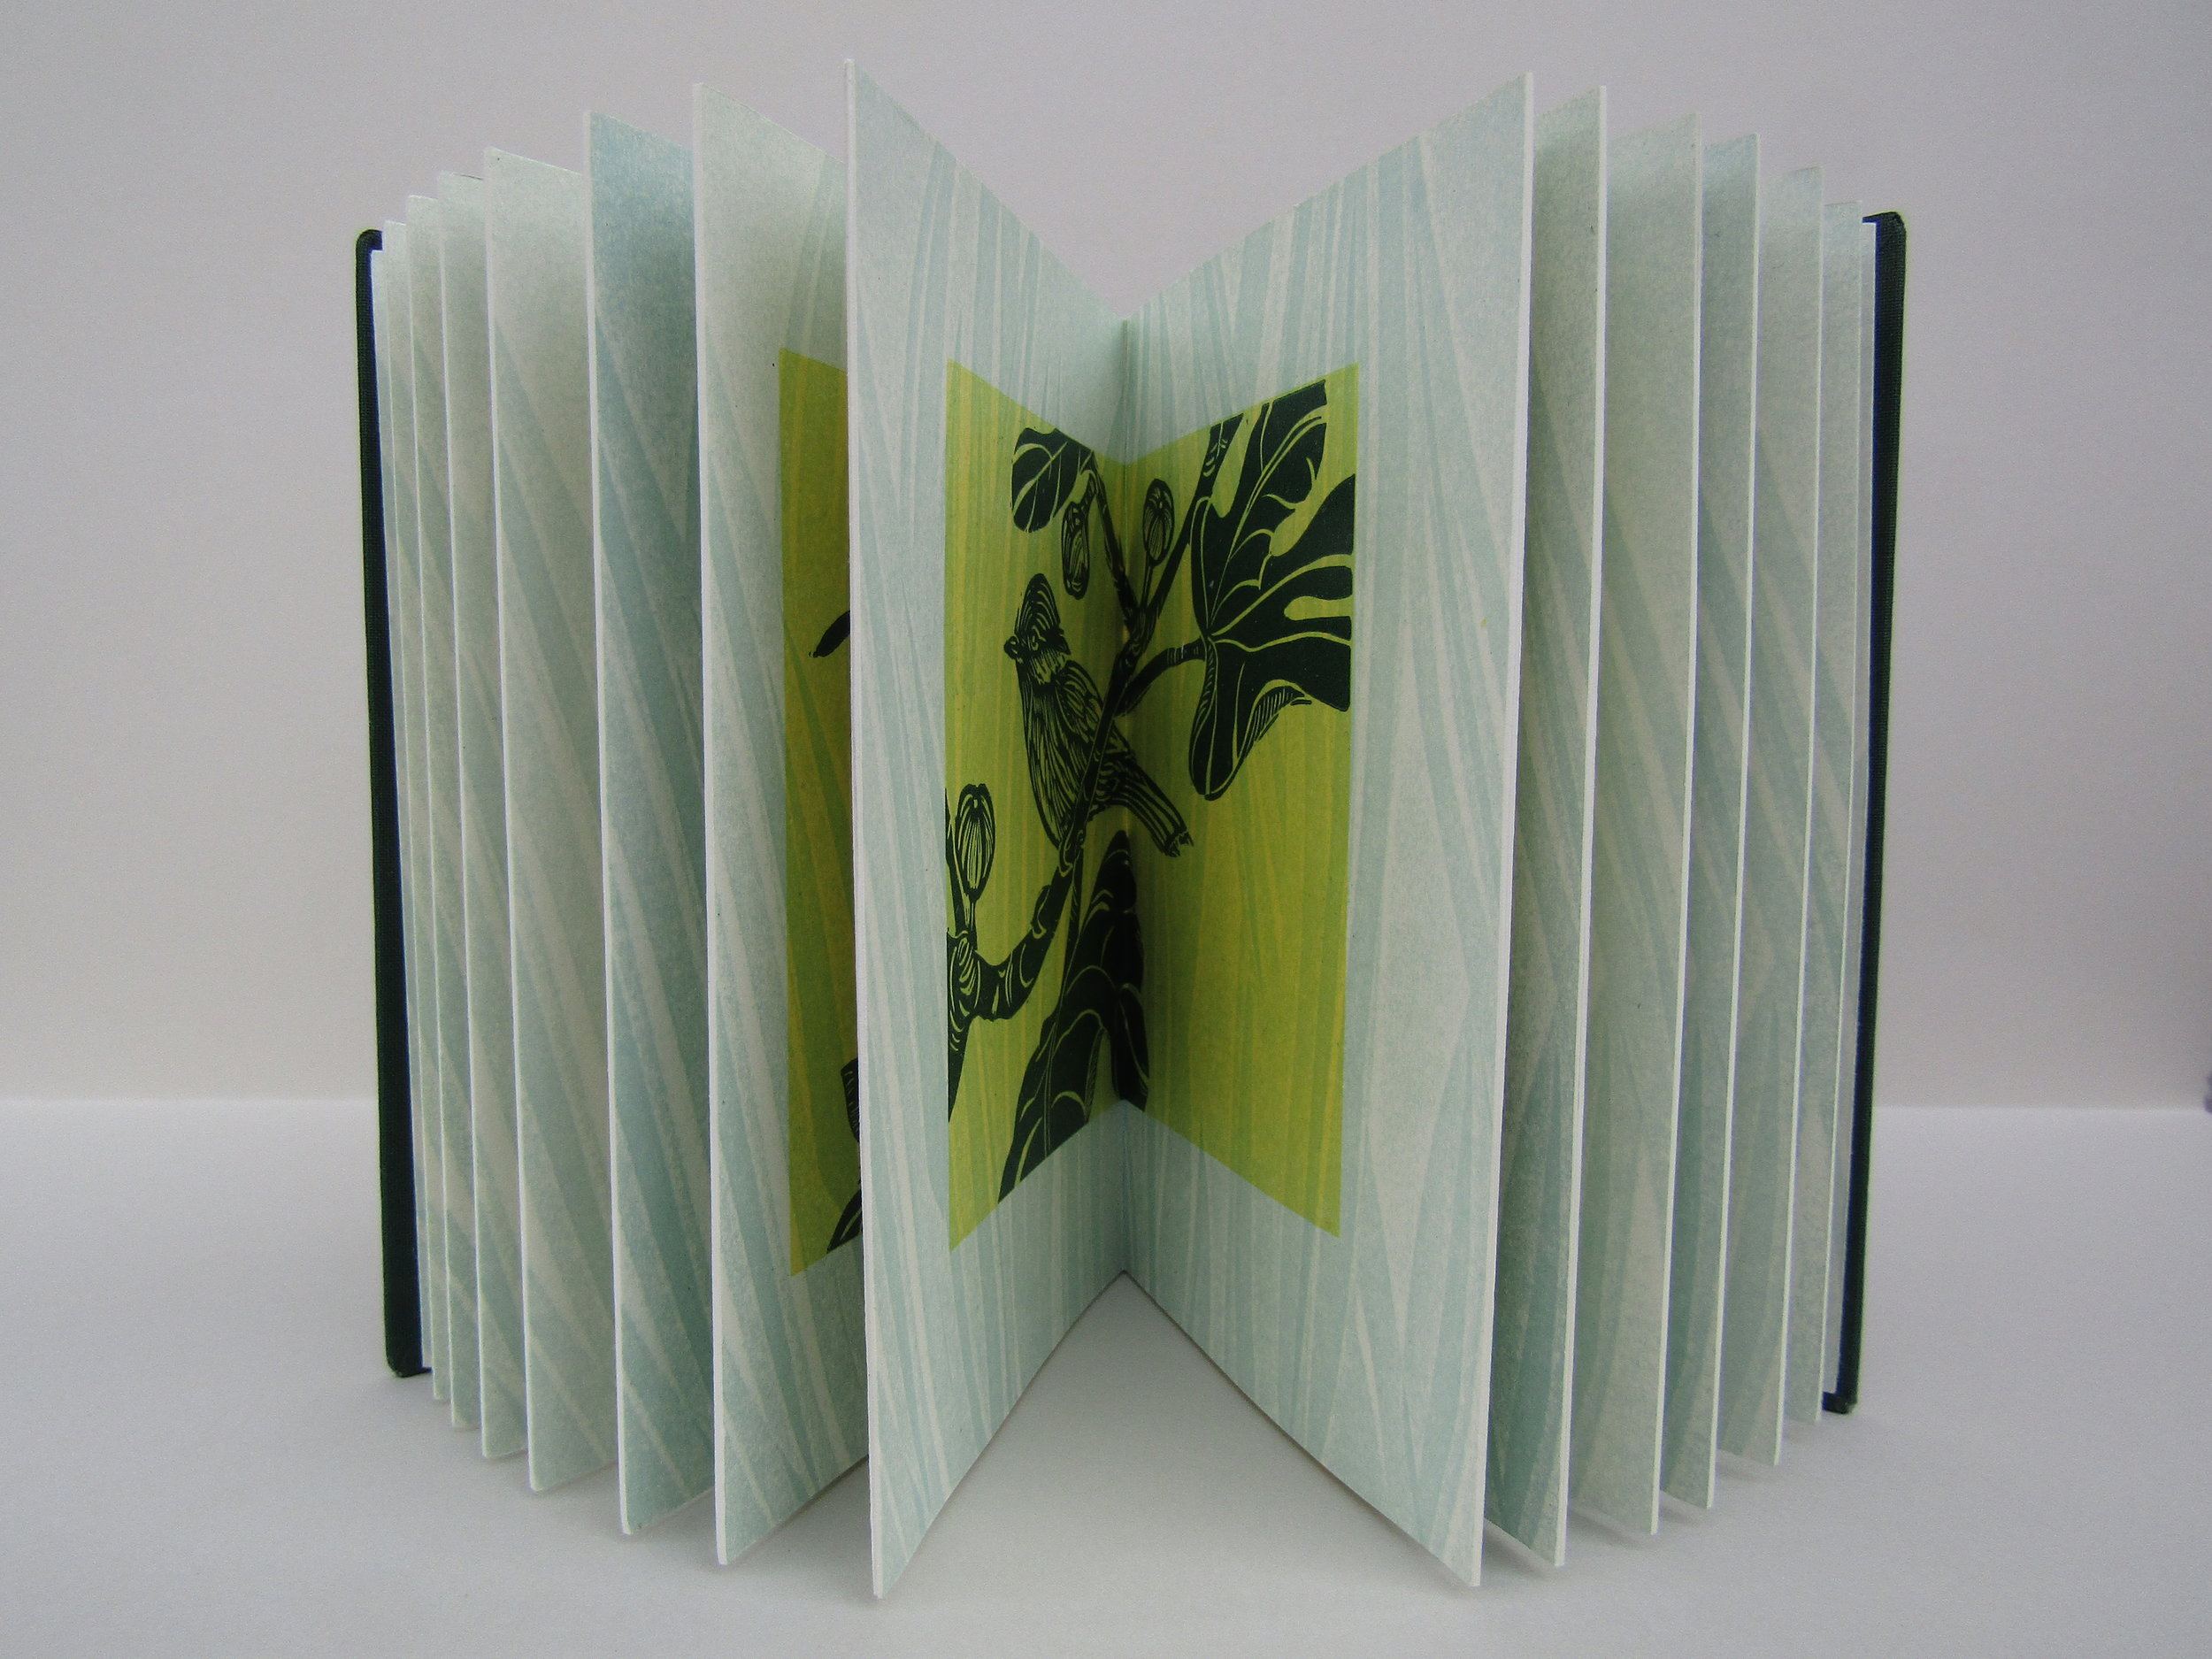
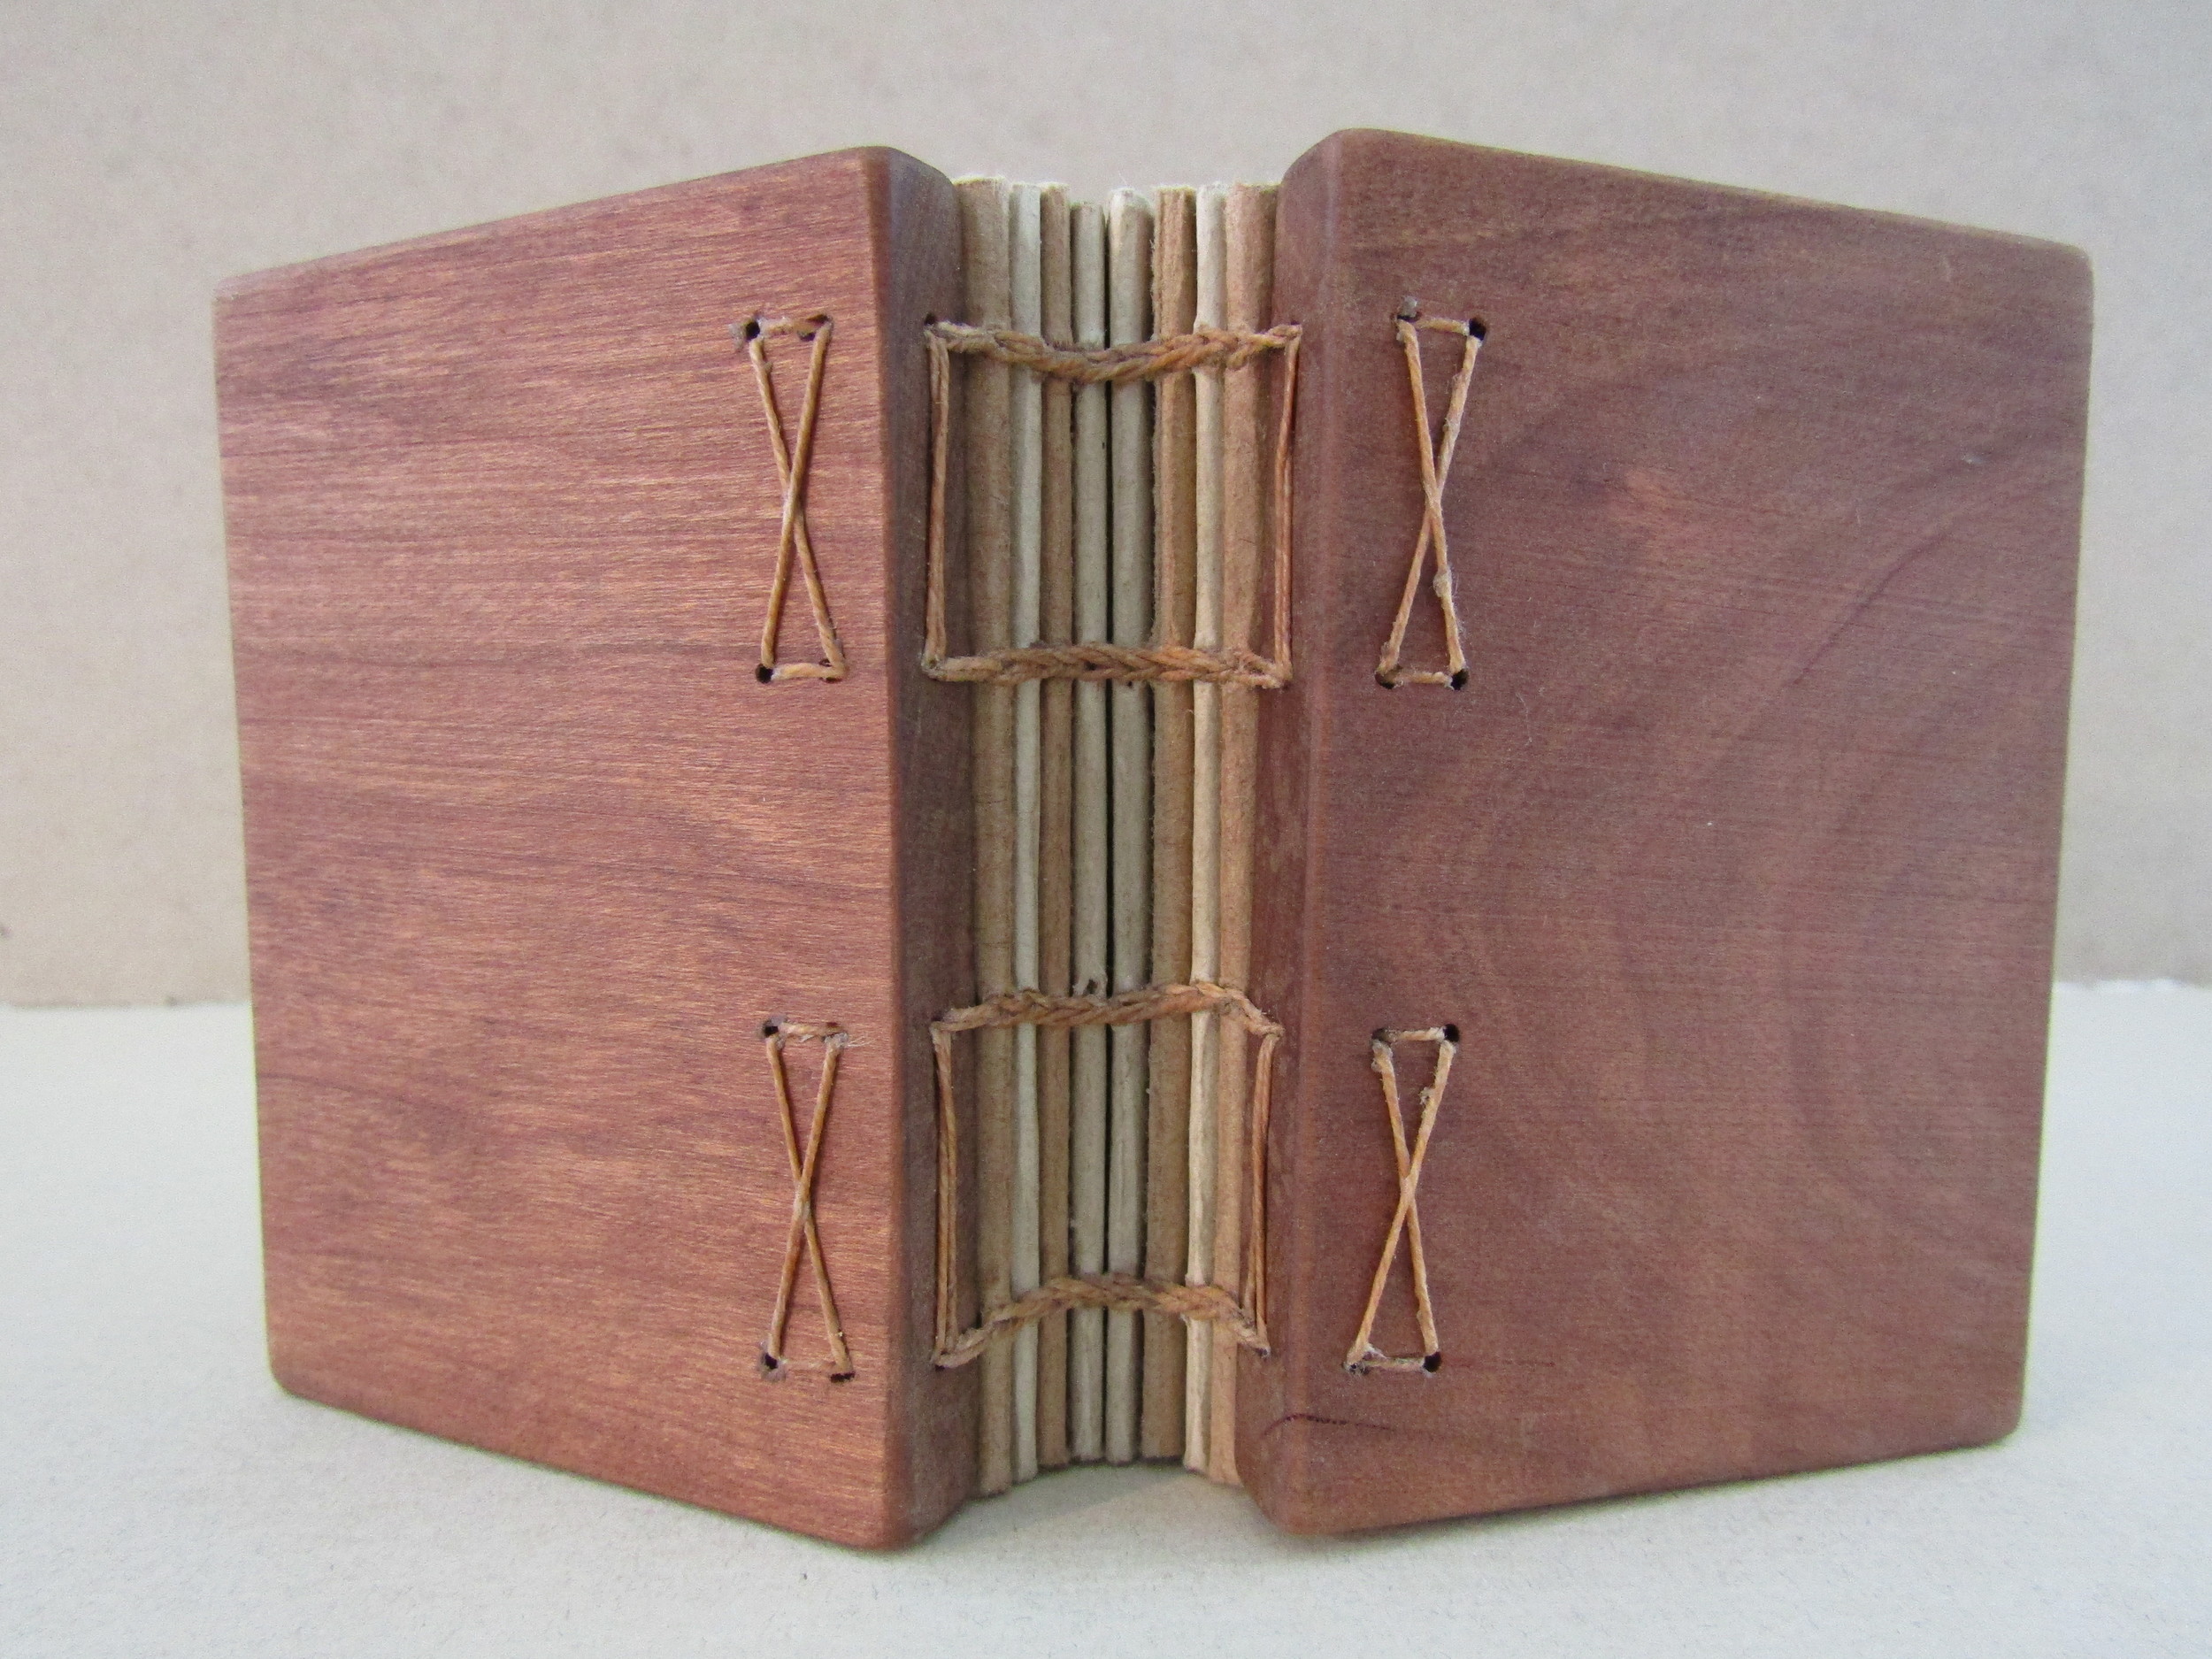
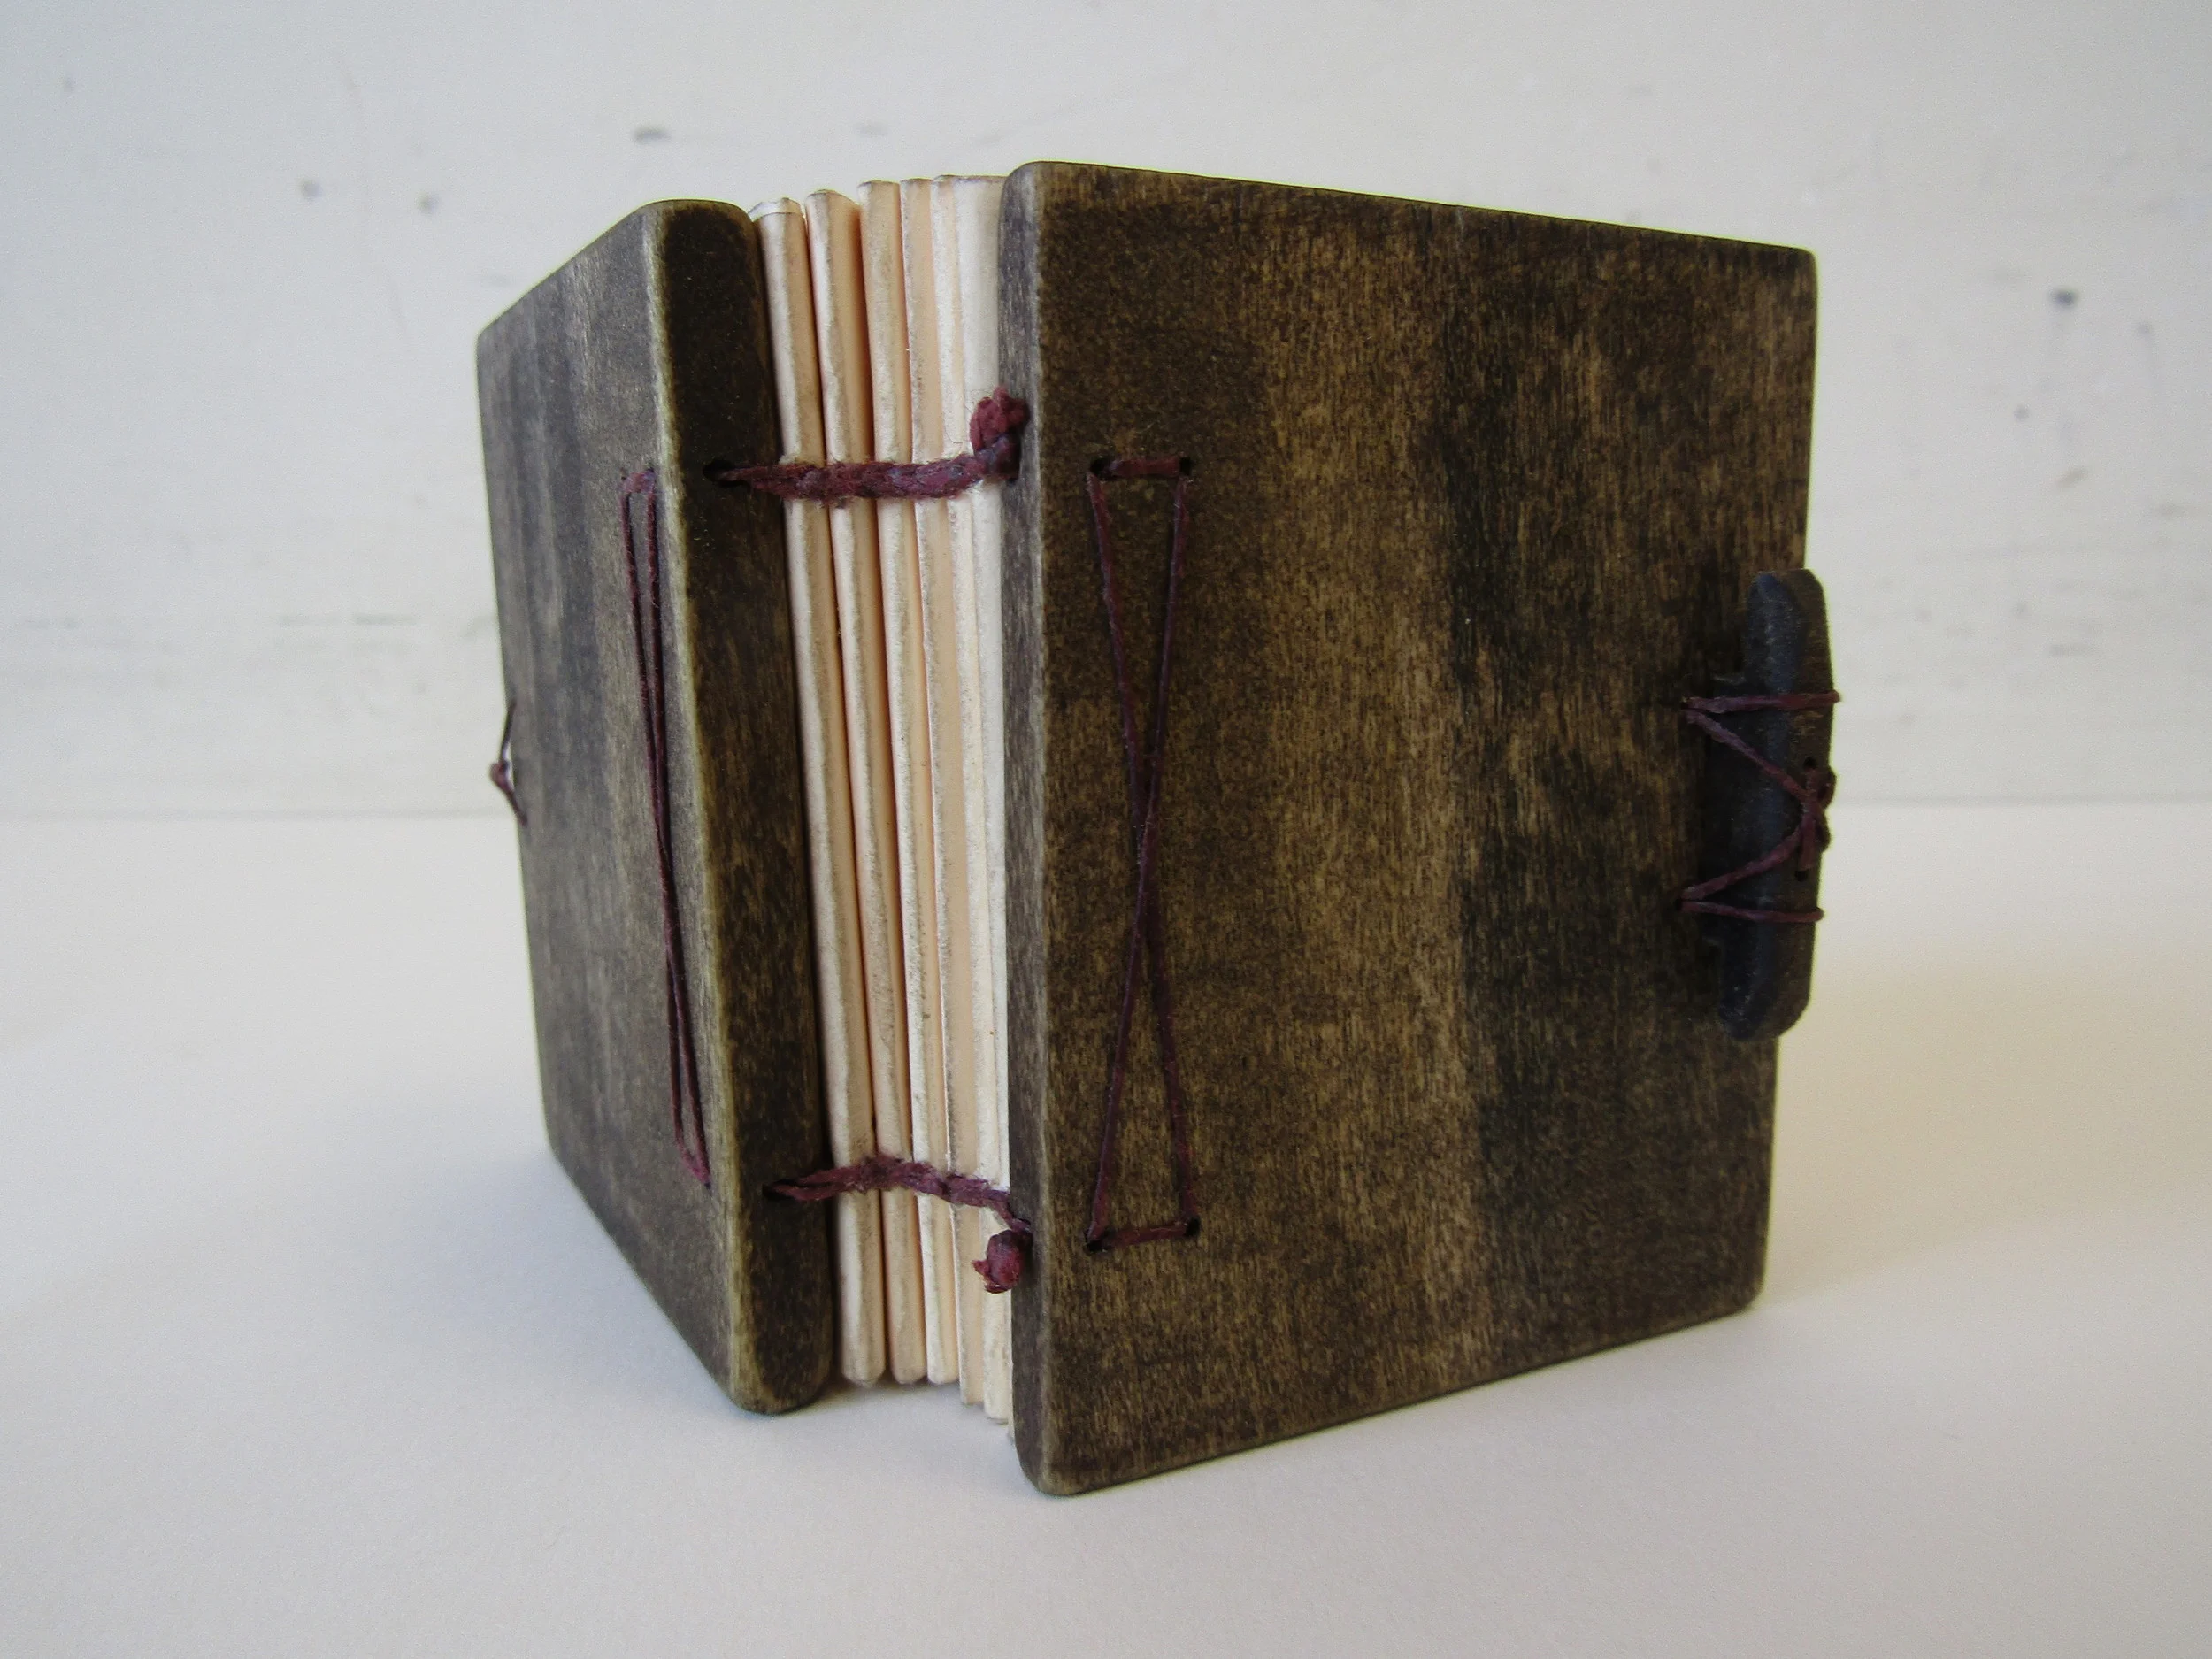
These are single section pamphlets. I used variations of the chain stitch when sewing them together.

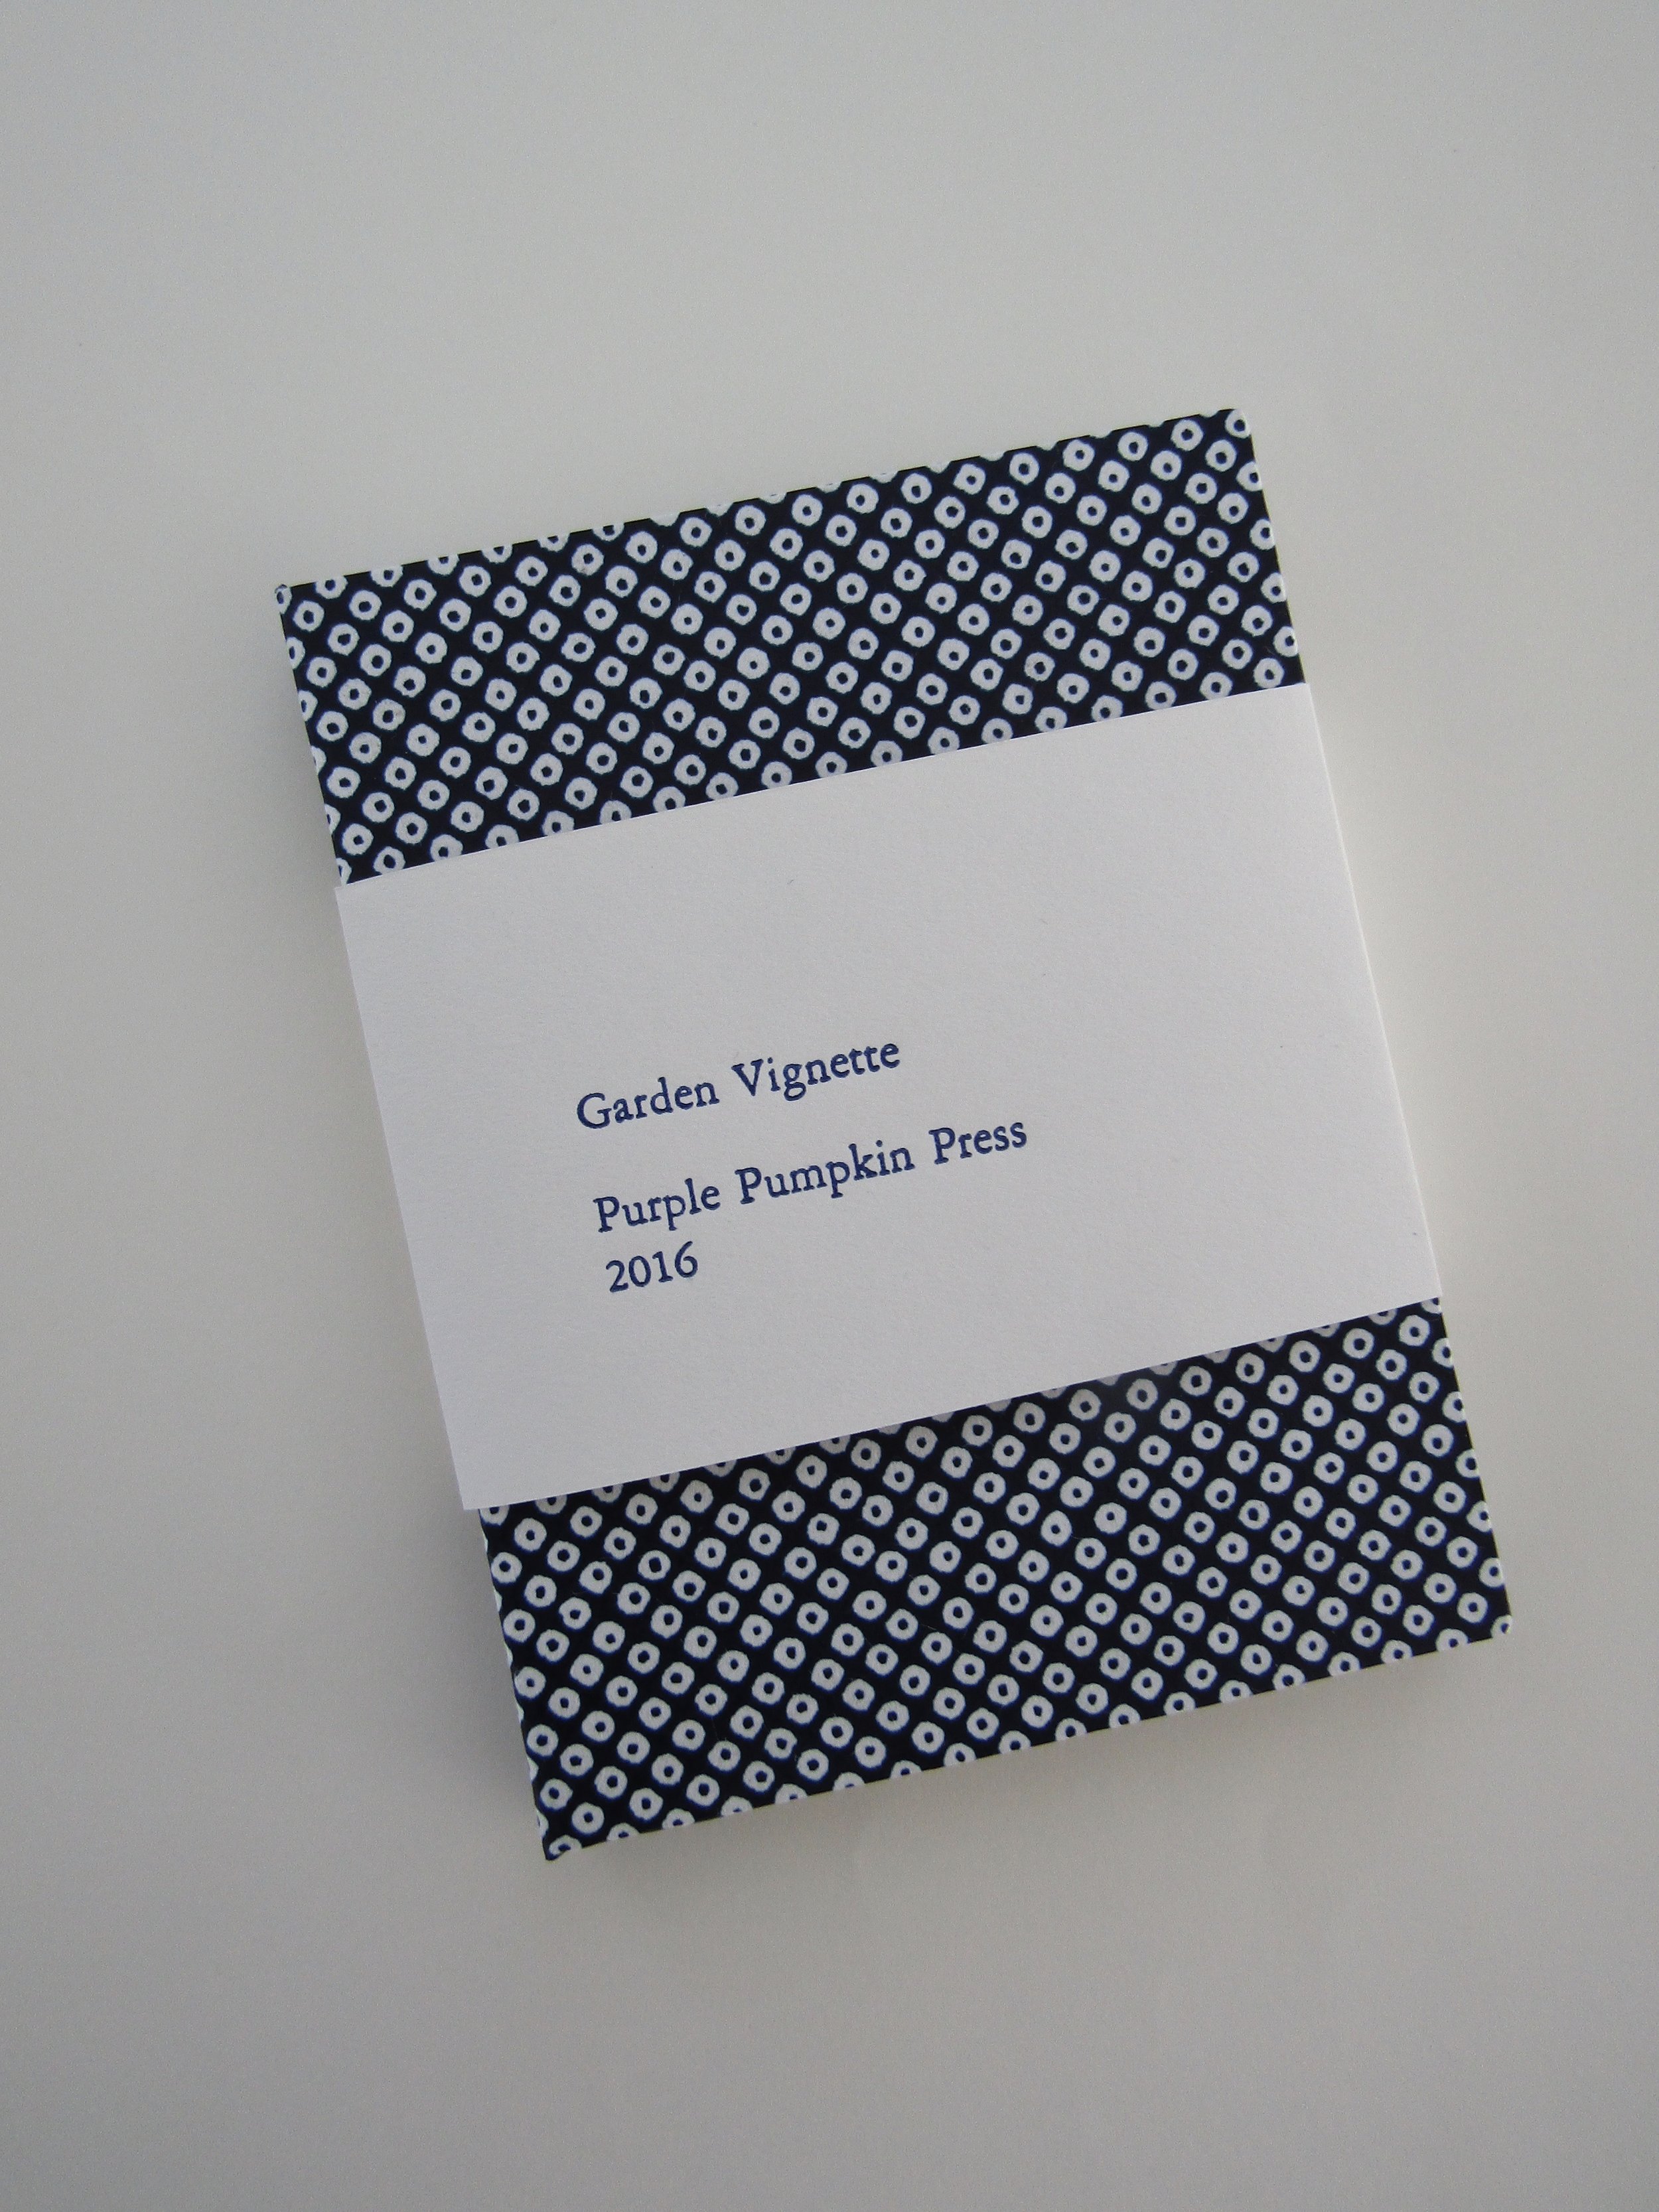
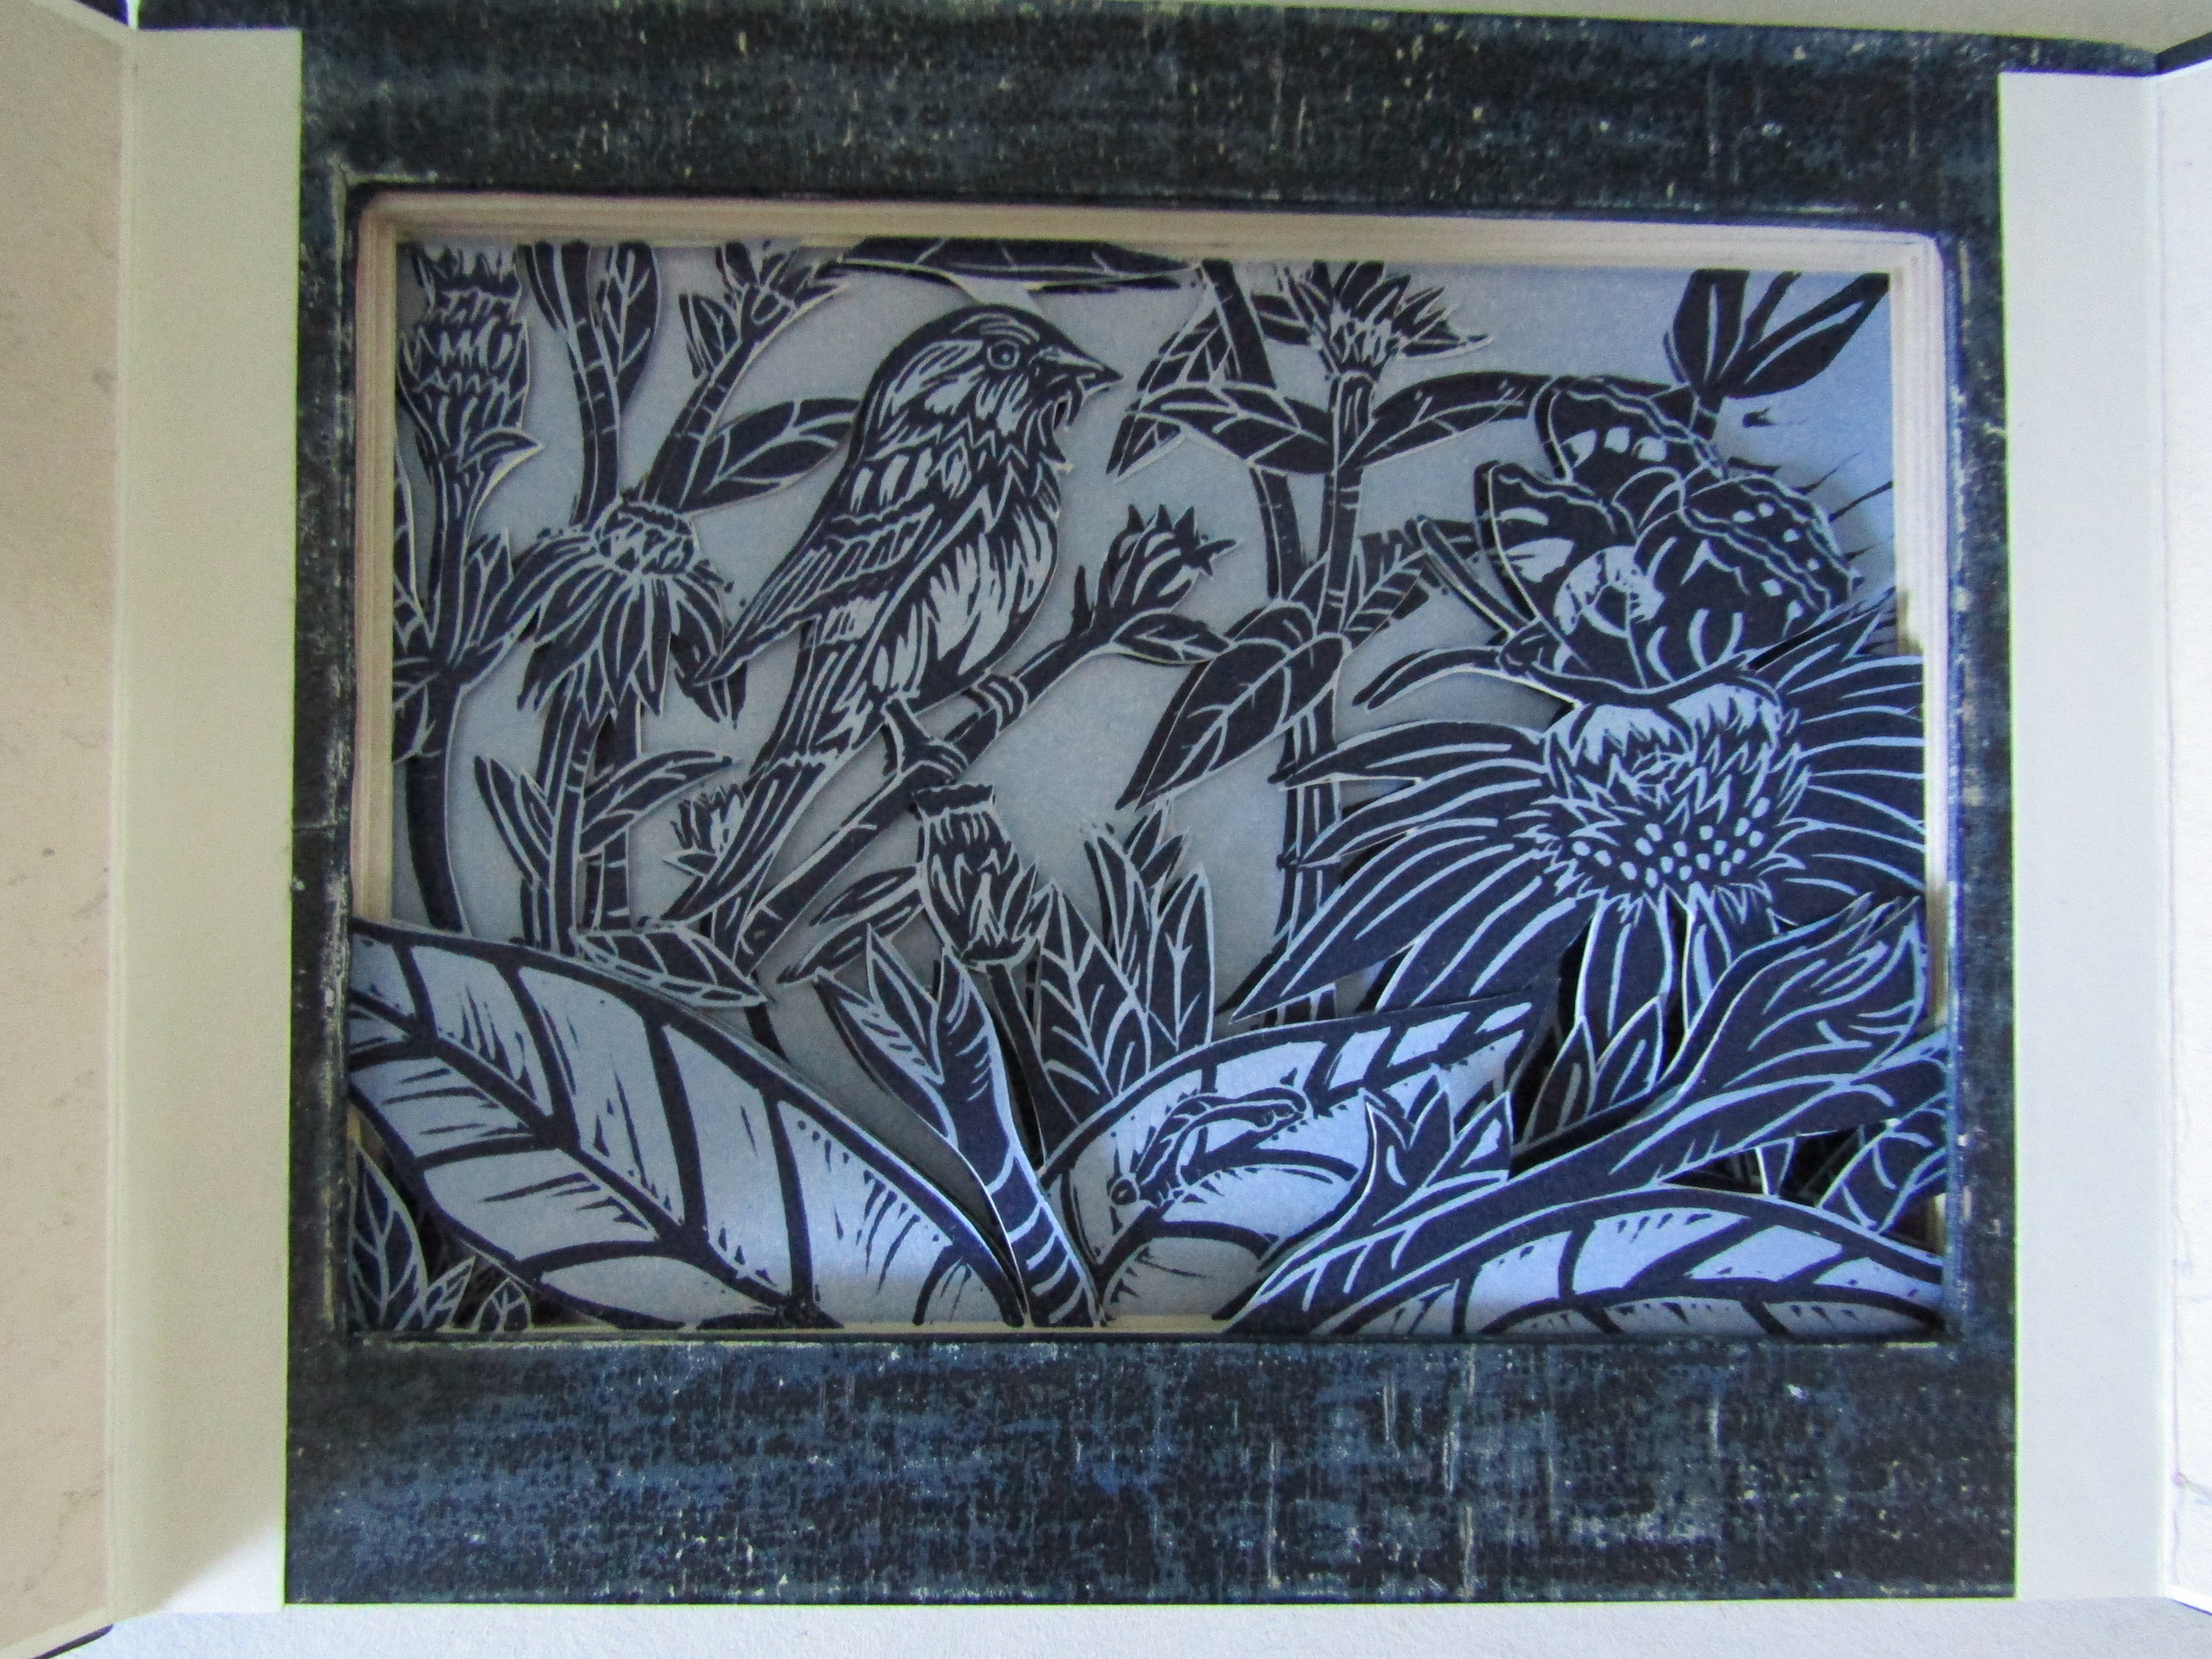
All sewn up!