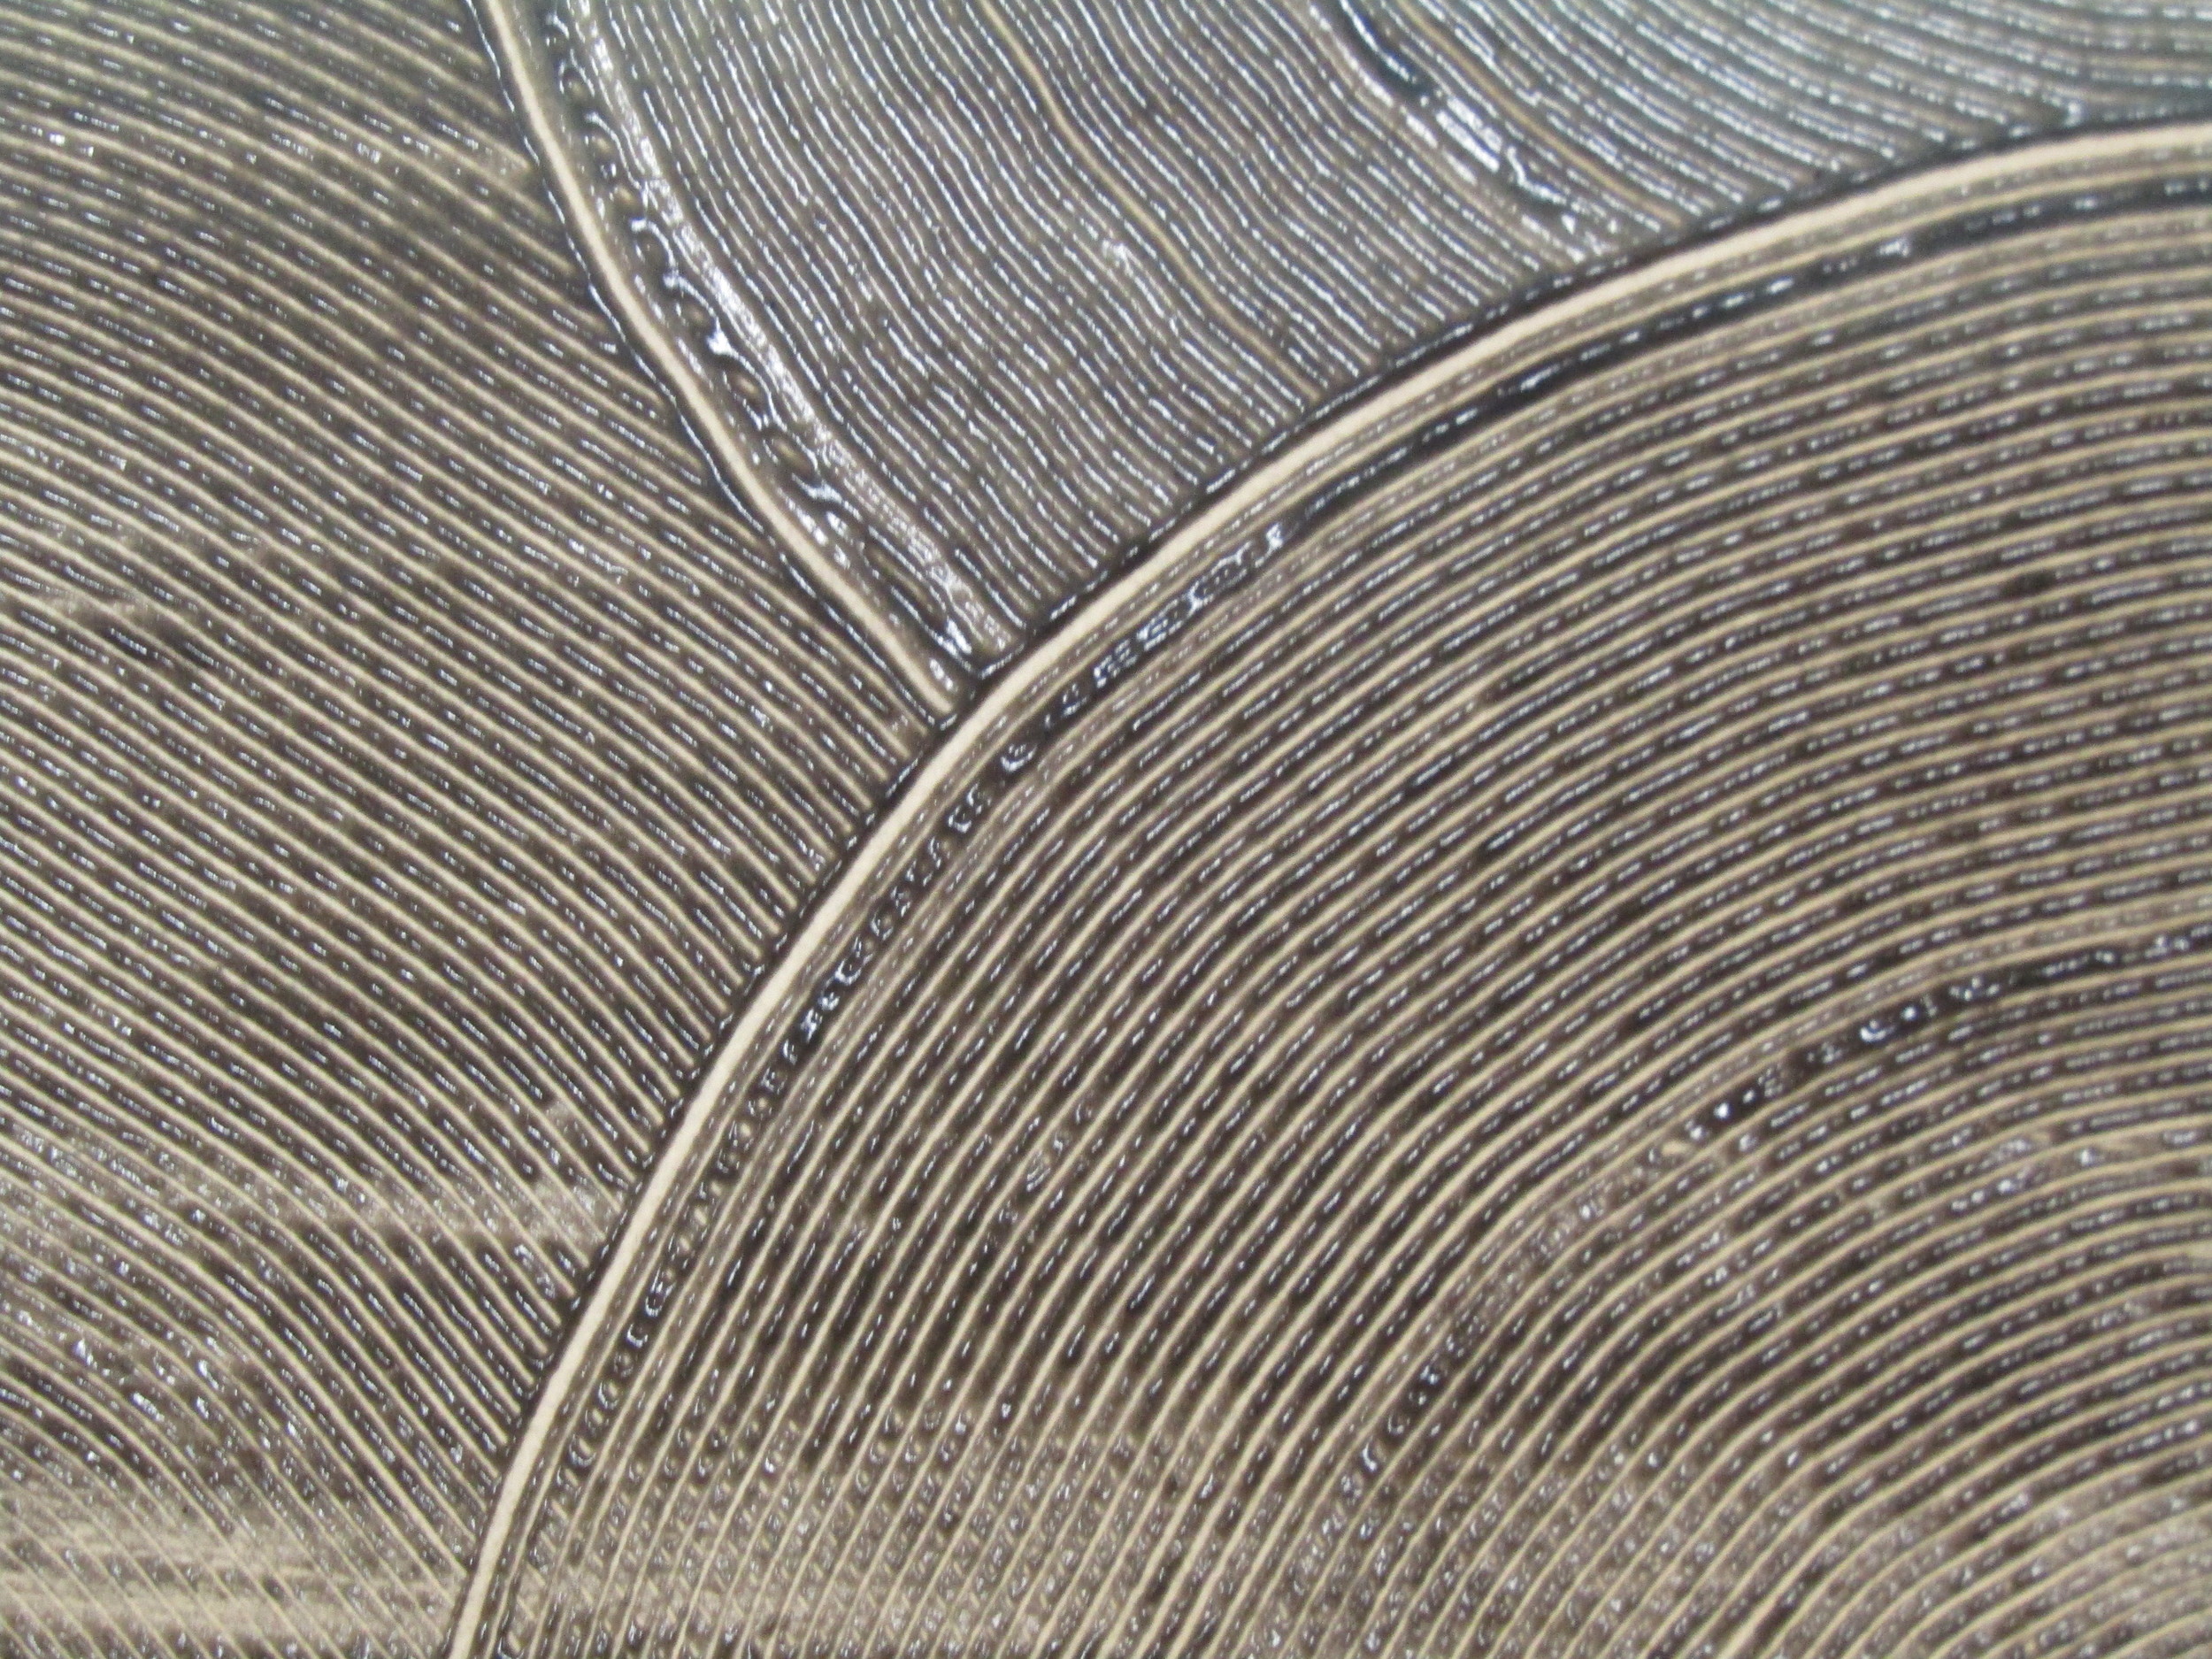
These four prints were the images that would become the 'Garden Vignettes'. I love the blues!

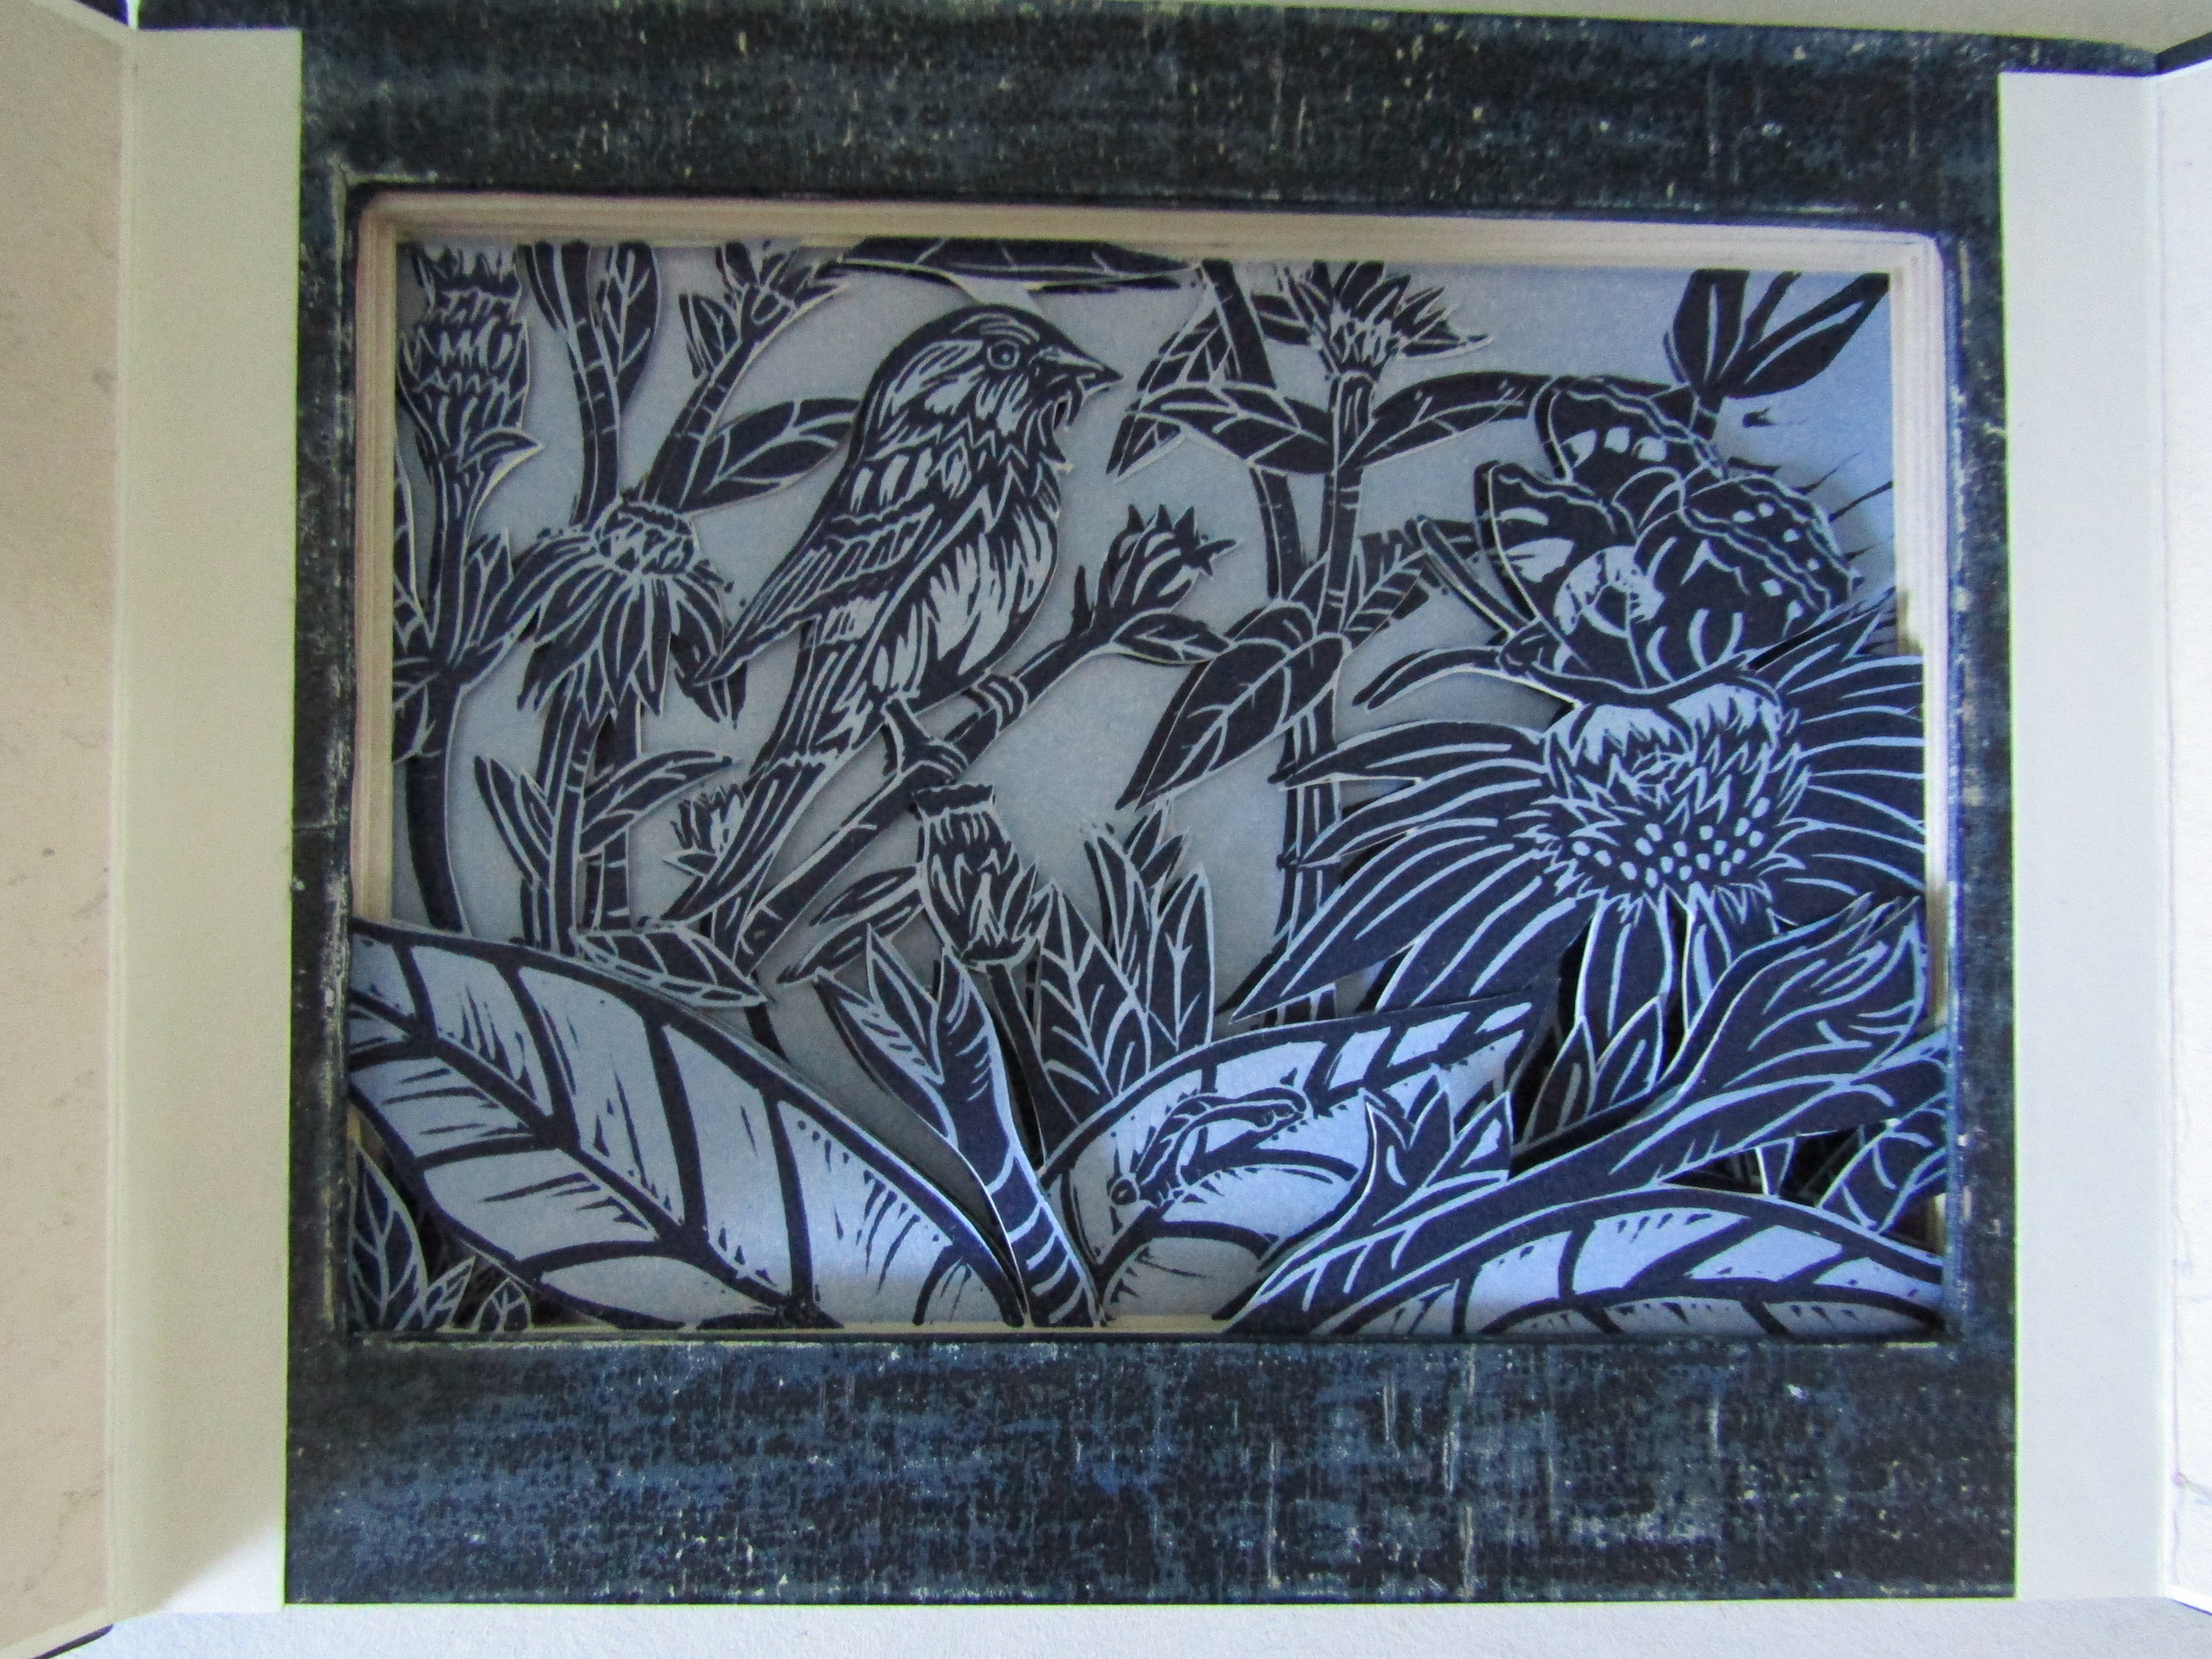
Cutting away spaces within the prints to create the pages for each book.

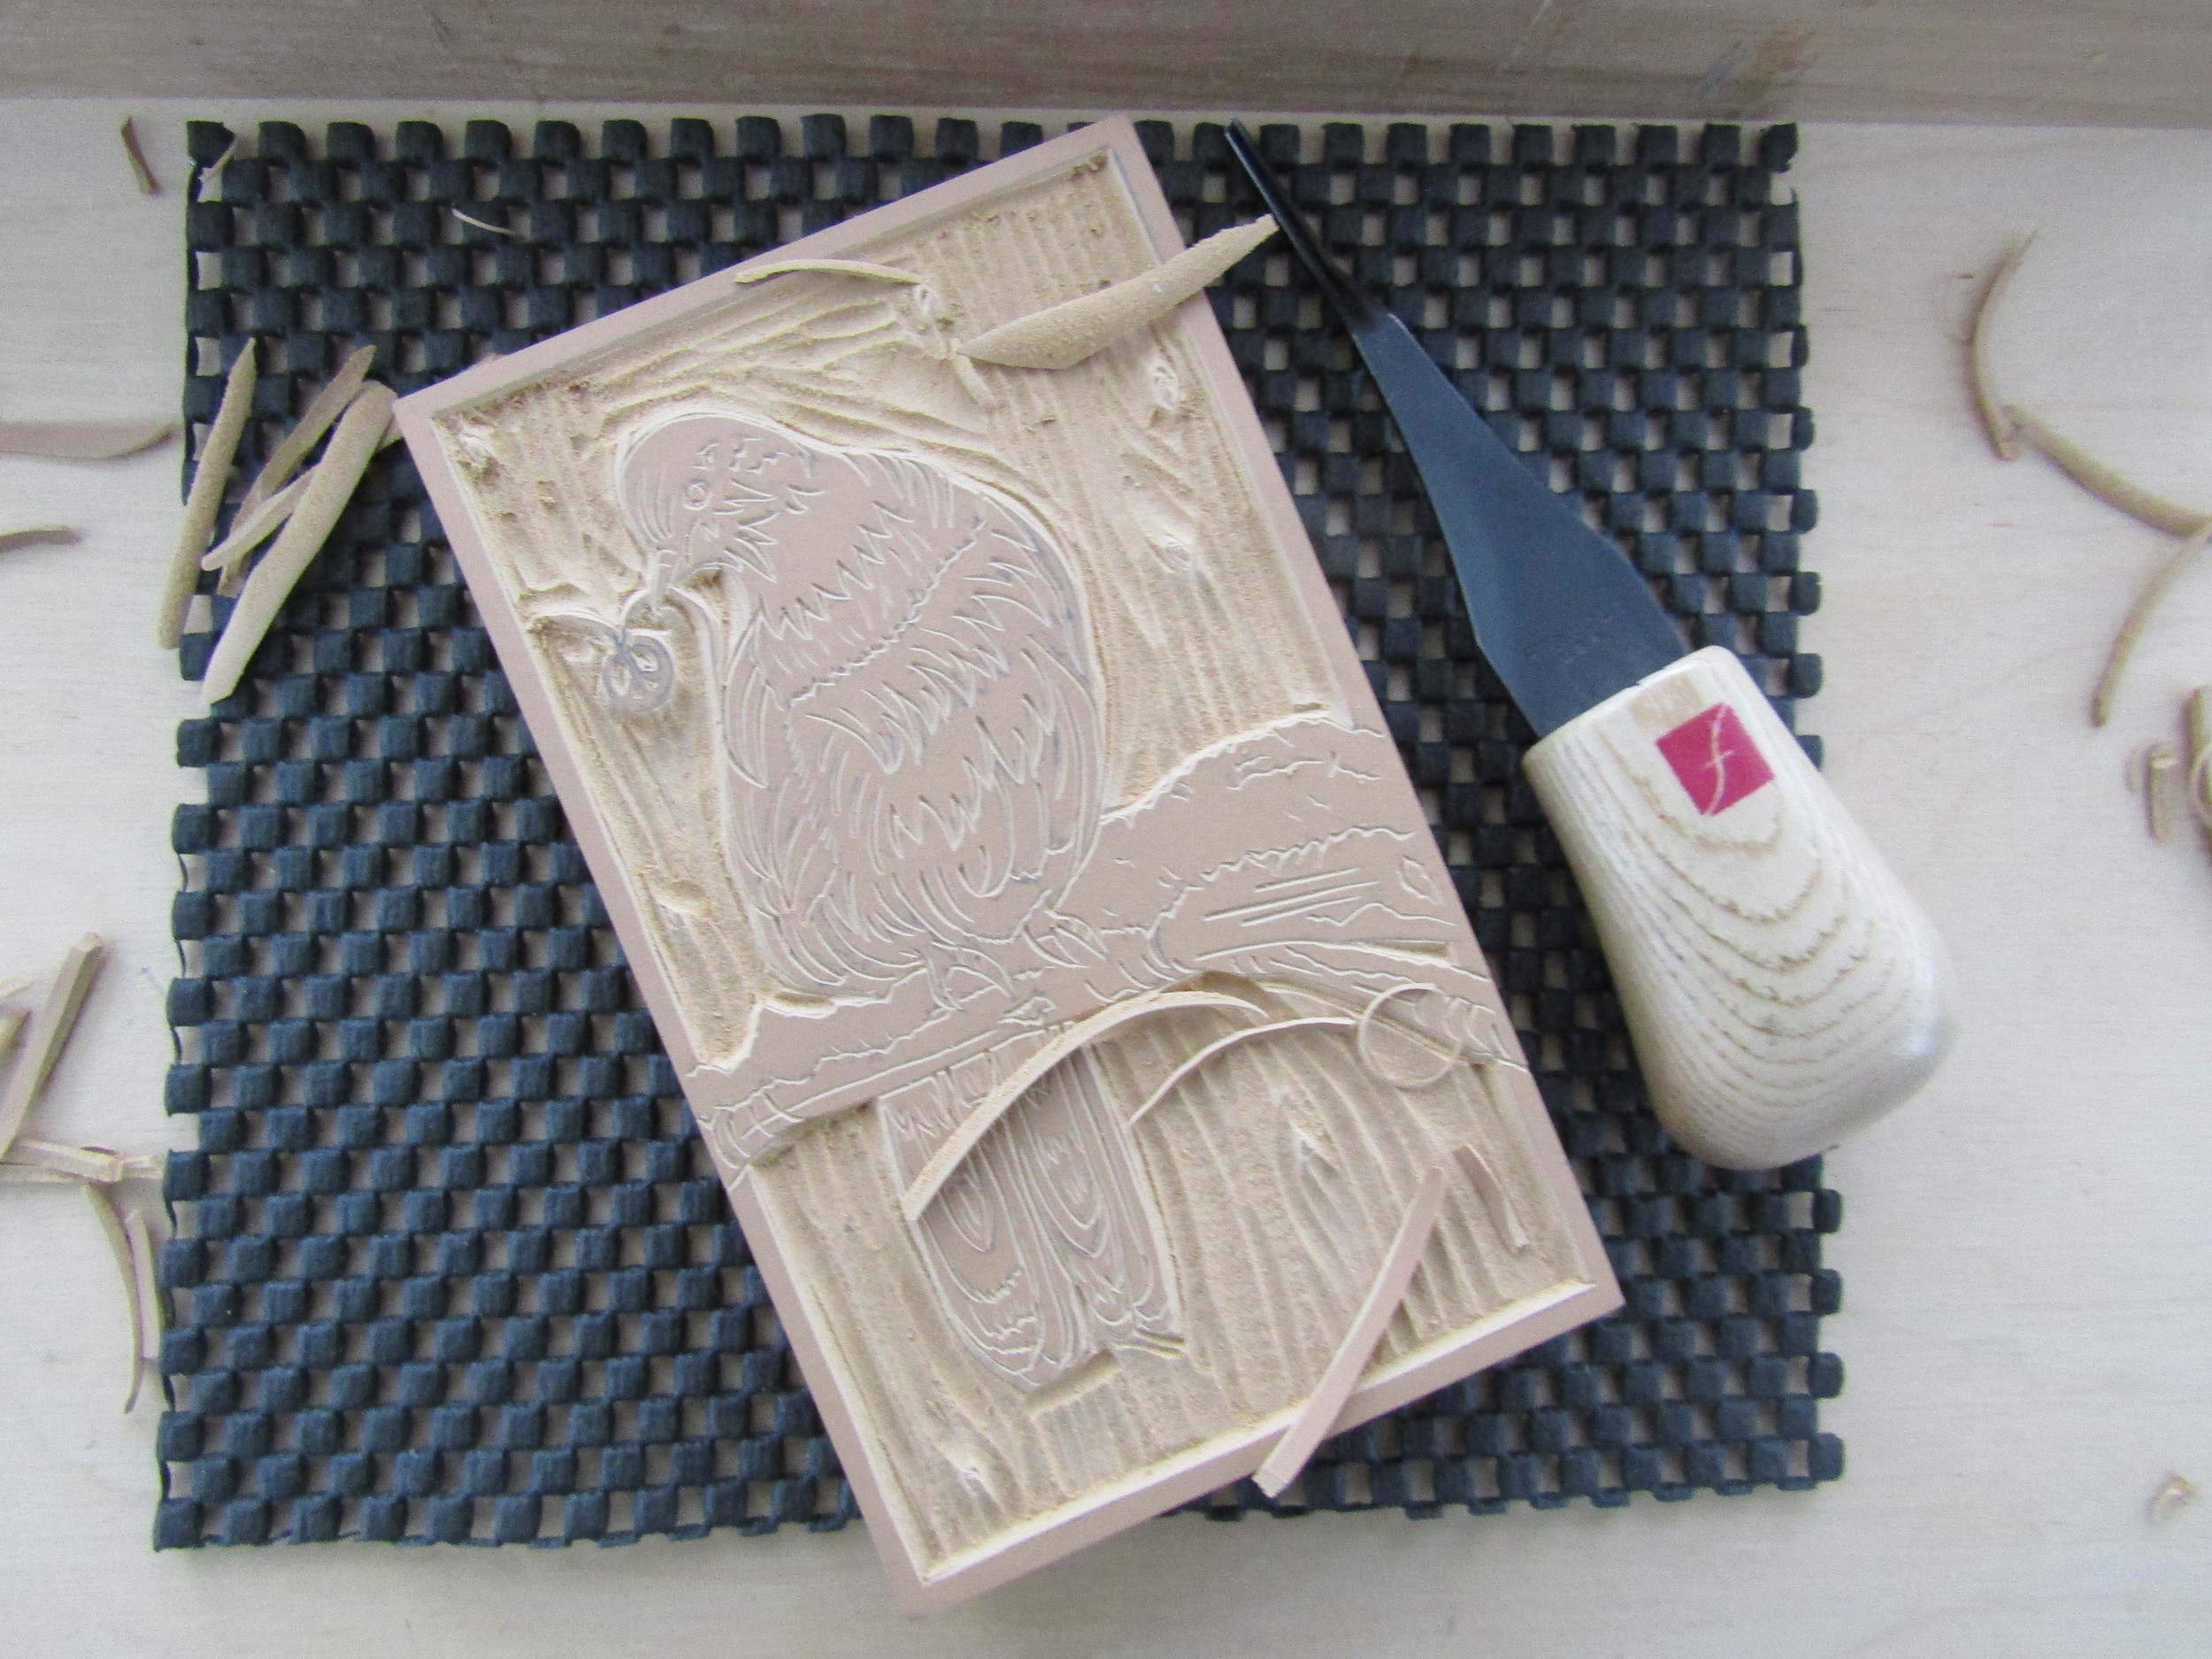
Finch in the Garden is completed. I will make a few adjustments for the books, but am excited with this result!
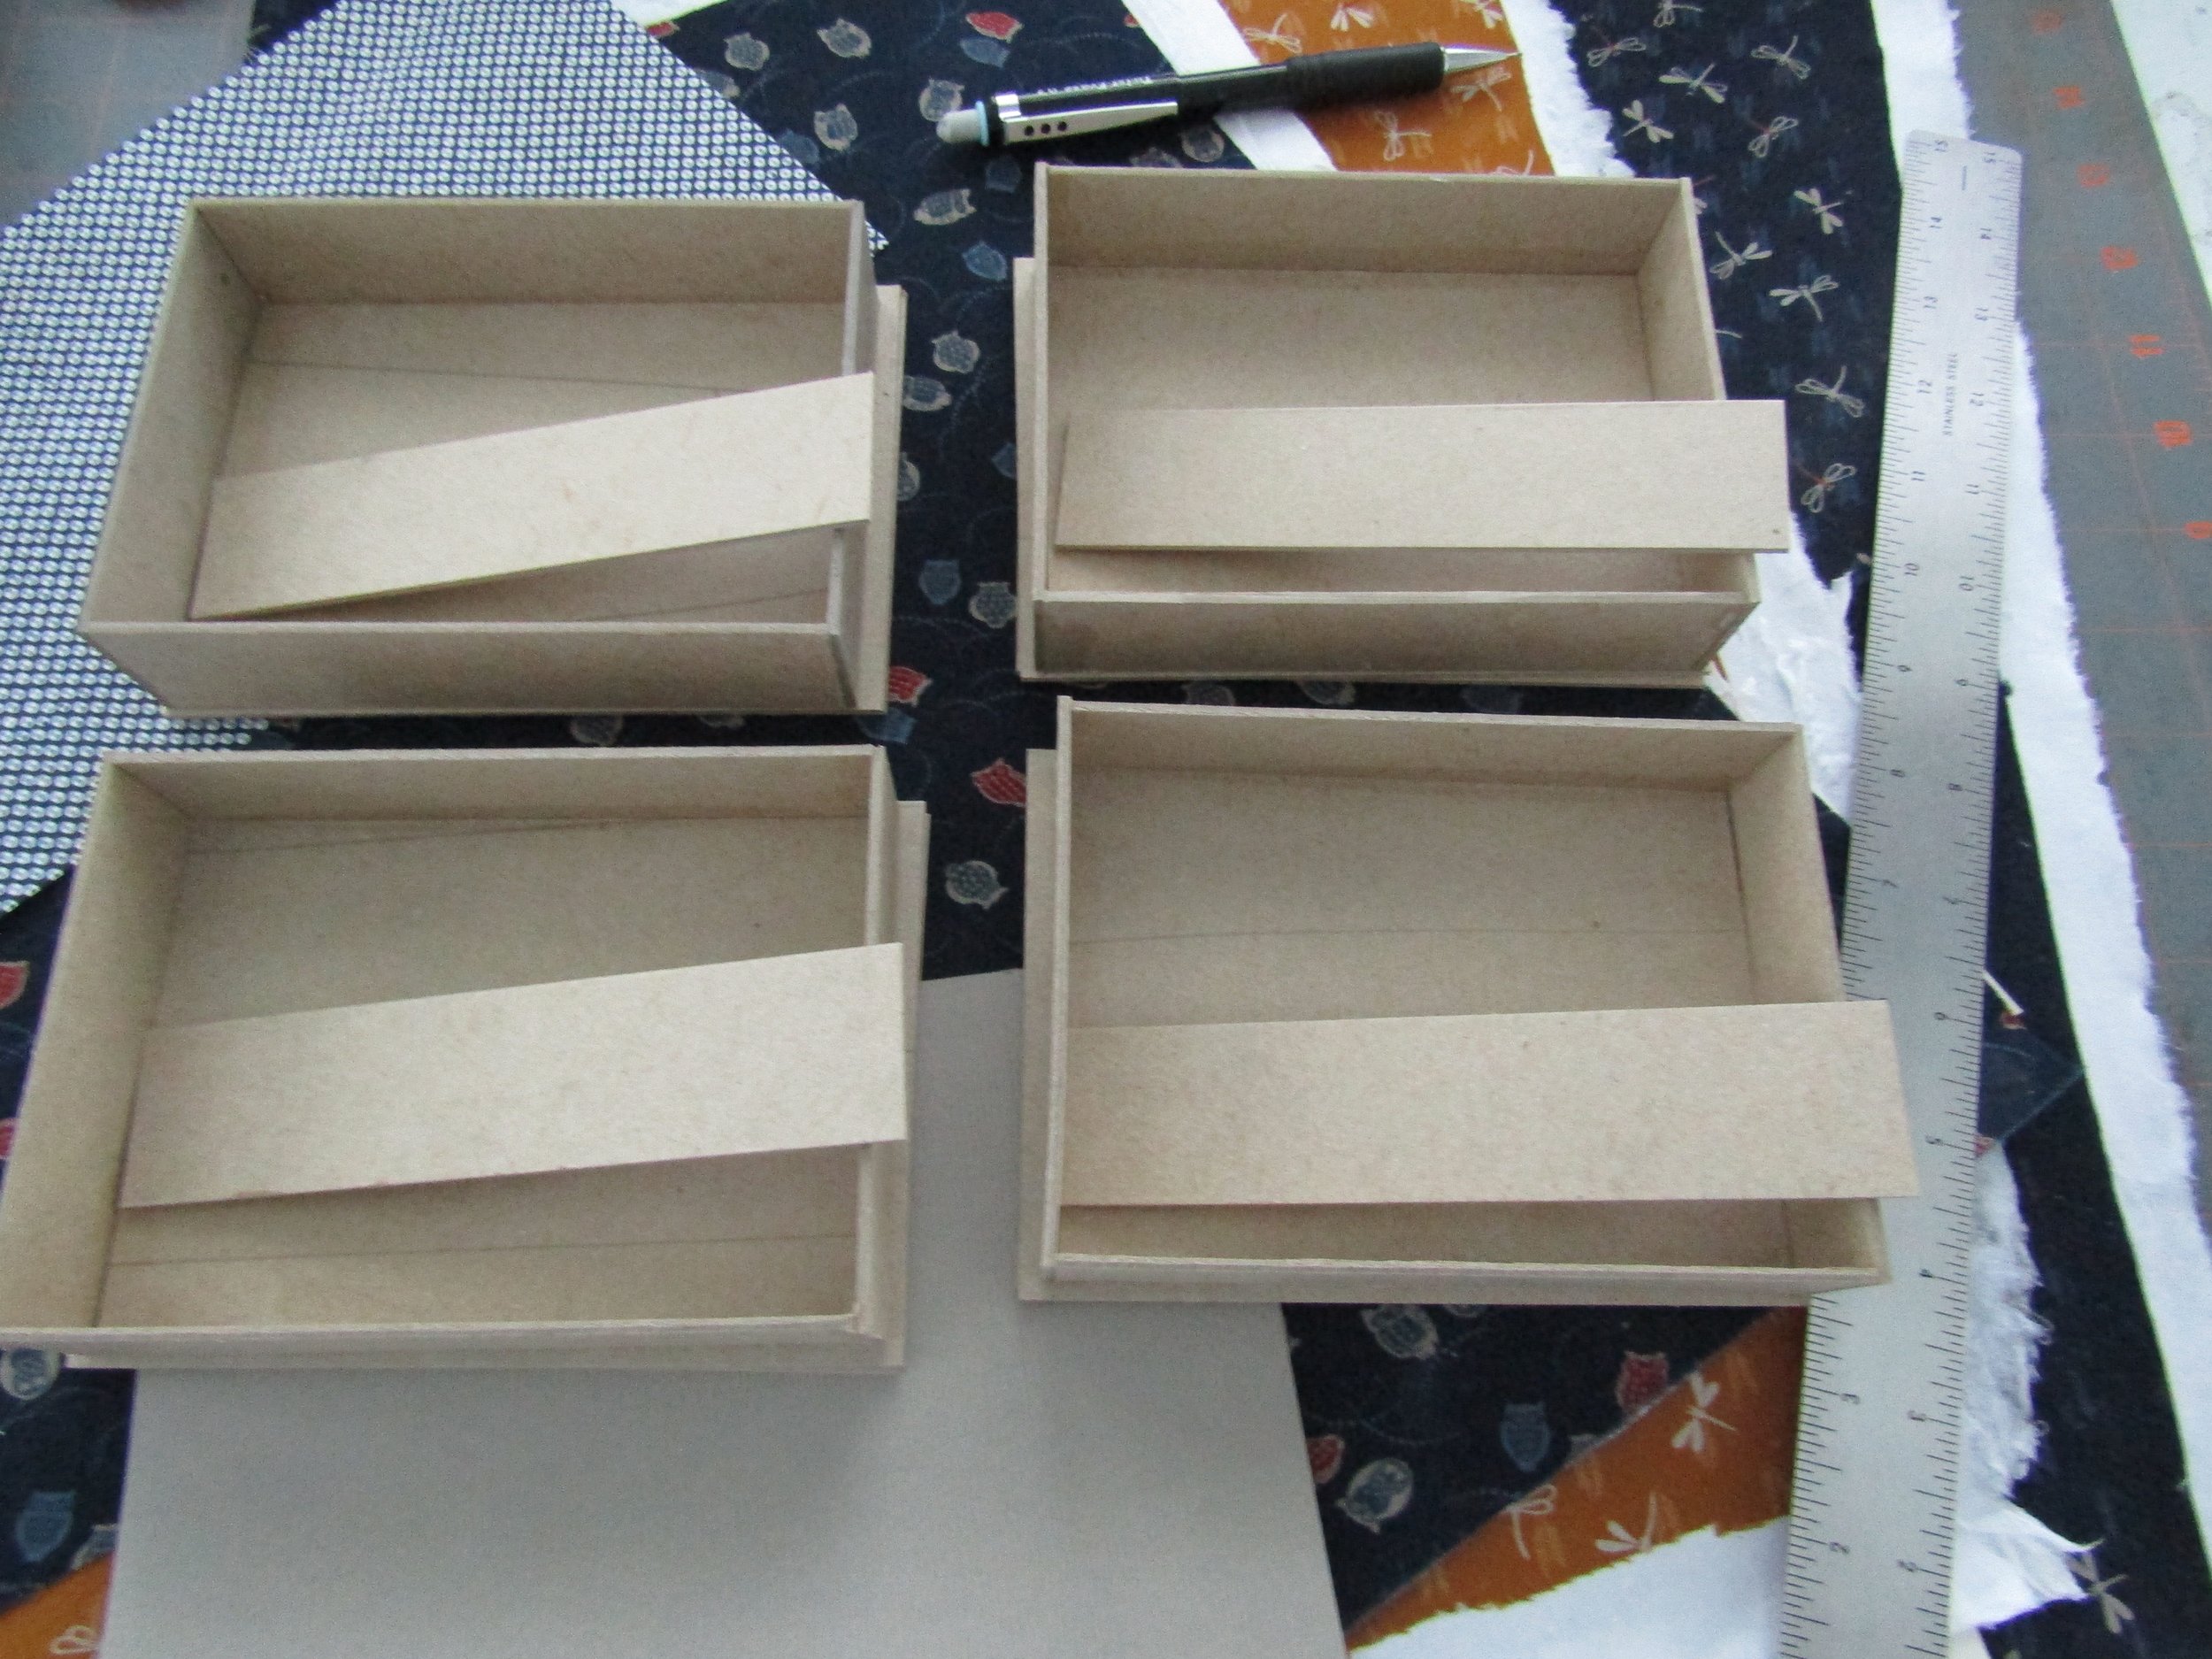
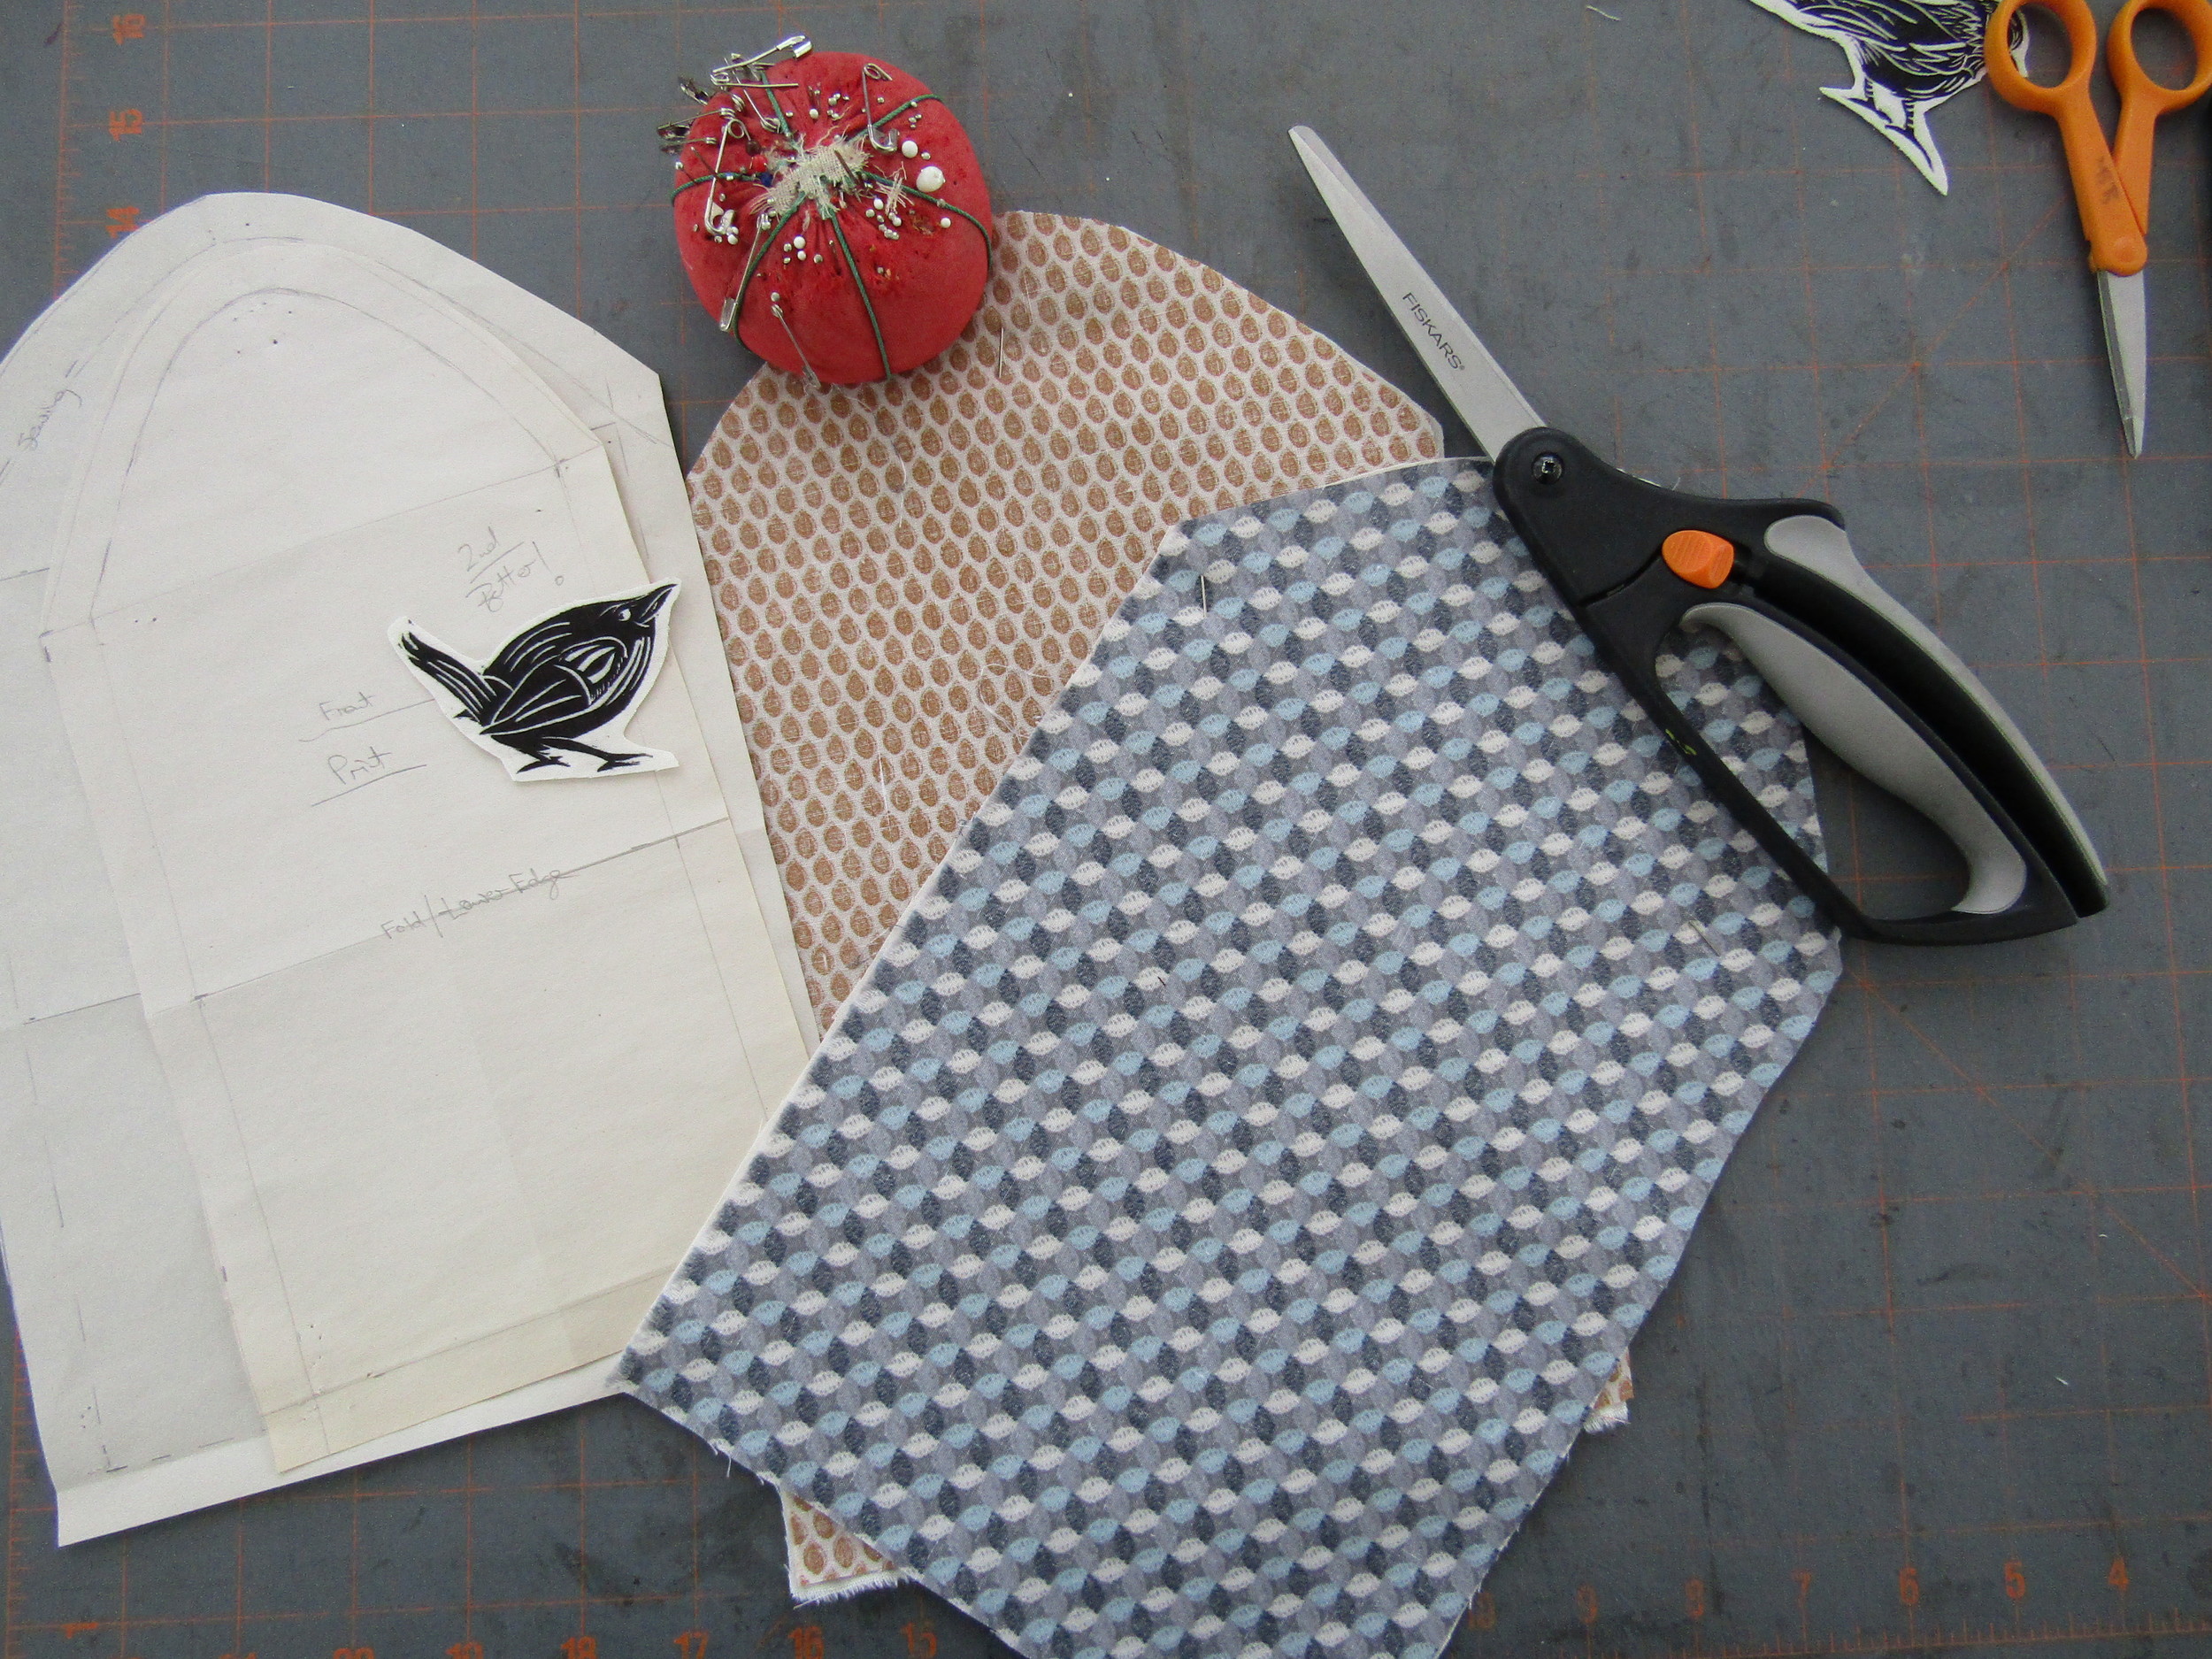
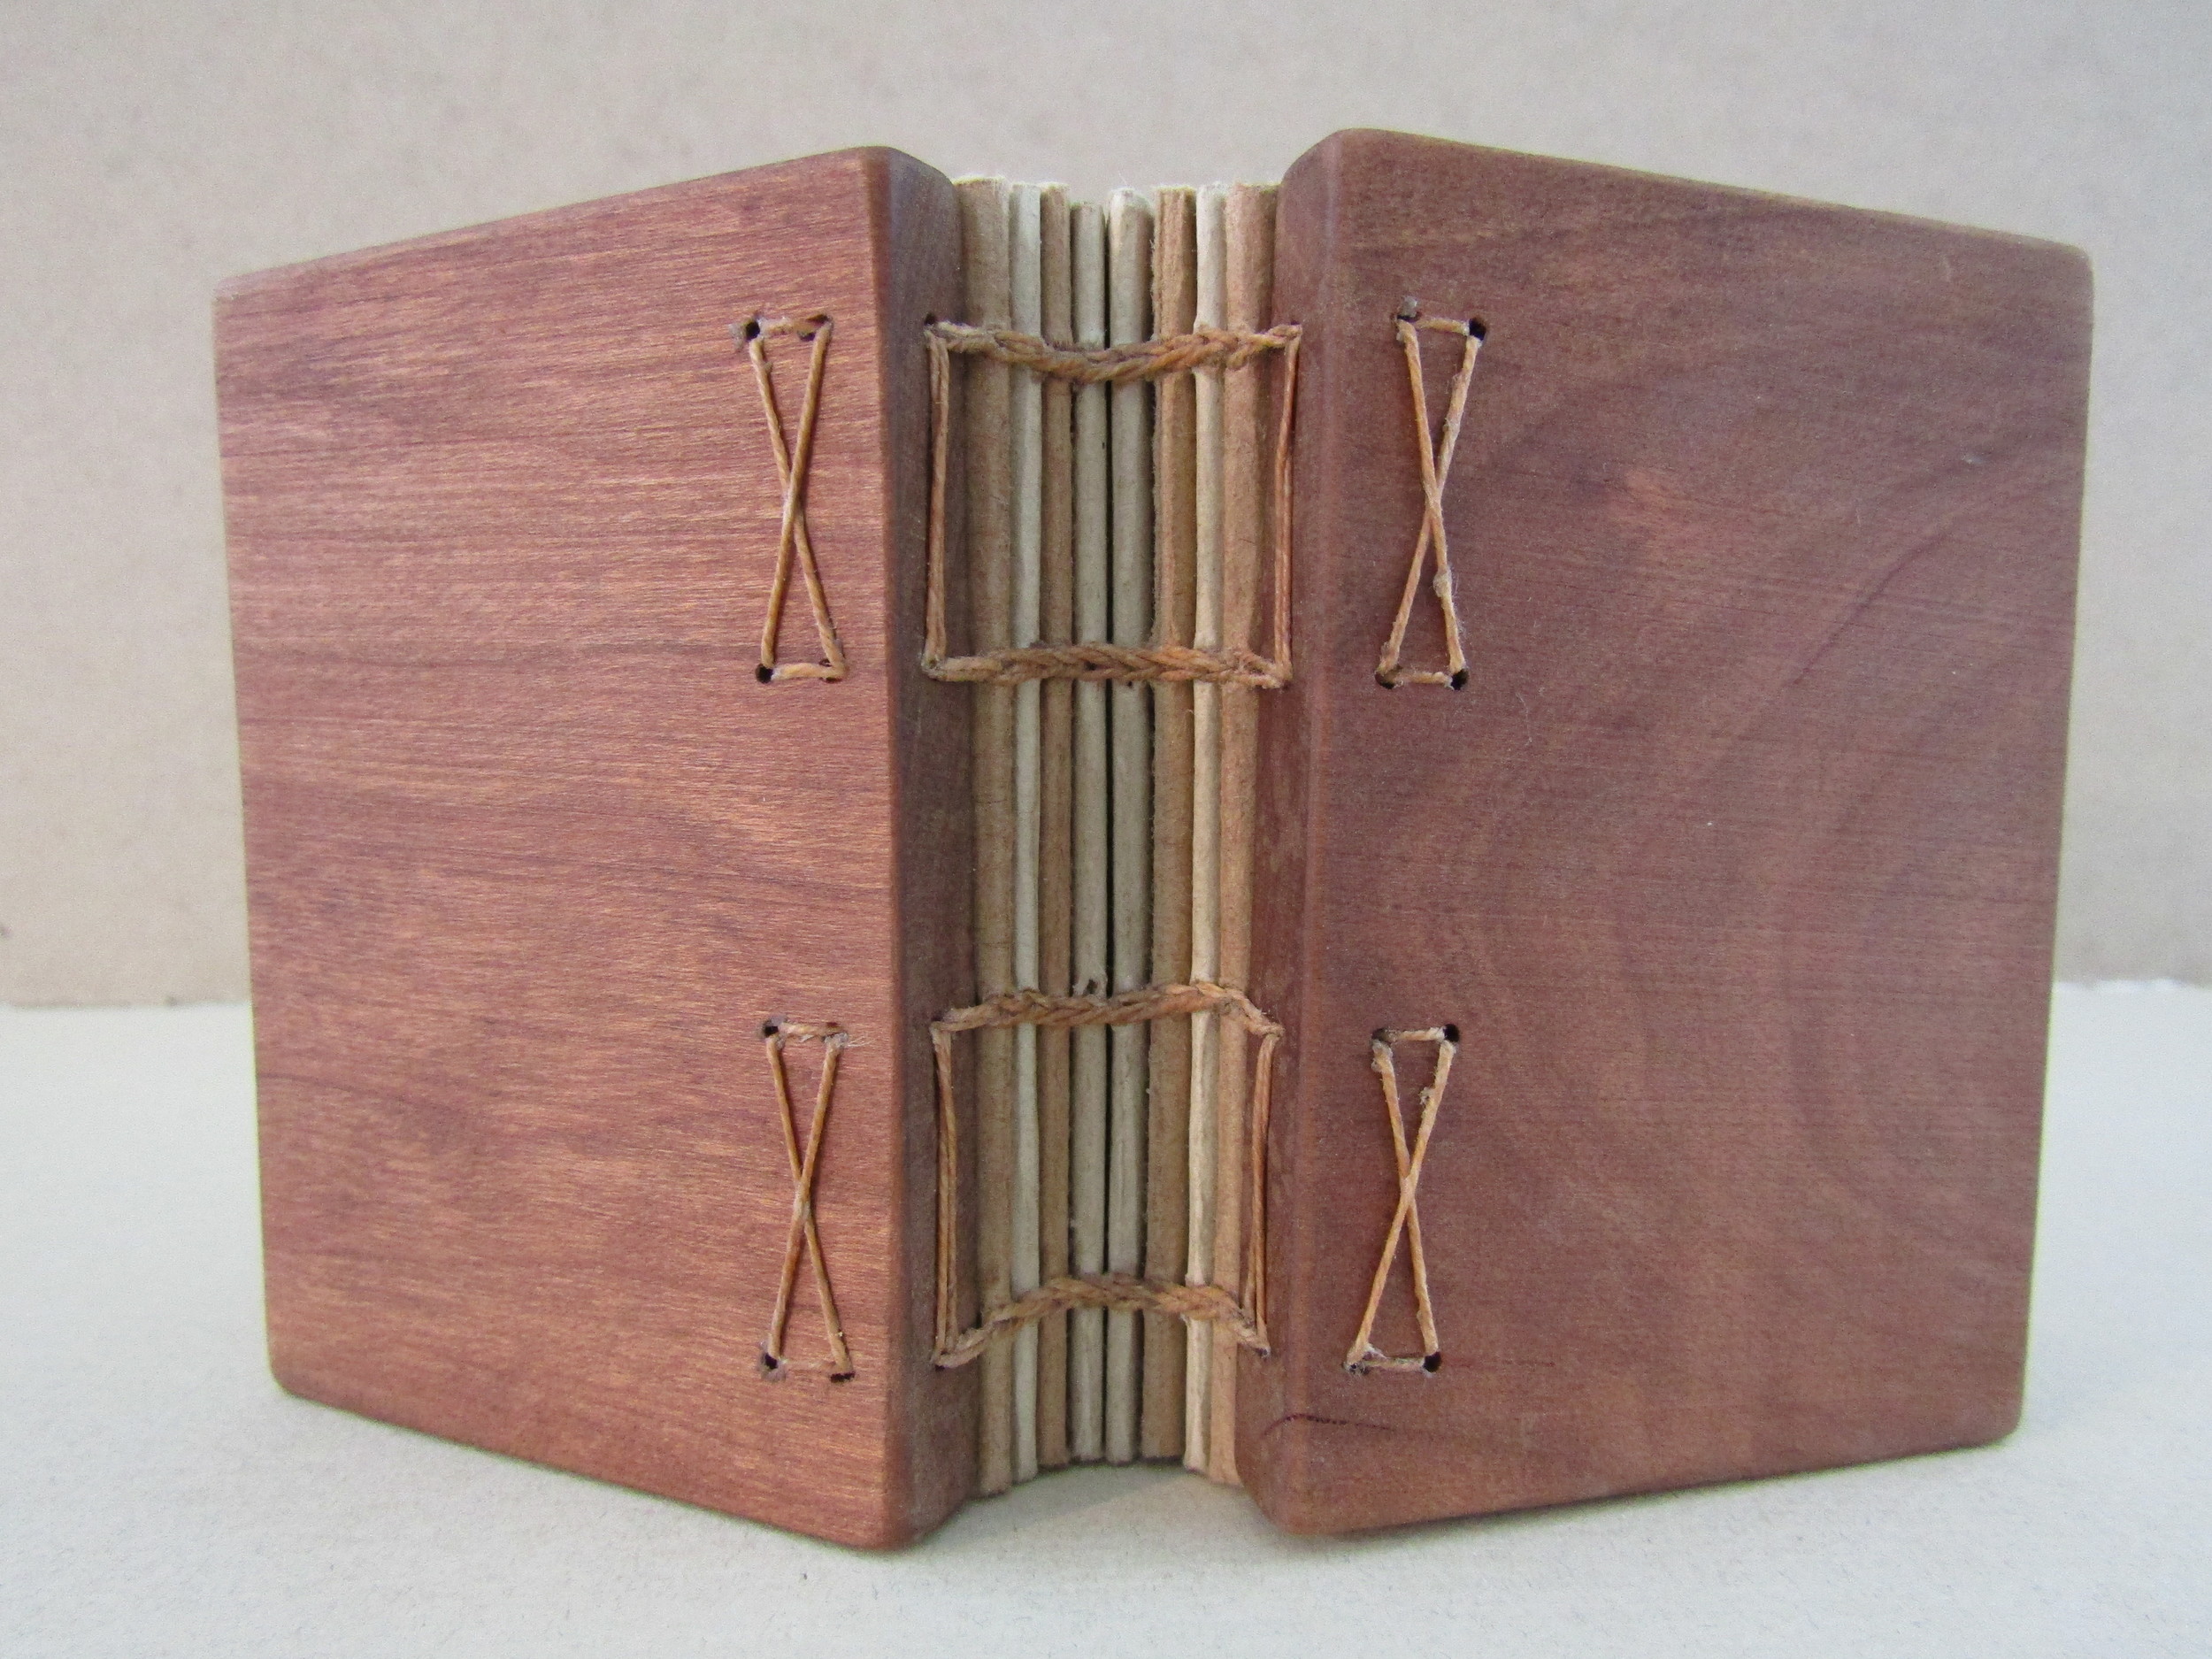
Models for the book covers. The one on the right worked the best (the spine is a bit deeper and the cover is a bit wider).

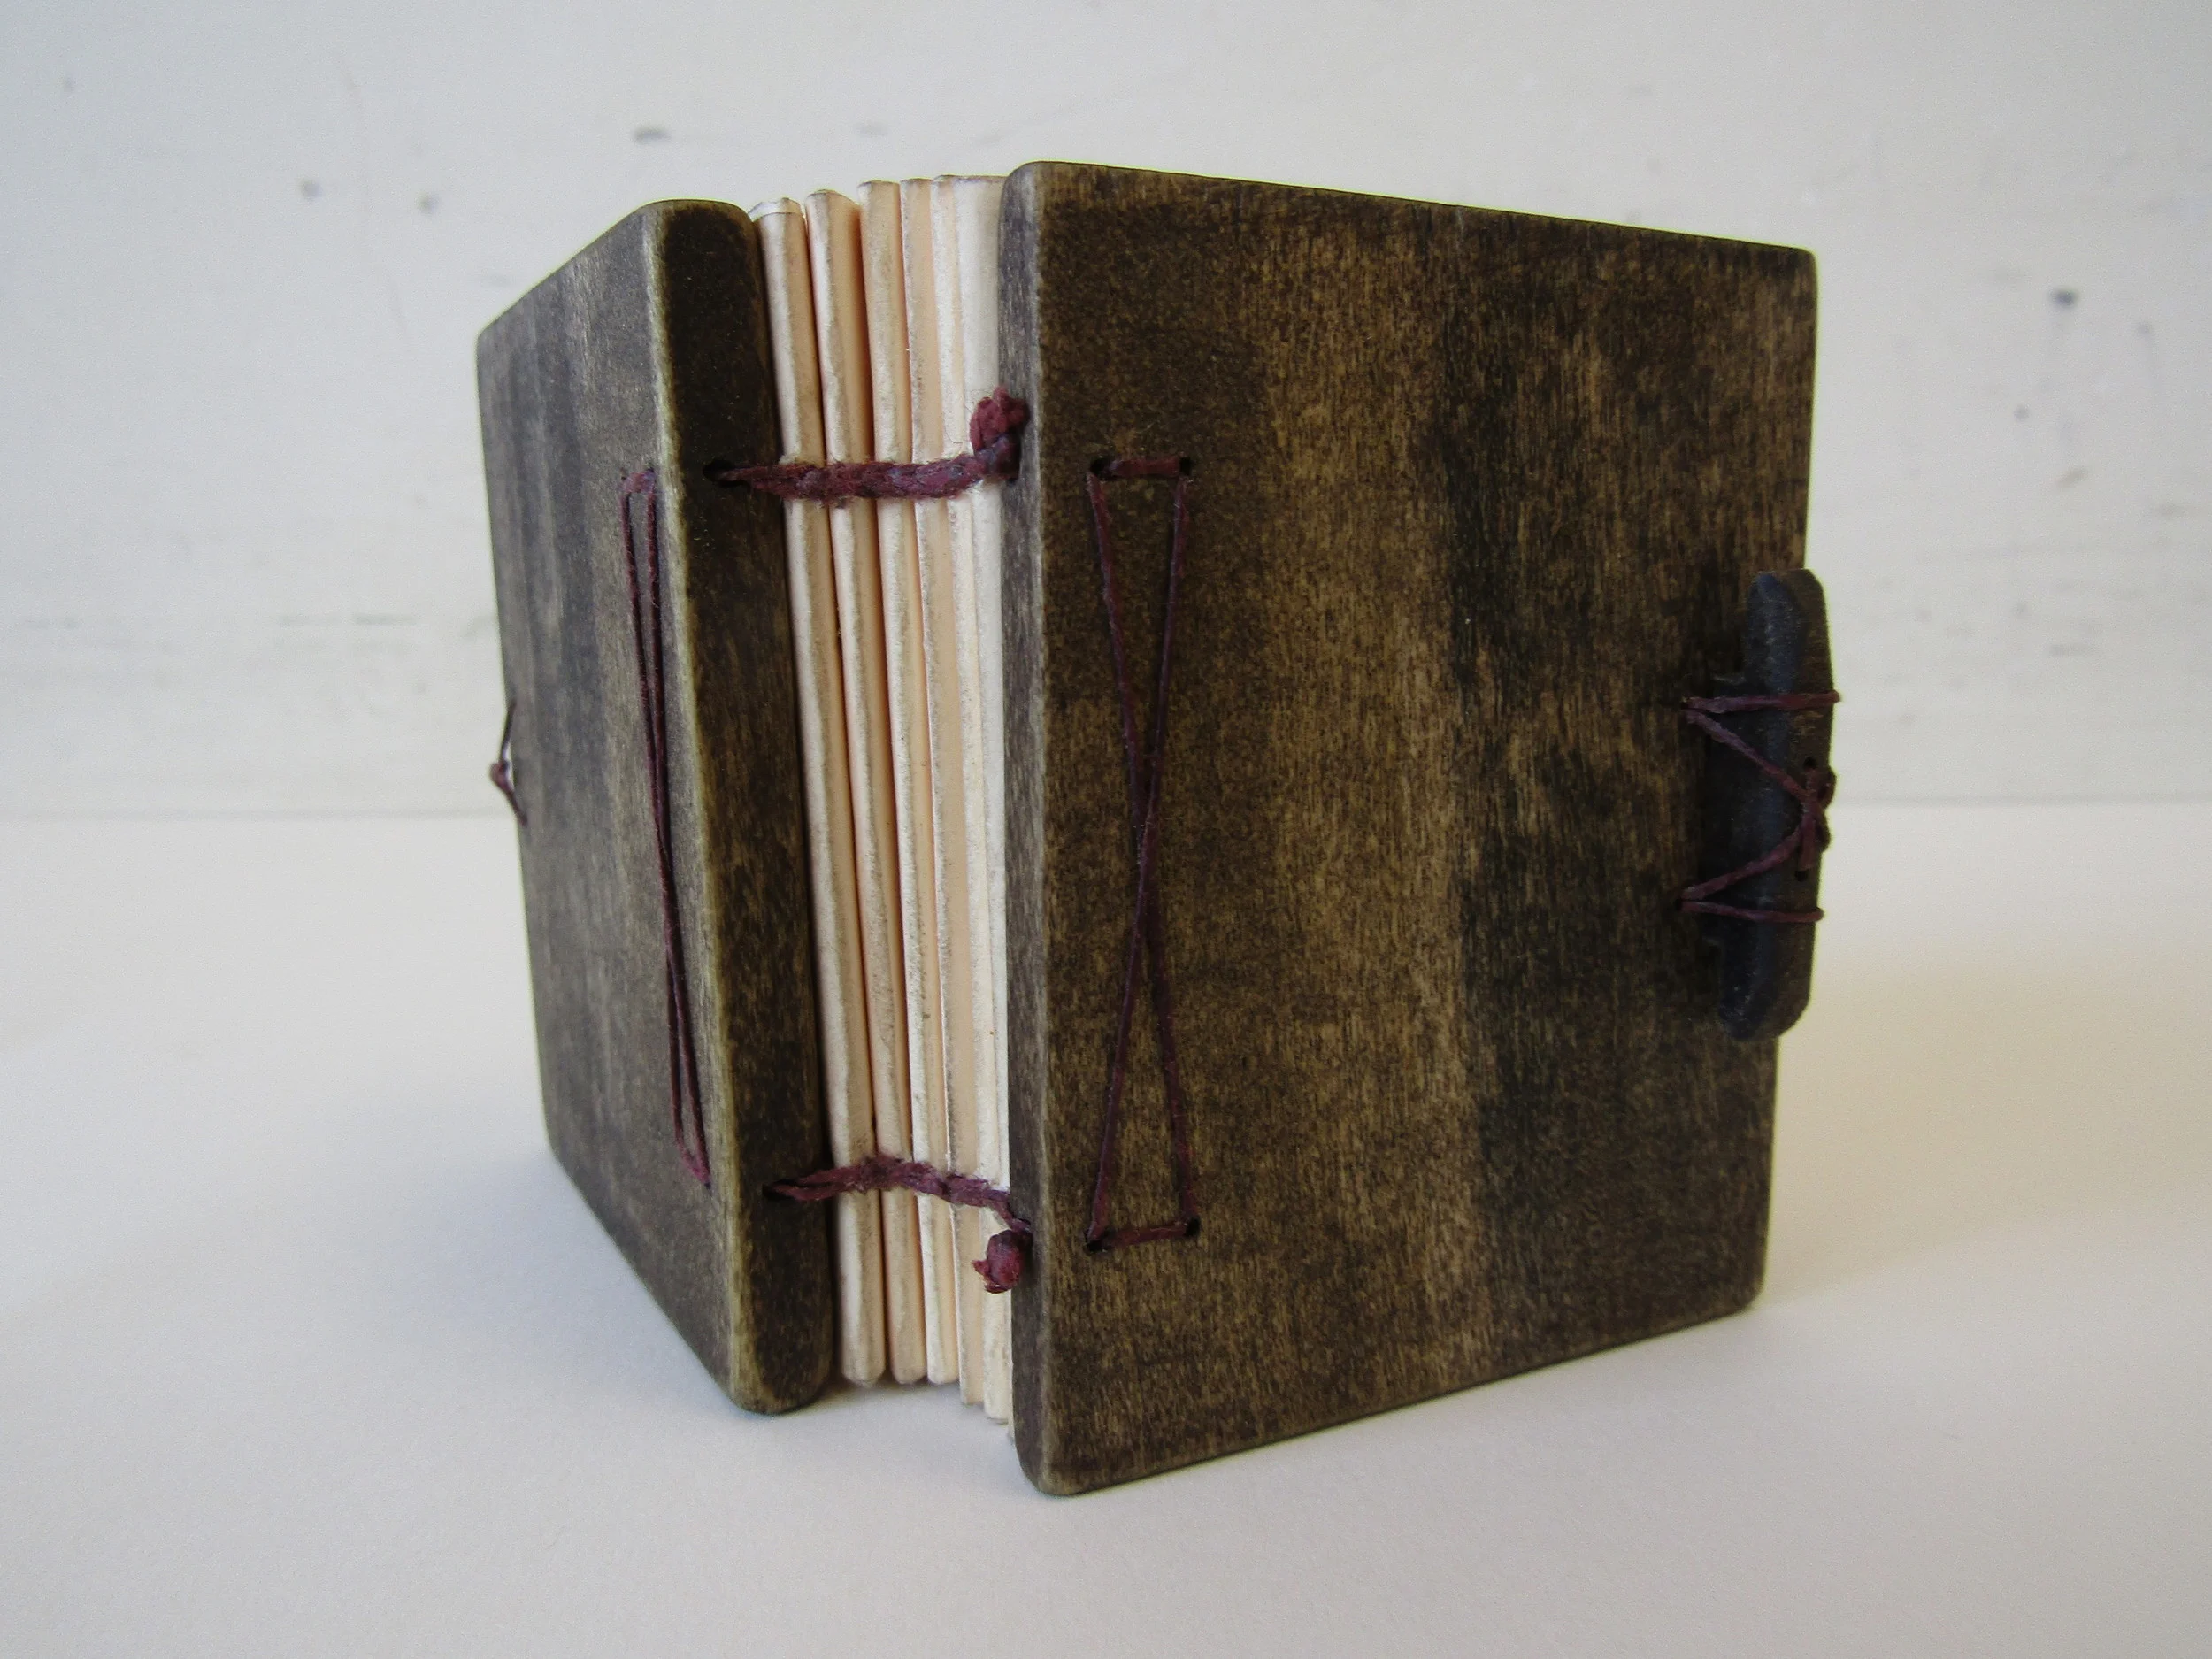
A completed closed cover.

Colophon and a bit of collaged embellishment have been added to Finch in the Garden; now to assemble and add the wrap.
I completed a group of small relief prints based on 'happenings' in my gardens. I then used them in a group of small tunnel books with case bindings. It proved to be a beneficial way to bring image and book form together.

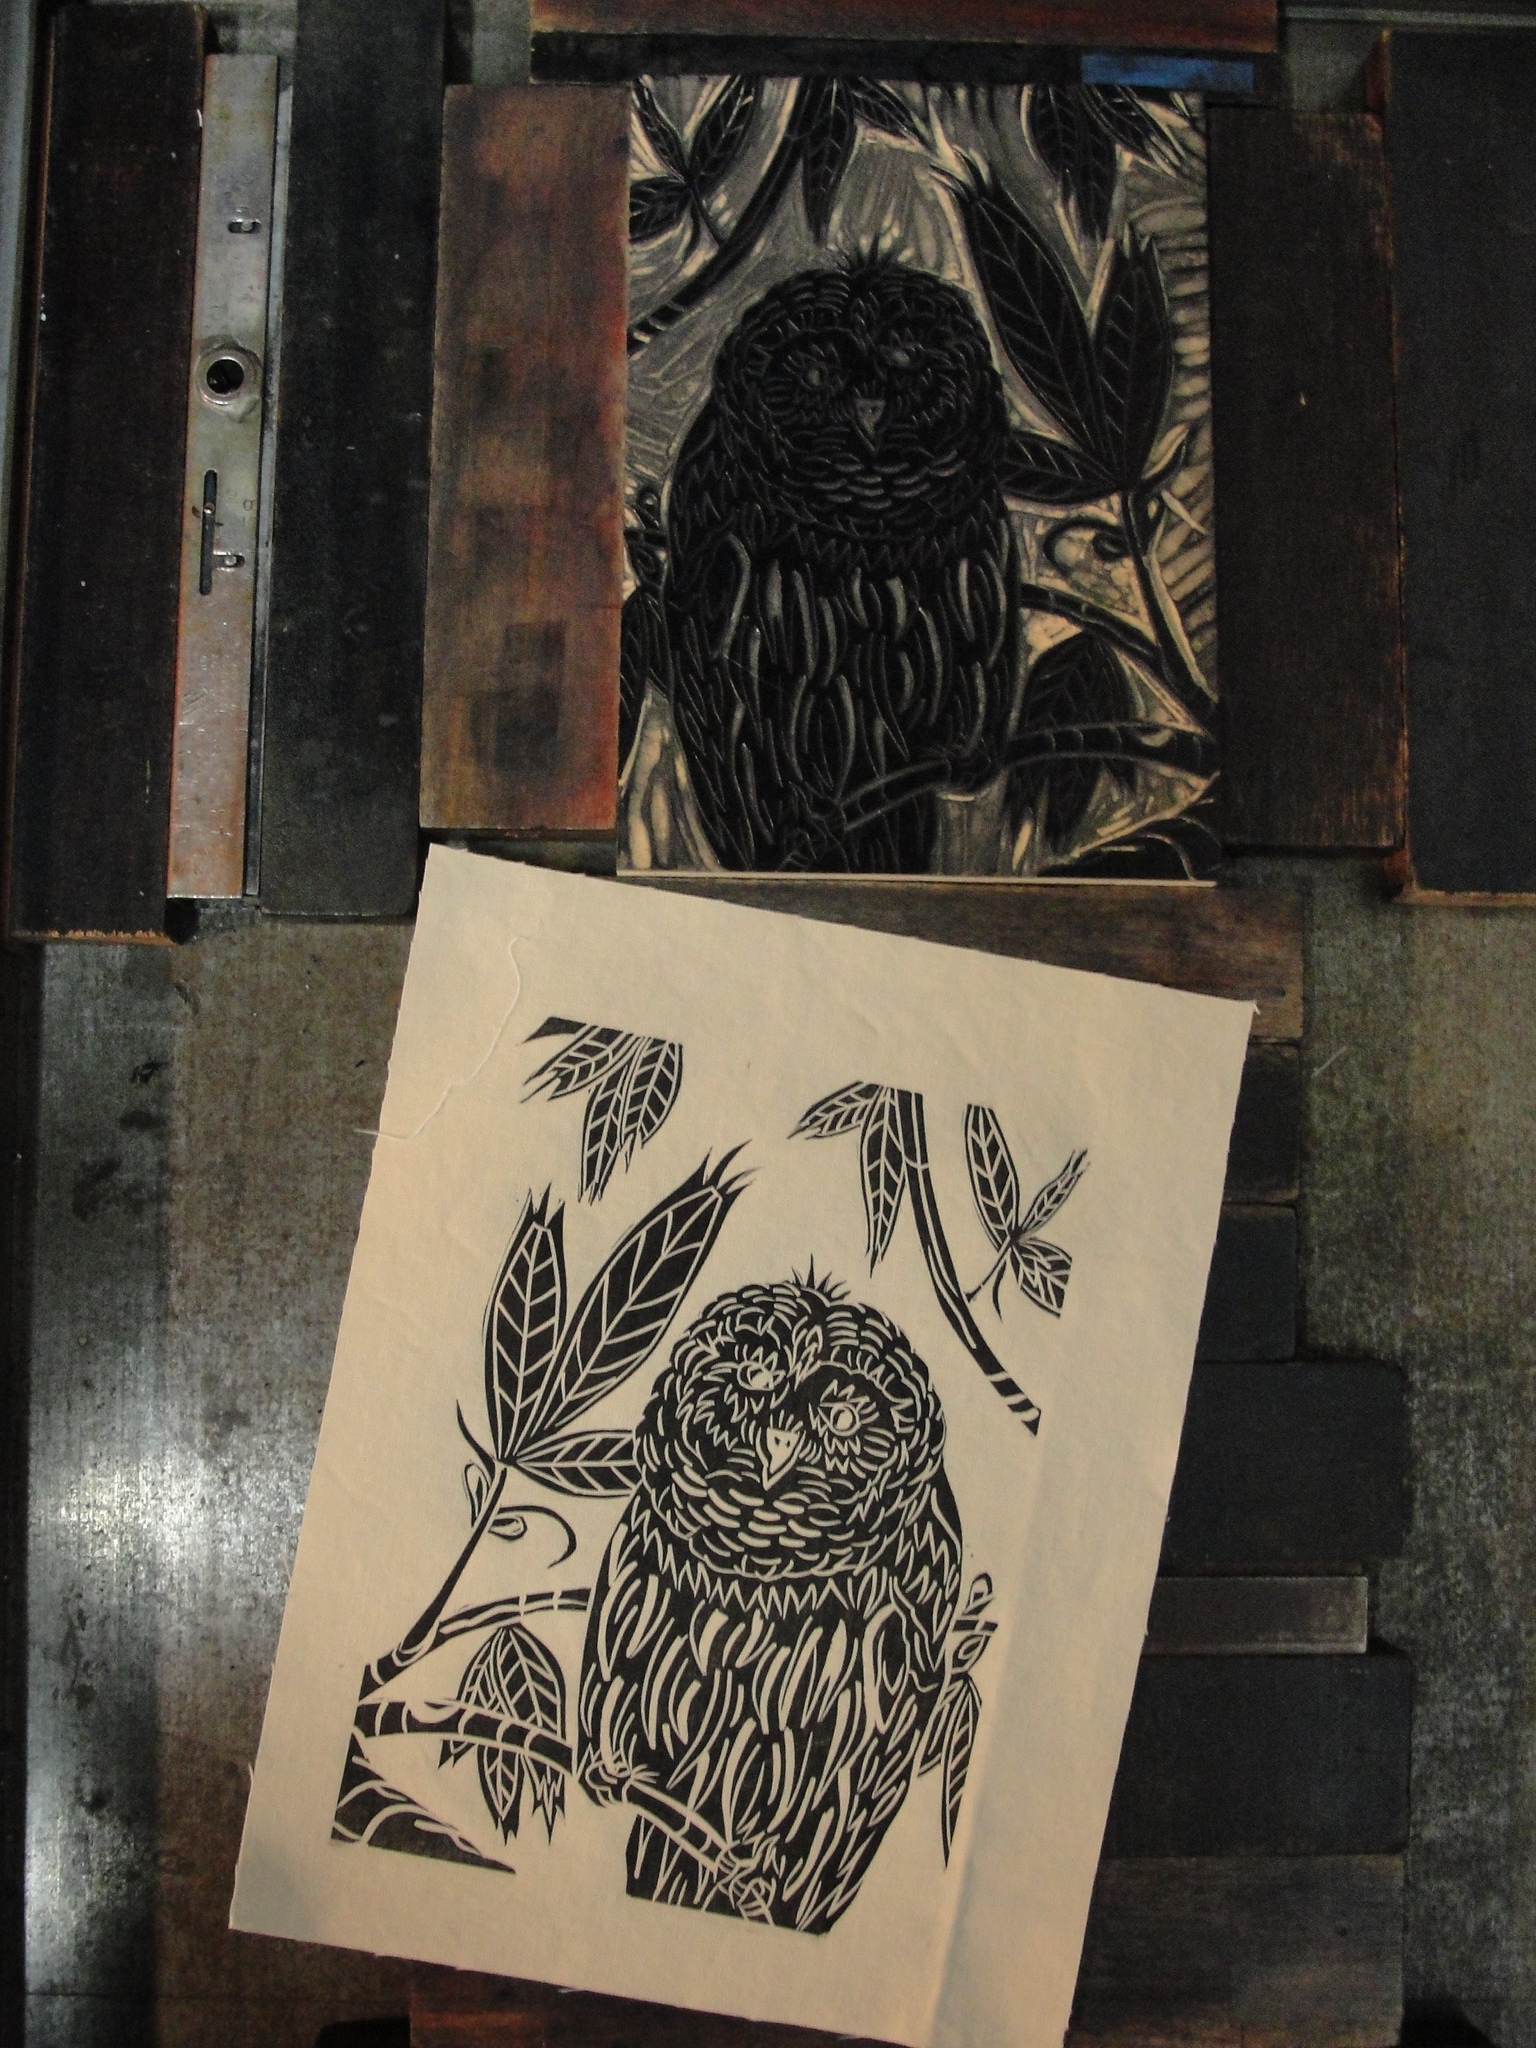
I printed numerous prints, since I would need at least five prints of each image for each tunnel book.
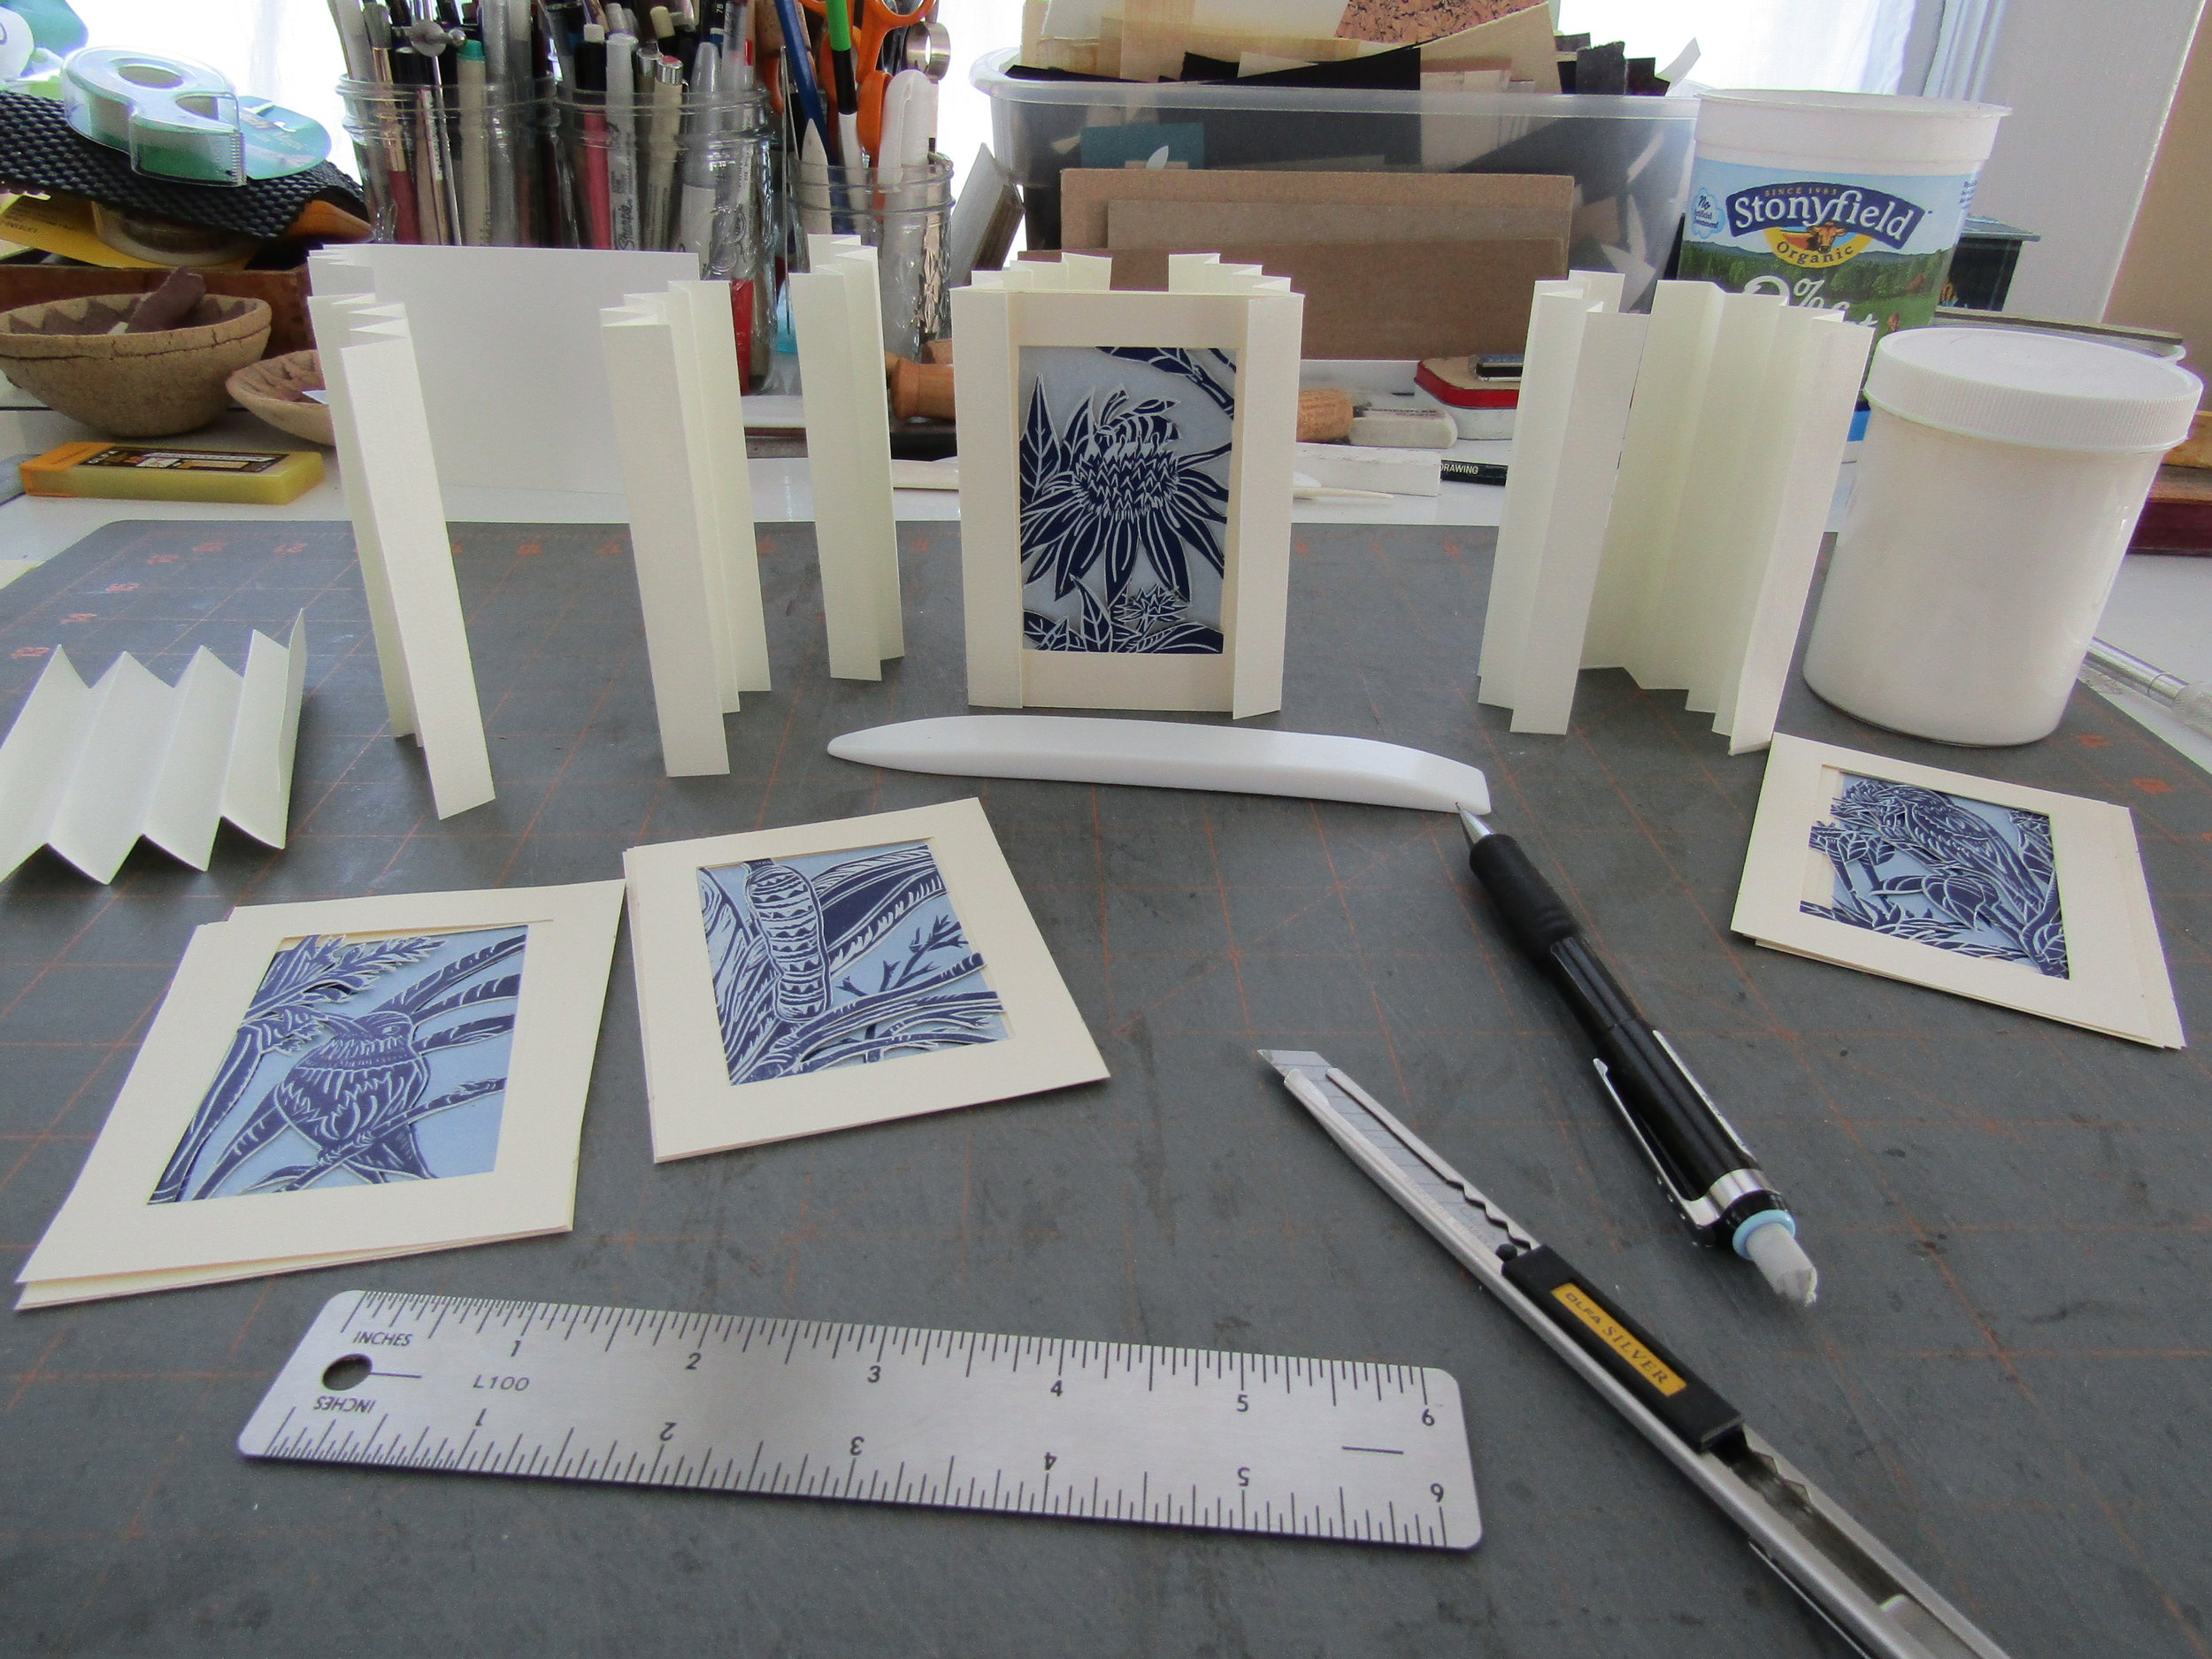
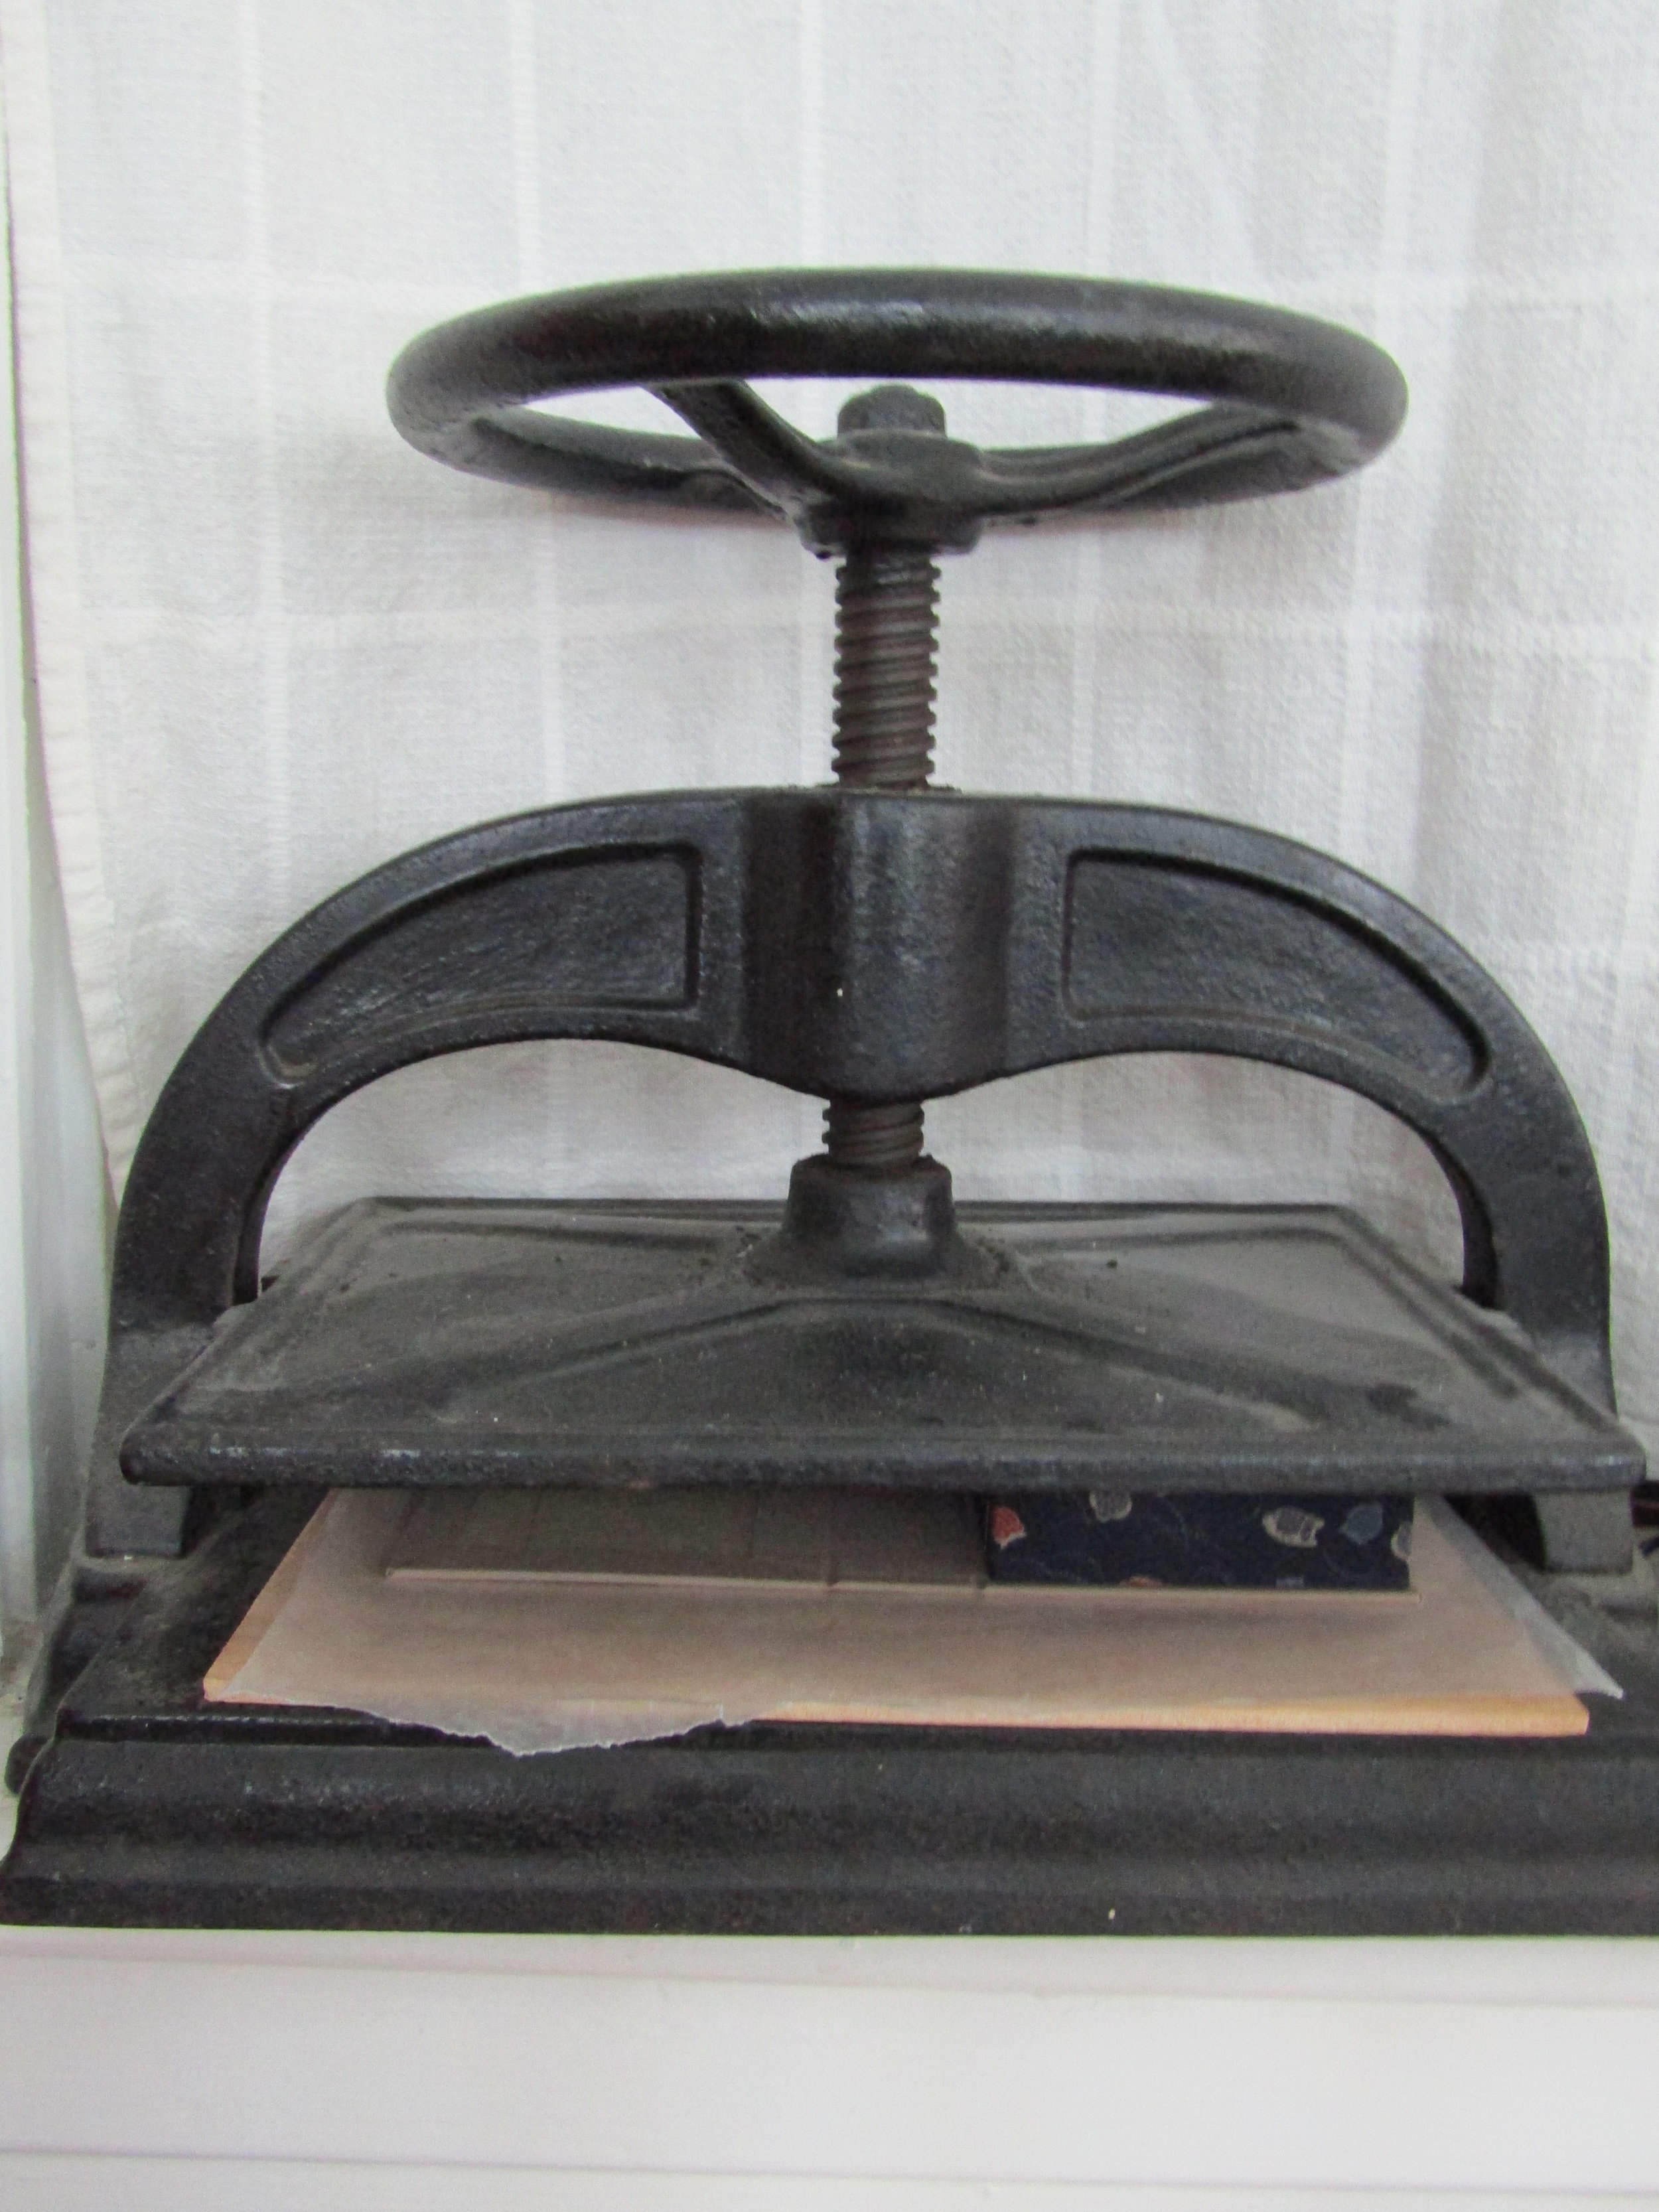
After cutting separate pages for each book I experimented with various papers for the sides of the books. Accordion folded pages are used for this. Bugra paper worked the best so I used it. I was then ready to glue and assemble the first book; which served as a model.

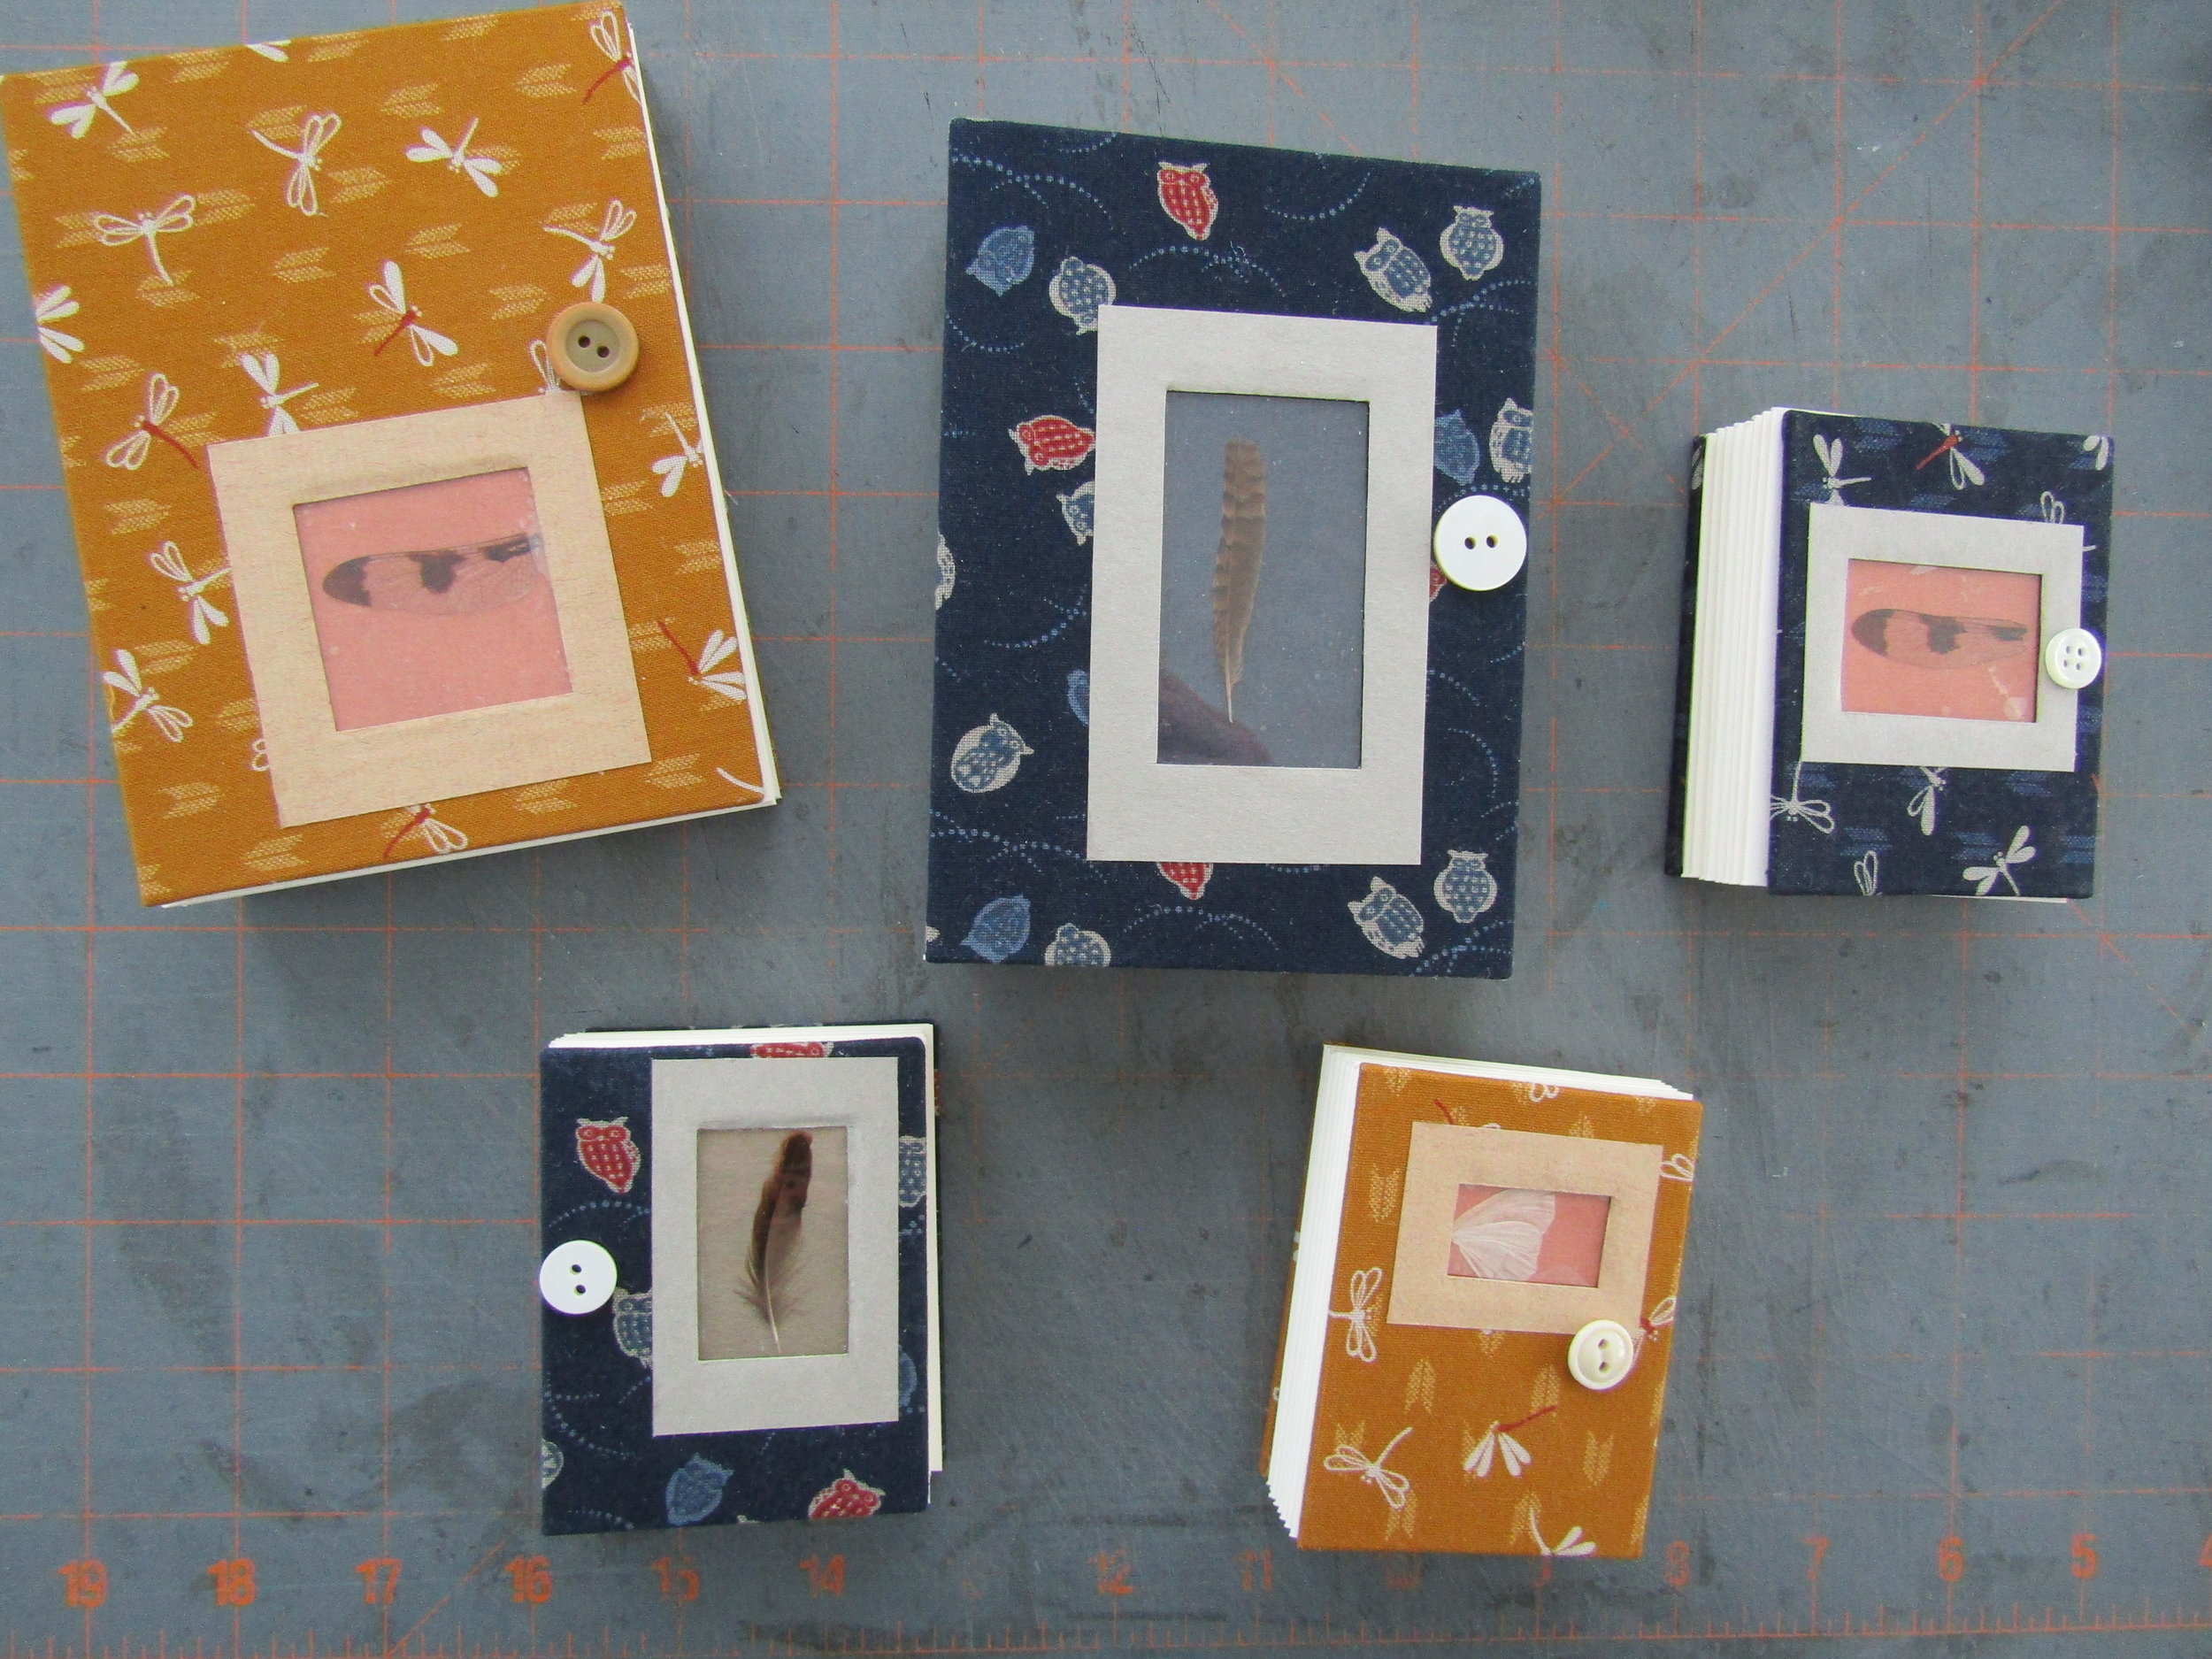
Four are assembled - so pleased! I must now design a cover for the books. I plan on using a case binding. I will explore sizes and materials through building a model (or two).
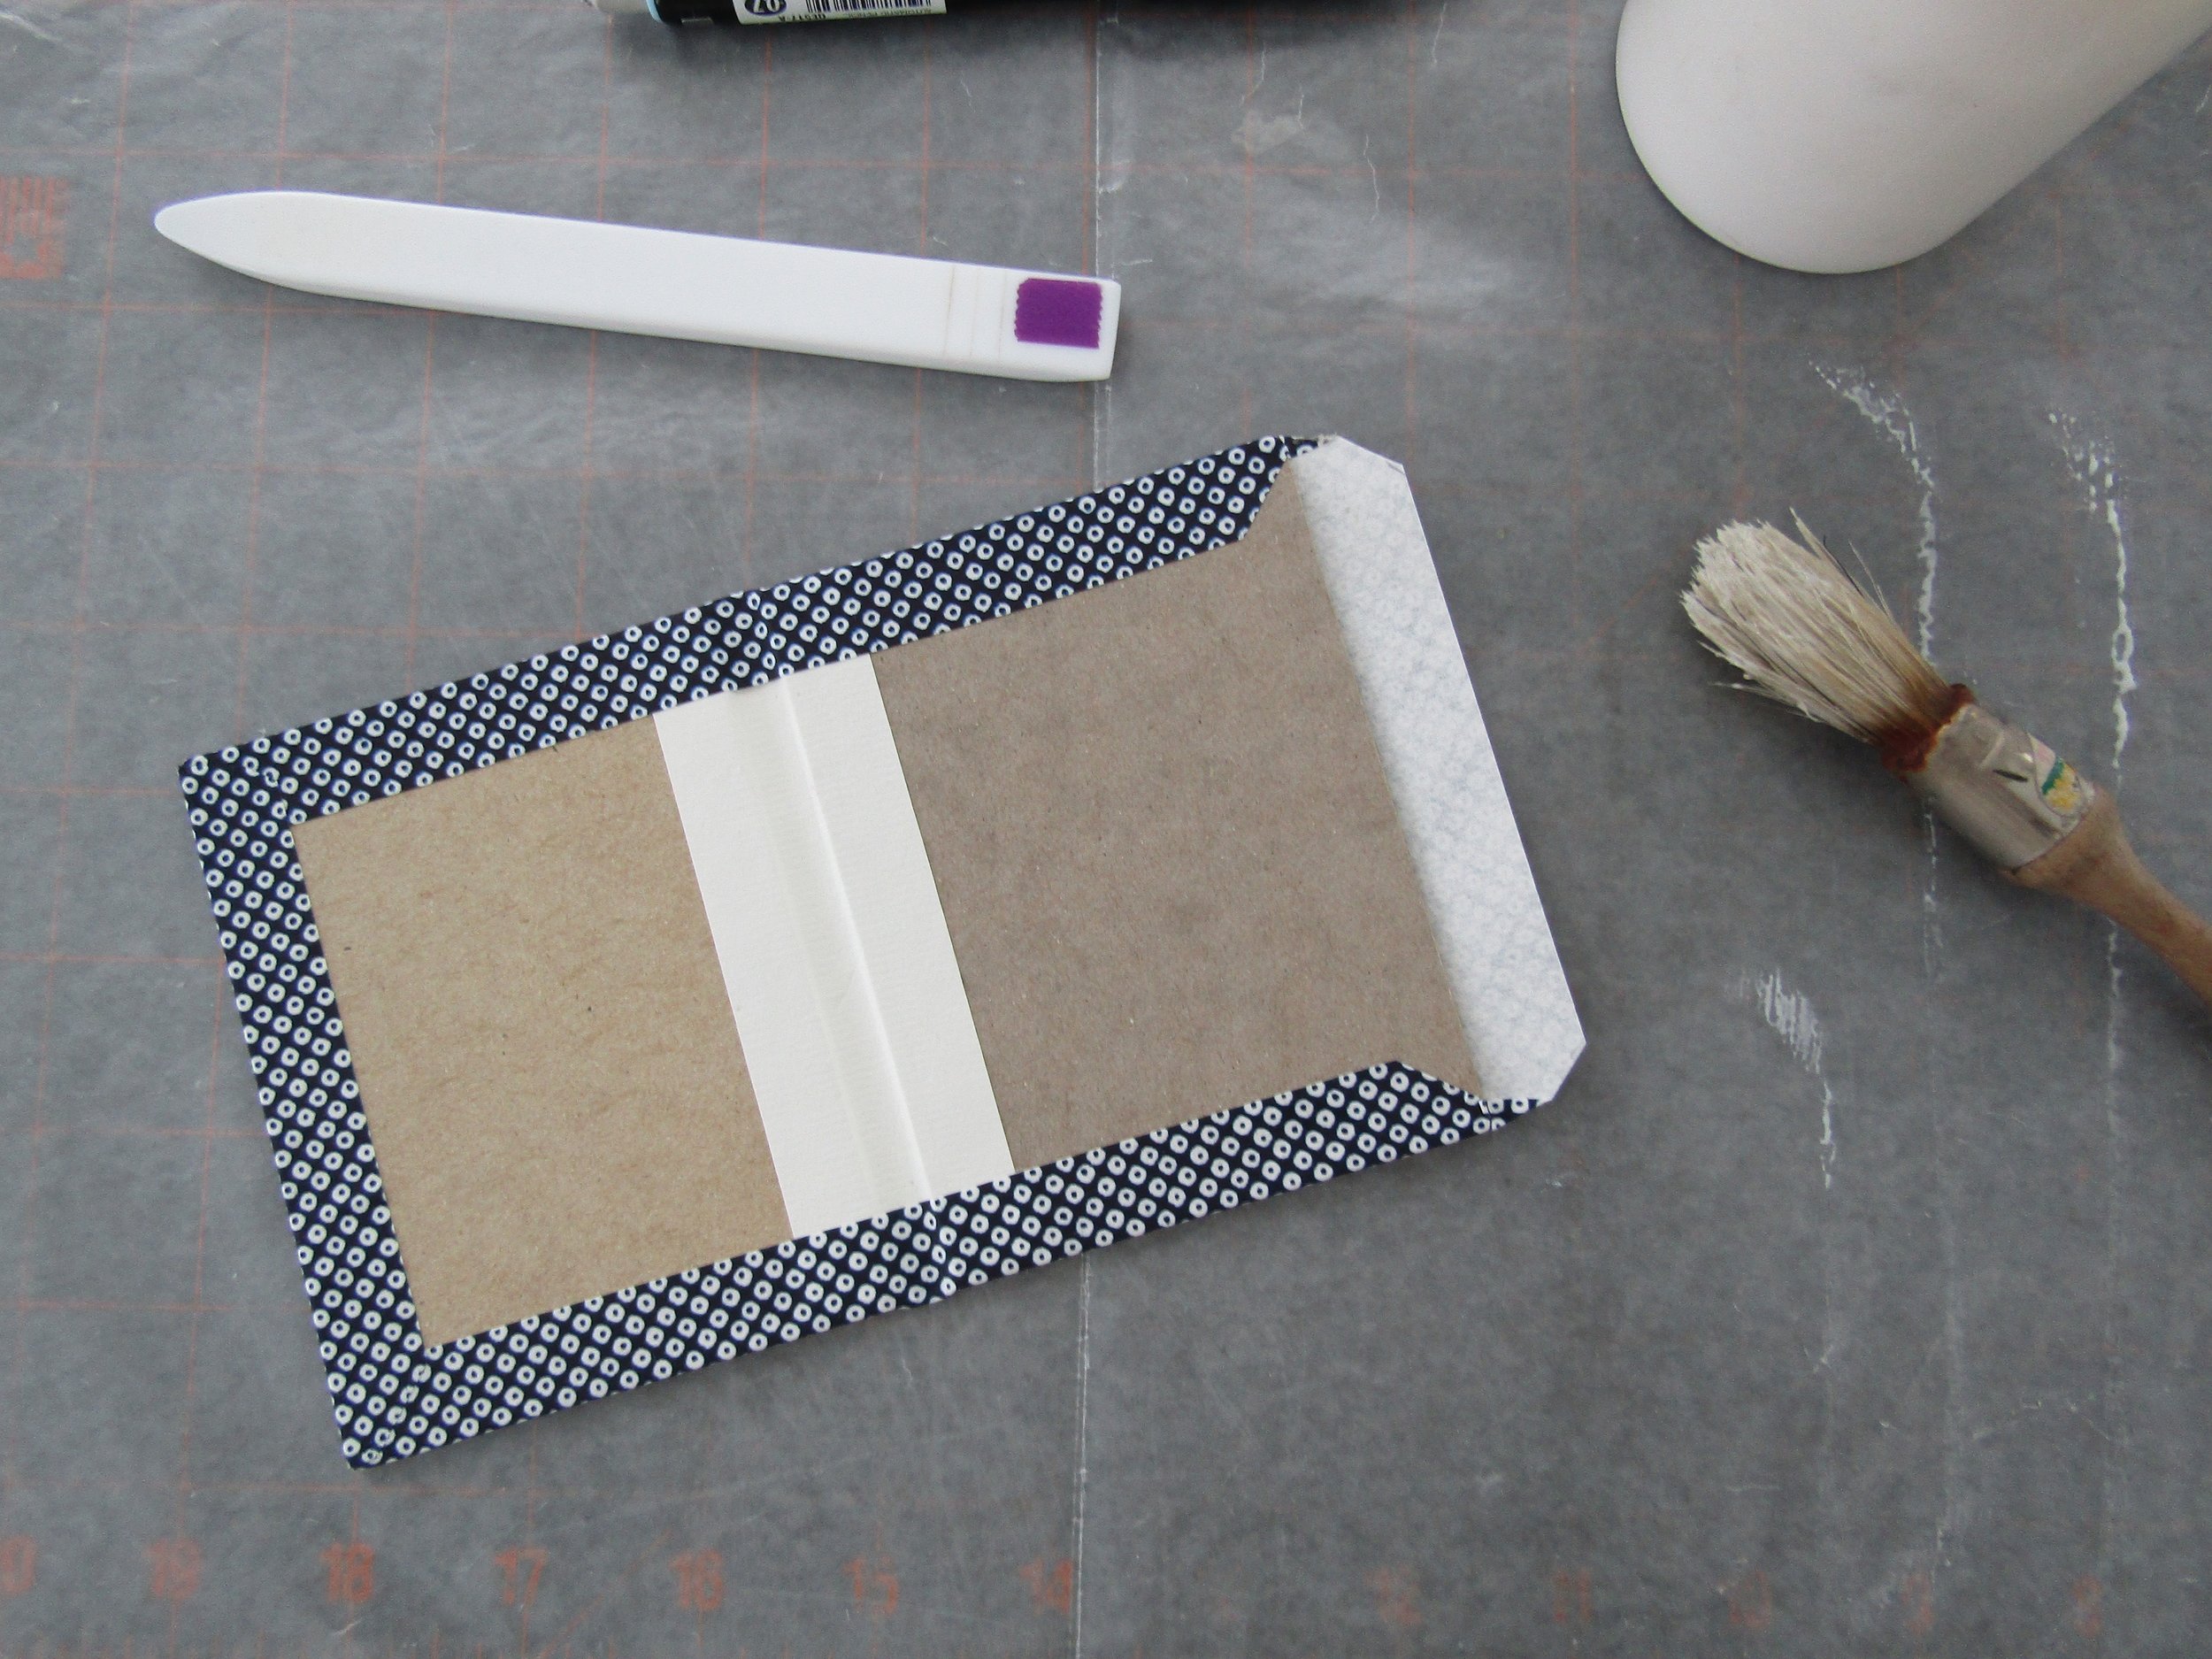
I chose a delicate pattern in a Japanese paper for the covers. The blues were exactly what I wanted to match the blues of the garden prints.

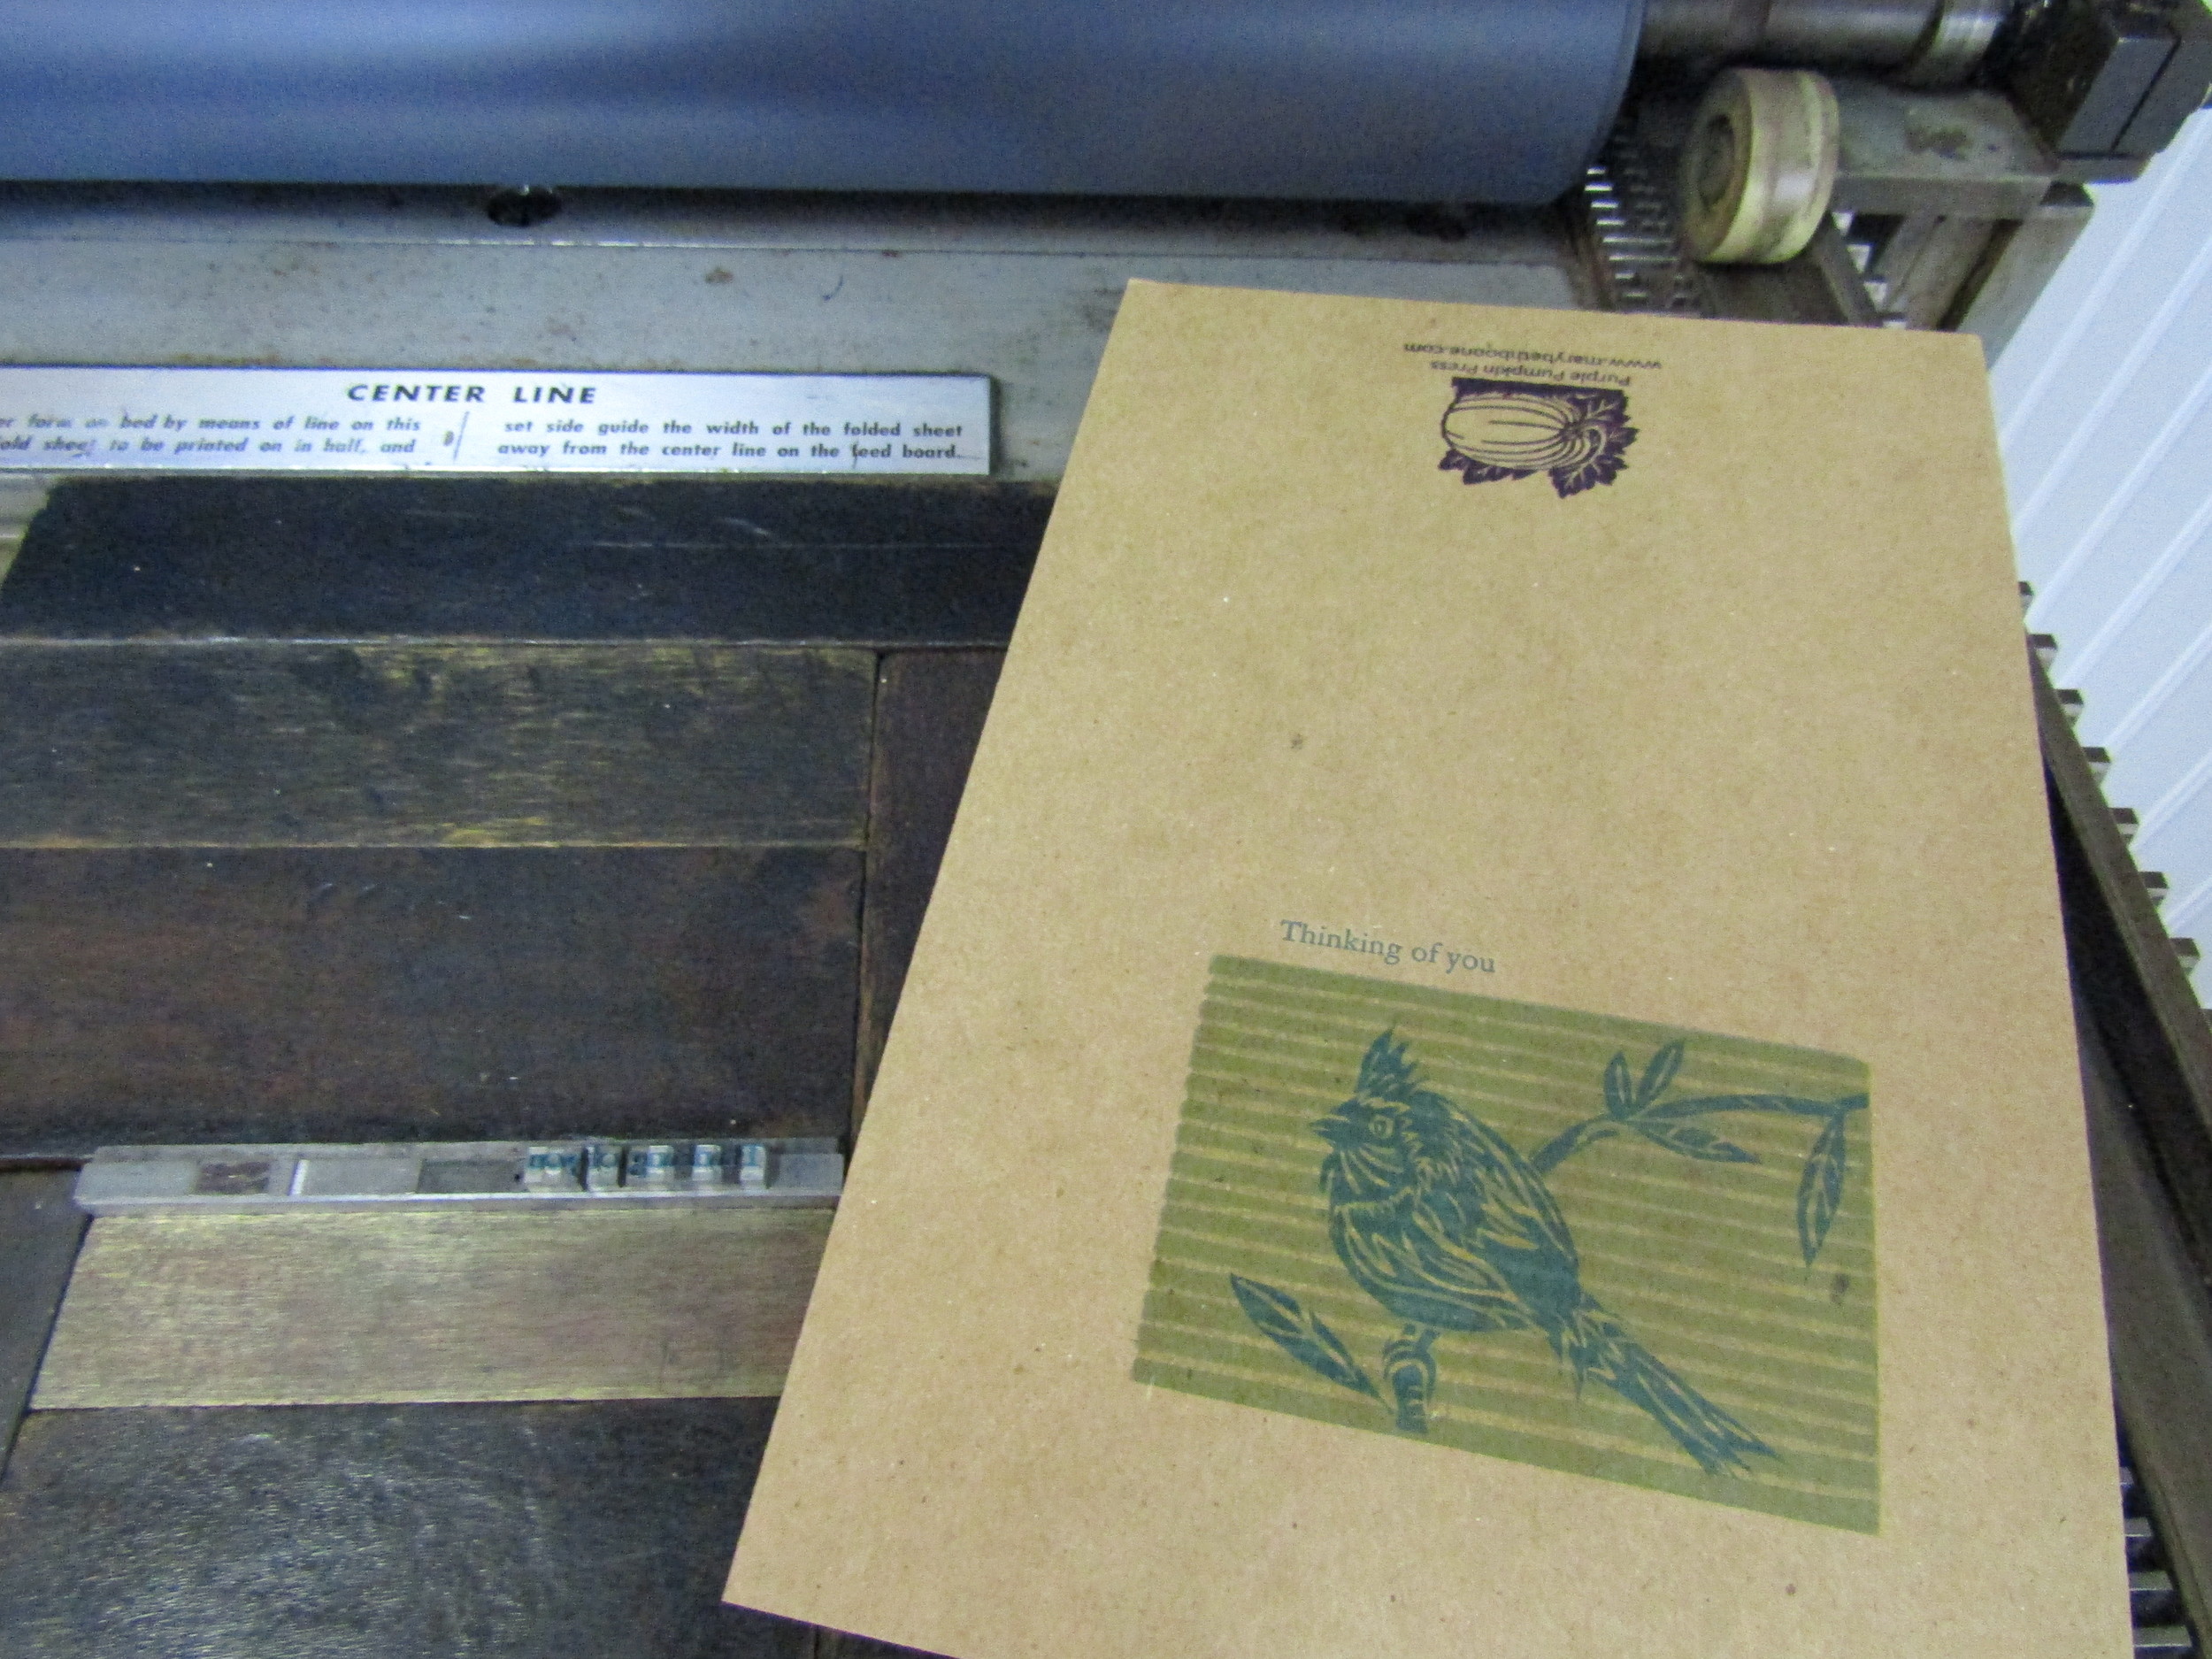
I have completed a book using each image. I then set a bit of type in 12pt. Garamond for the colophon and 'belly' wrap for the books.

Printing the colophon on Mohawk Superfine. I will also use this paper for the 'belly' wrap.

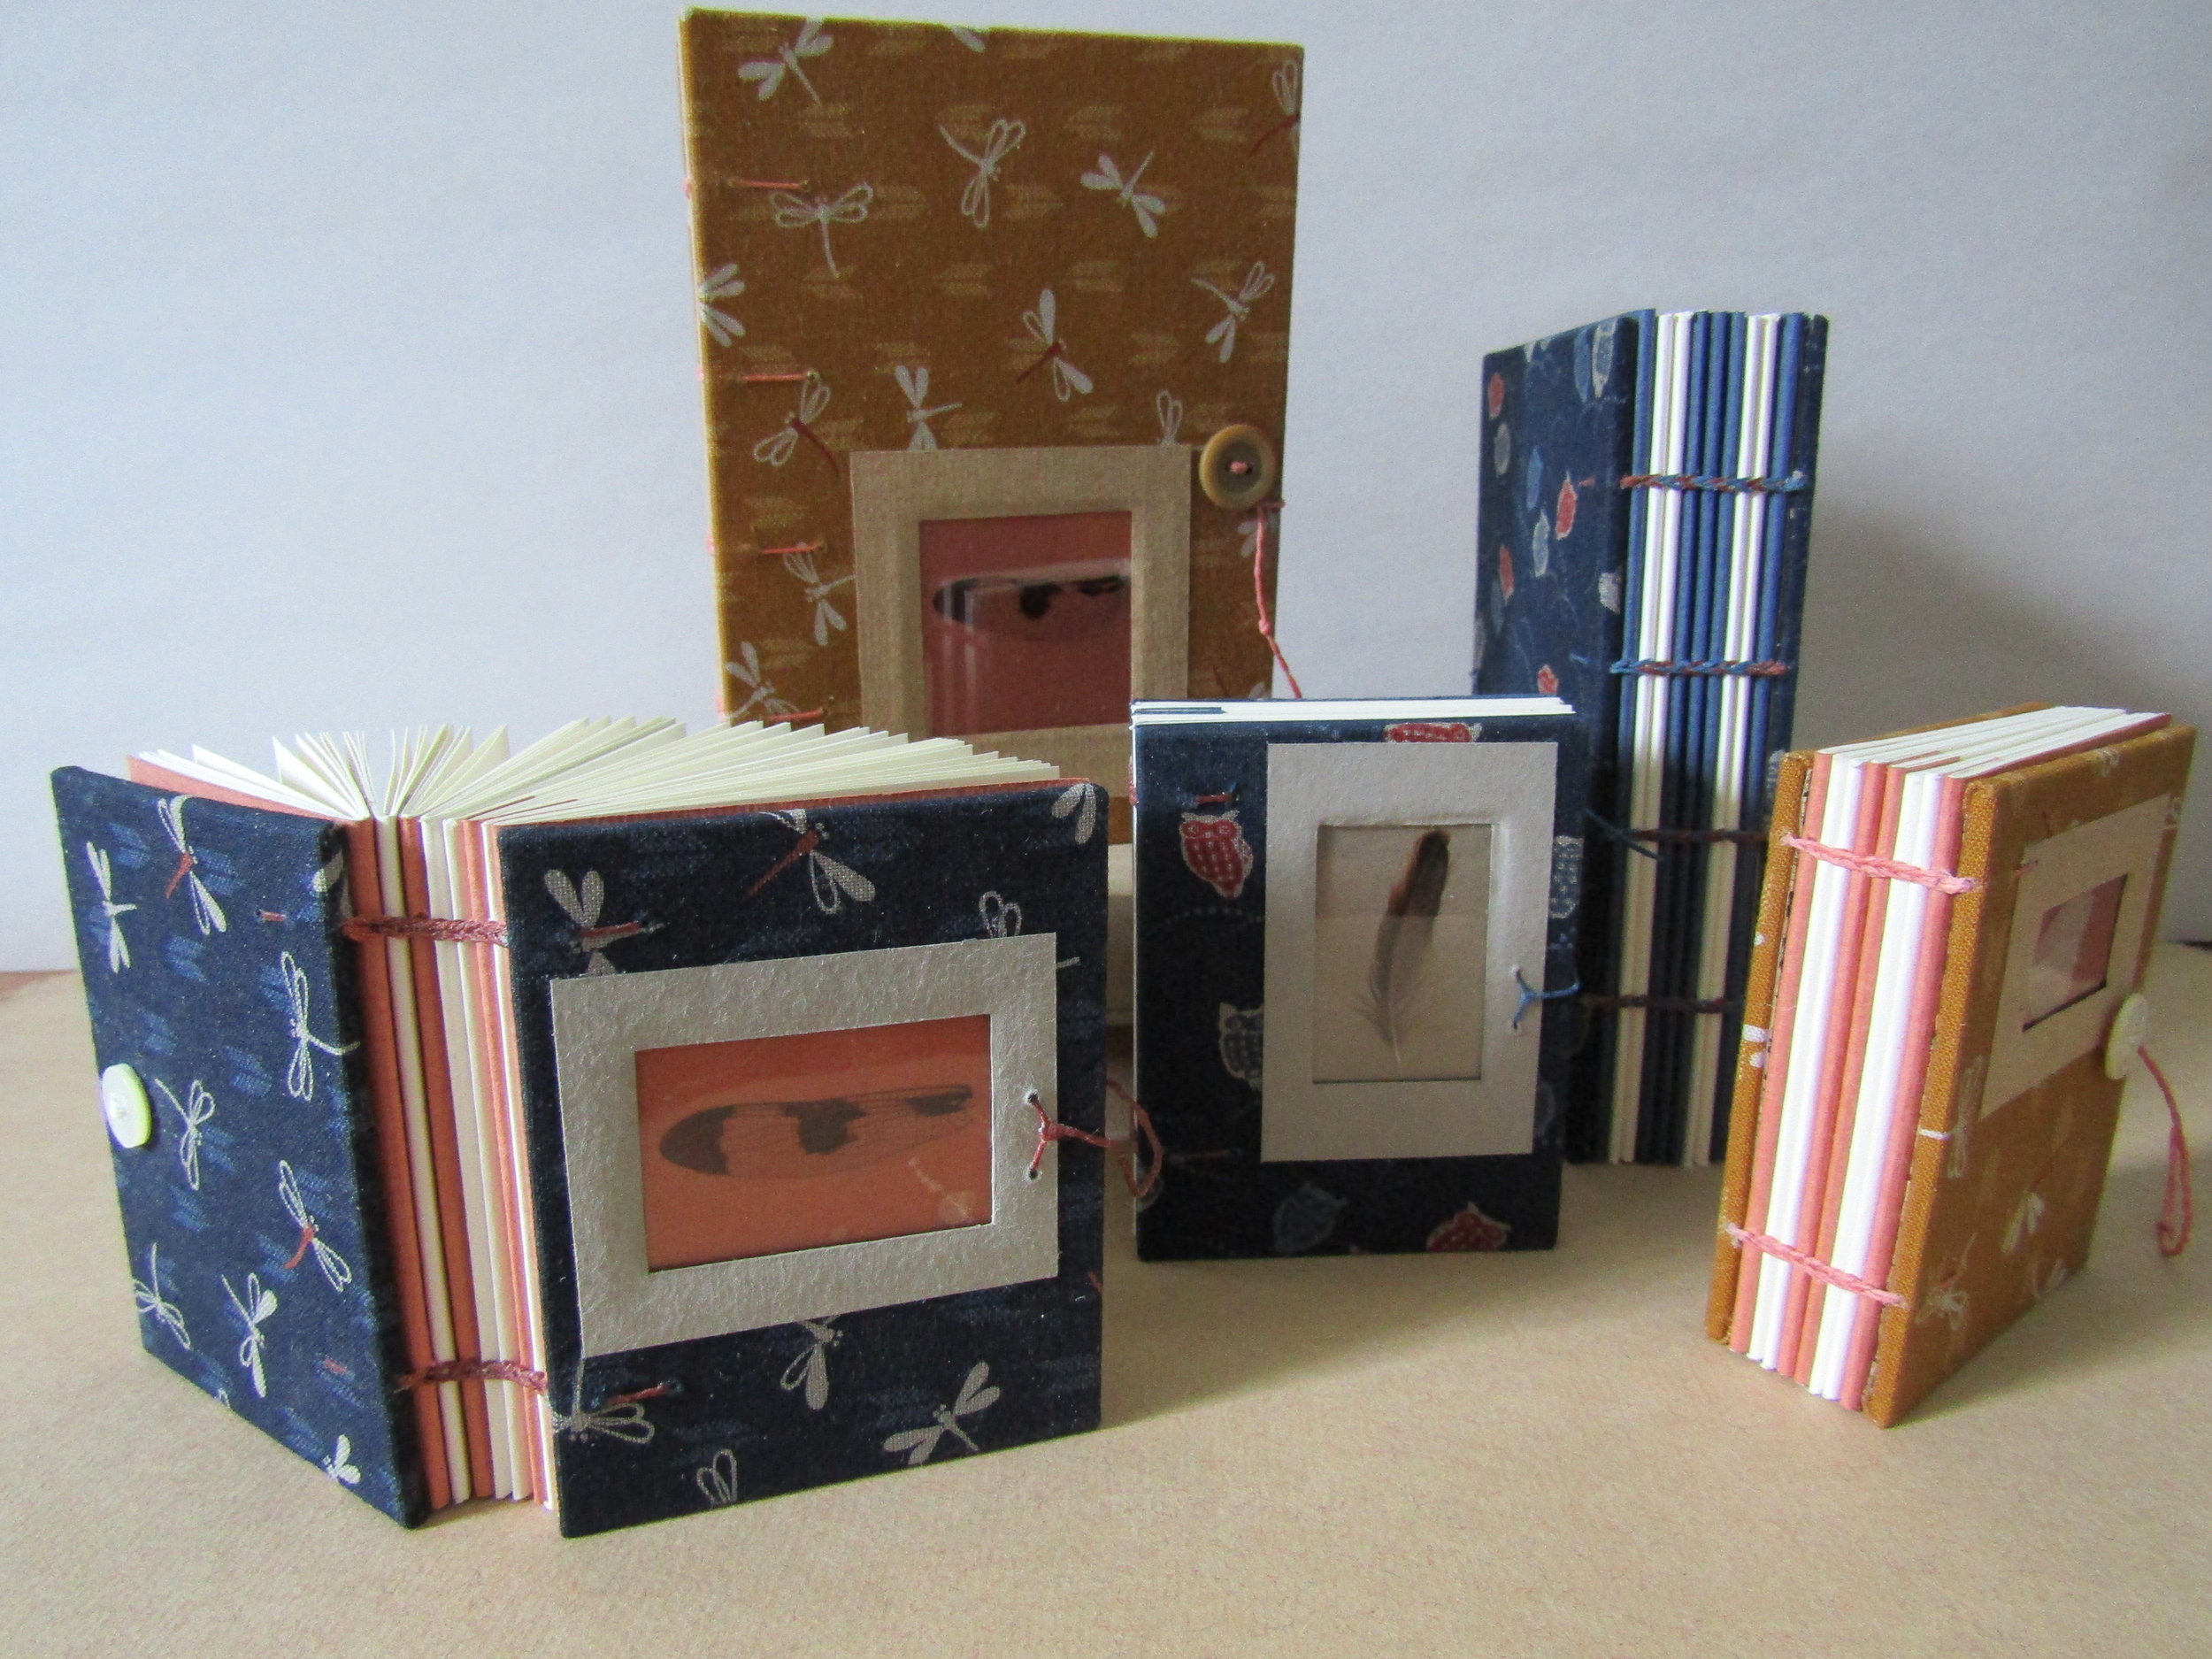
Working out the dimensions for and assembling a wrap.
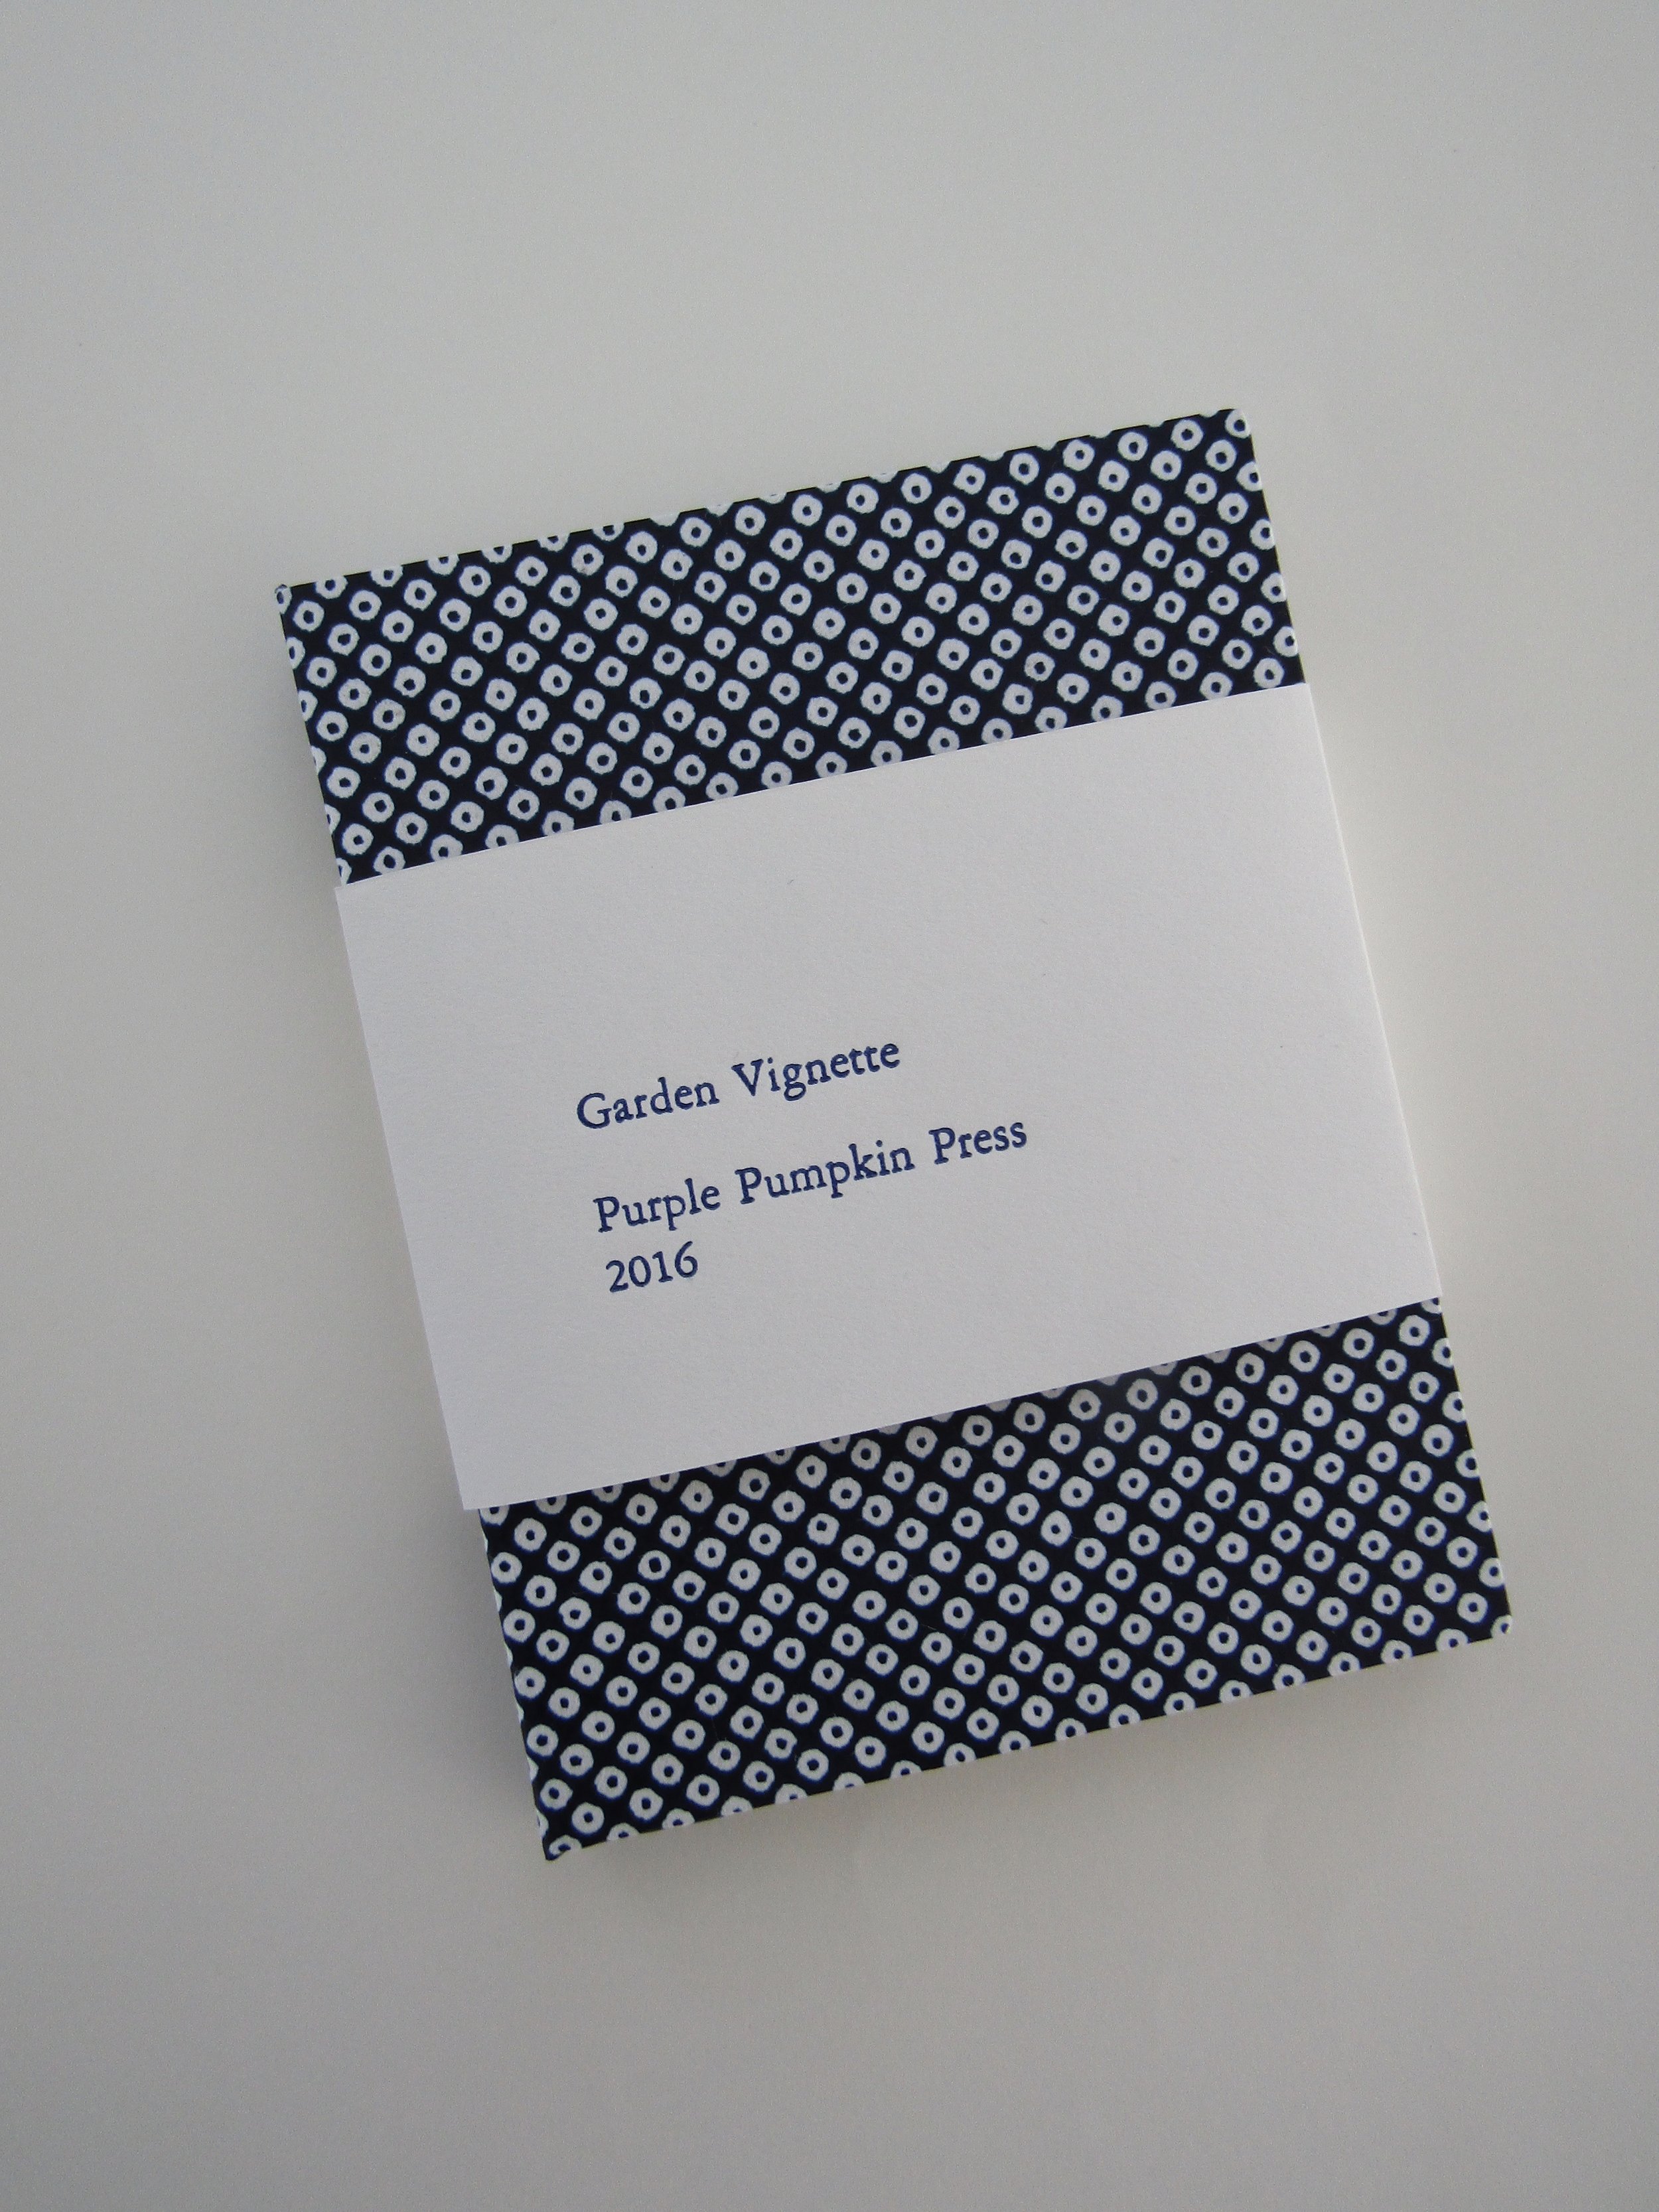
I like how the 'belly' wrap holds the little books together and gives them a finished presentation.