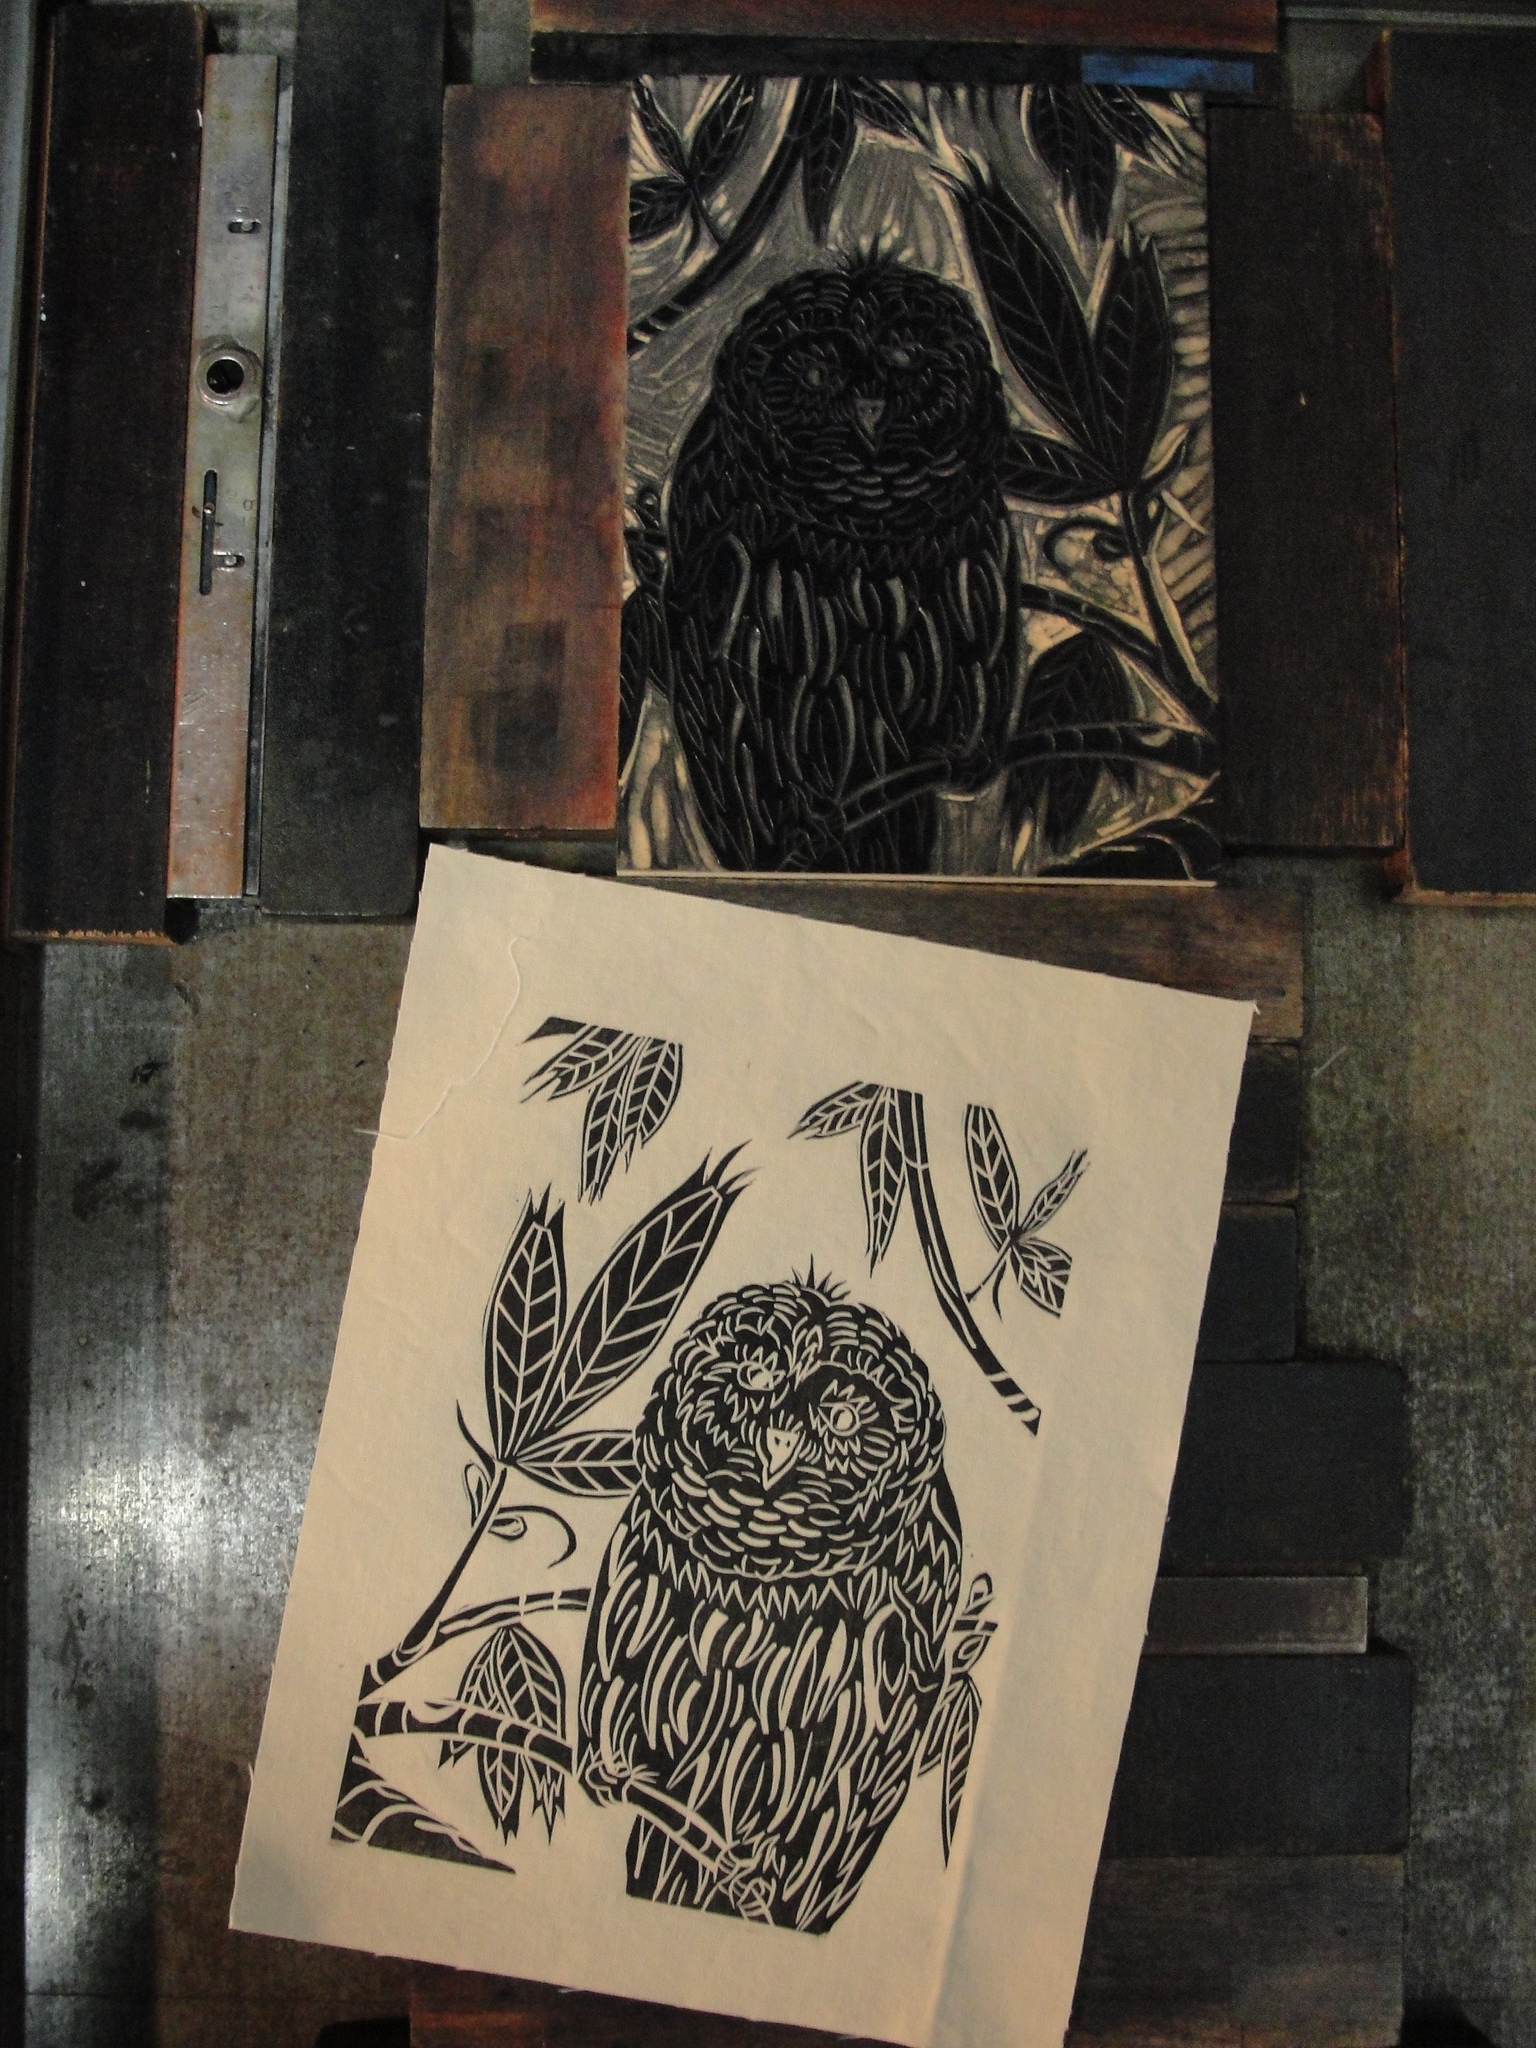
Owl printed on cotton muslin.

Printing the birds on cotton muslin.


Purses are sewn up - adding the button closure.
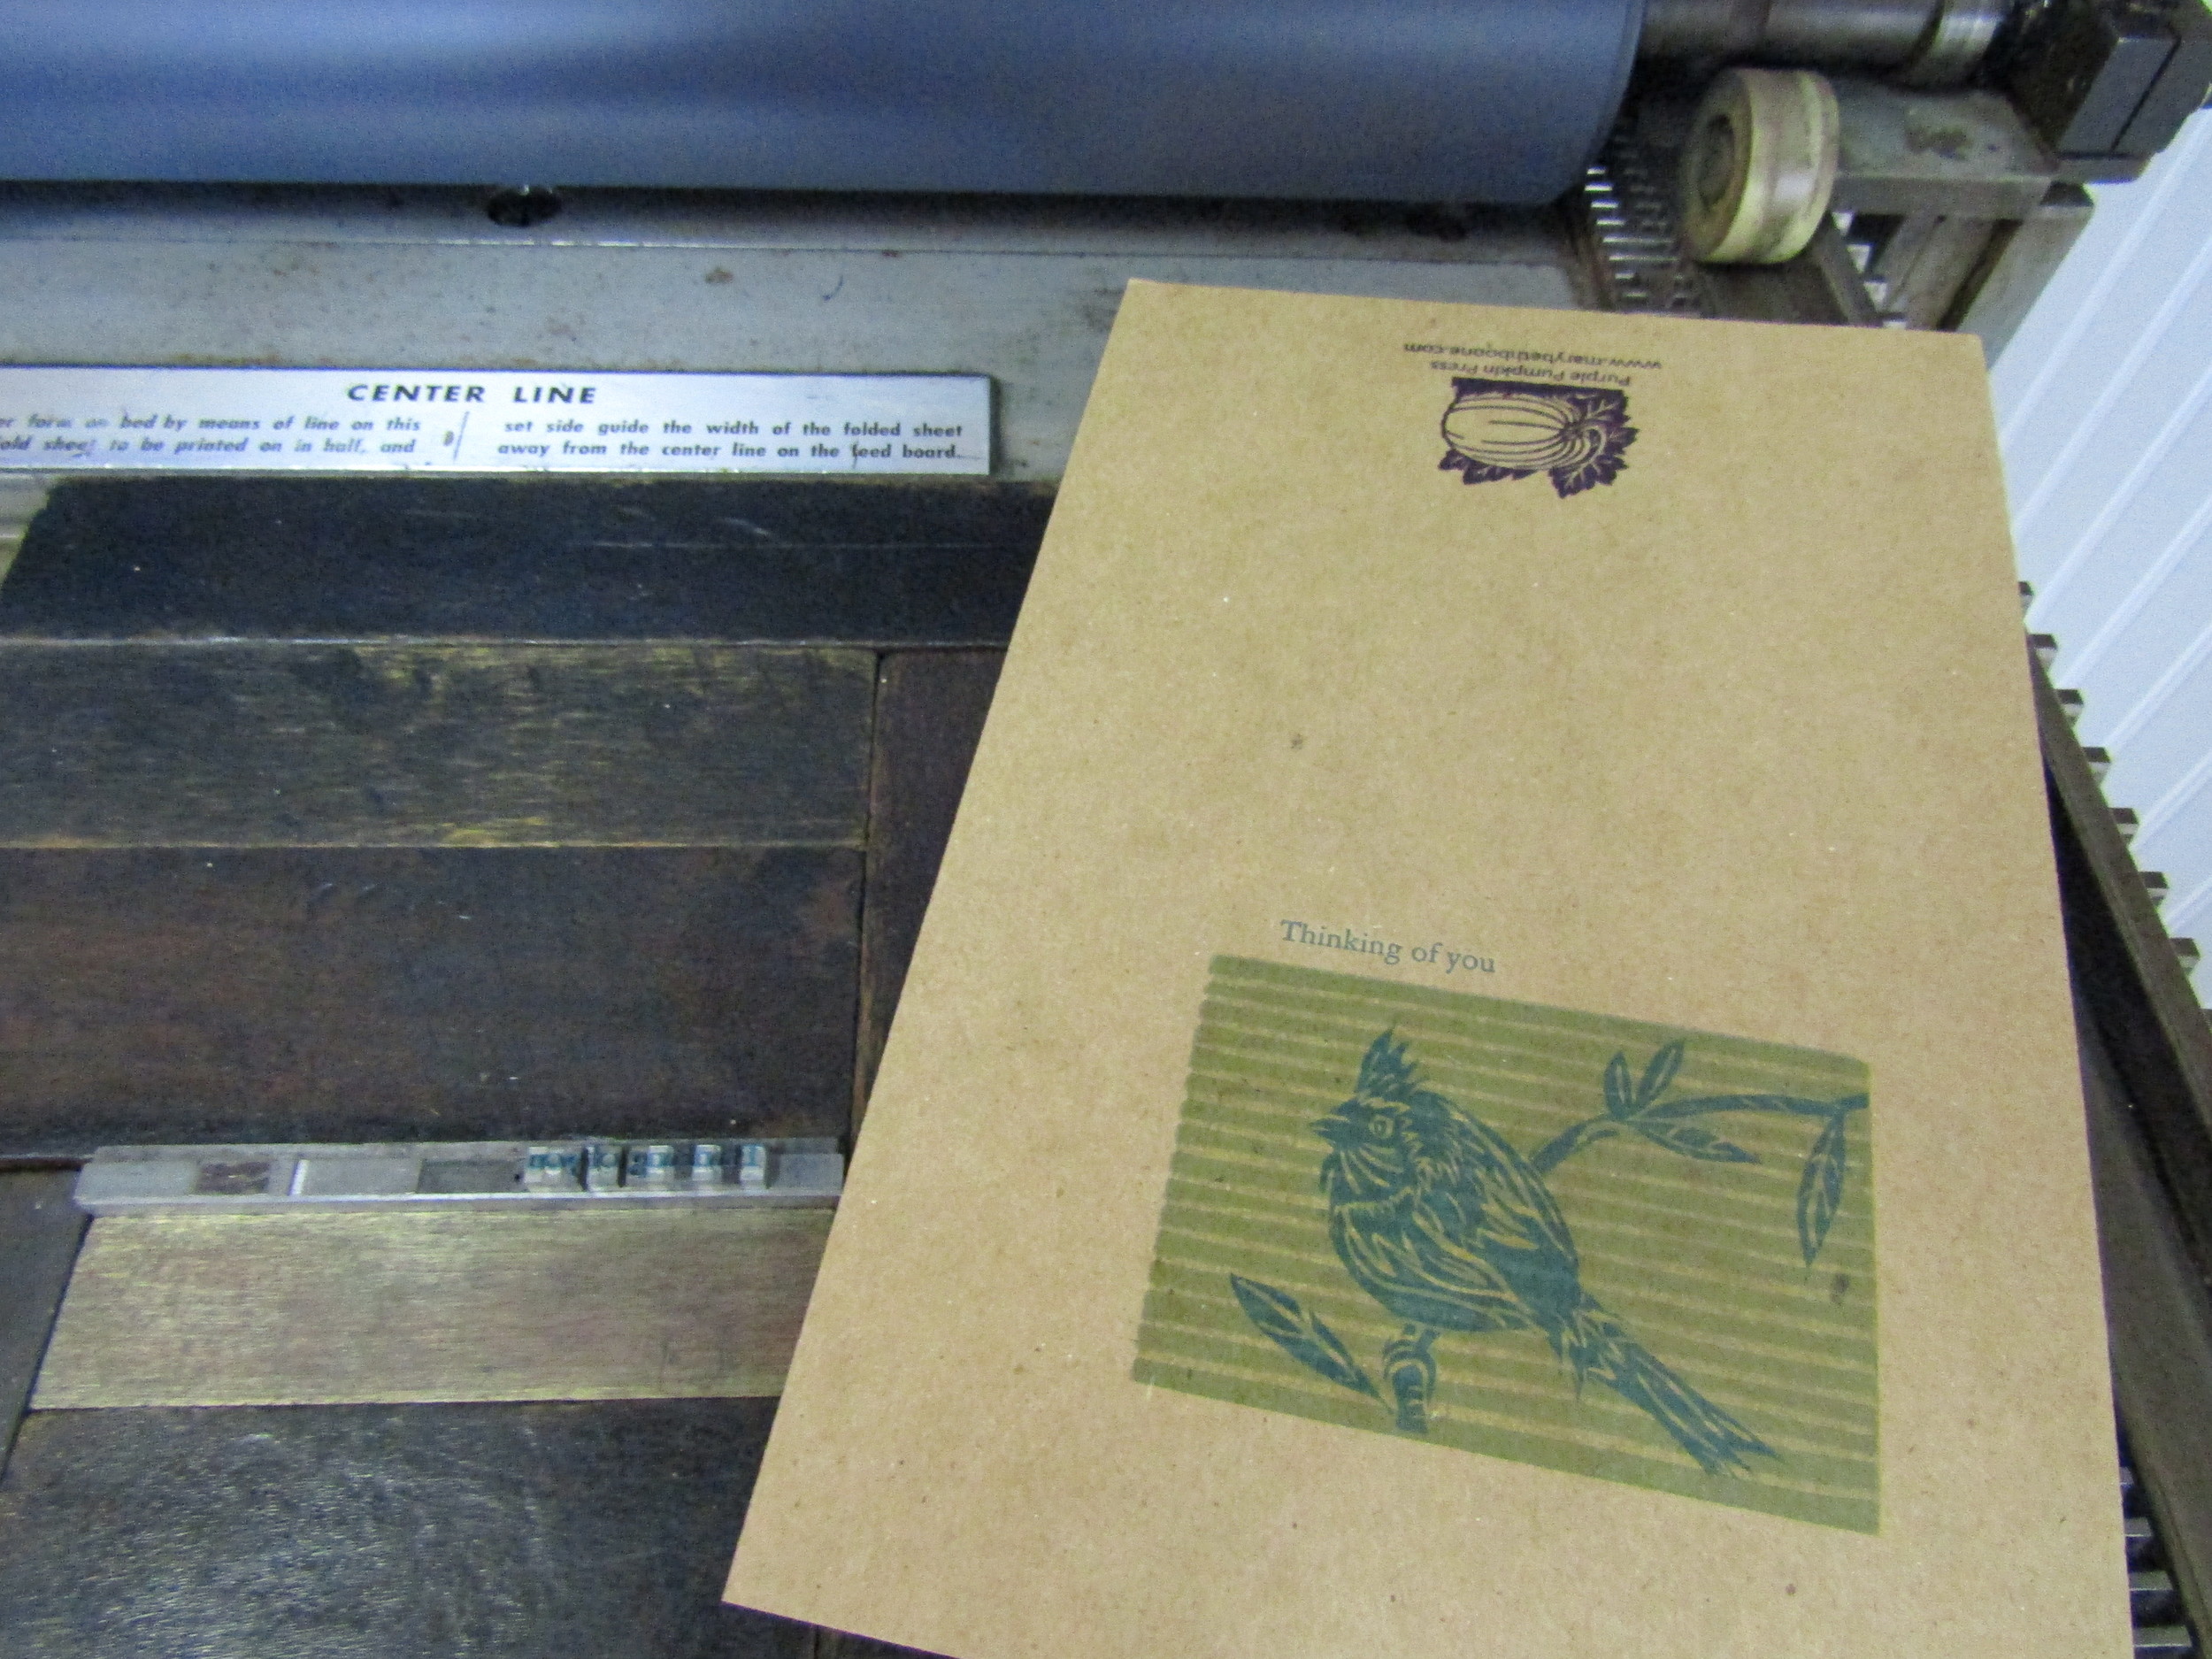
I recently began experimenting with printing on fabric. It is fun and not nearly as difficult as I would have imagined. Additionally, the process and products allow me to explore my love for printing, fabric, and sewing. Here are some of the items I am currently producing.

I printed several birds on cotton muslin. I then sewed them to cotton canvas bags....so much better than paper or plastic!
I then decided to carve and print smaller birds. My plan was to design a small purse using printed cotton fabric and attach the smaller birds to these.

Various fabrics and printed birds - ready to put it all together!
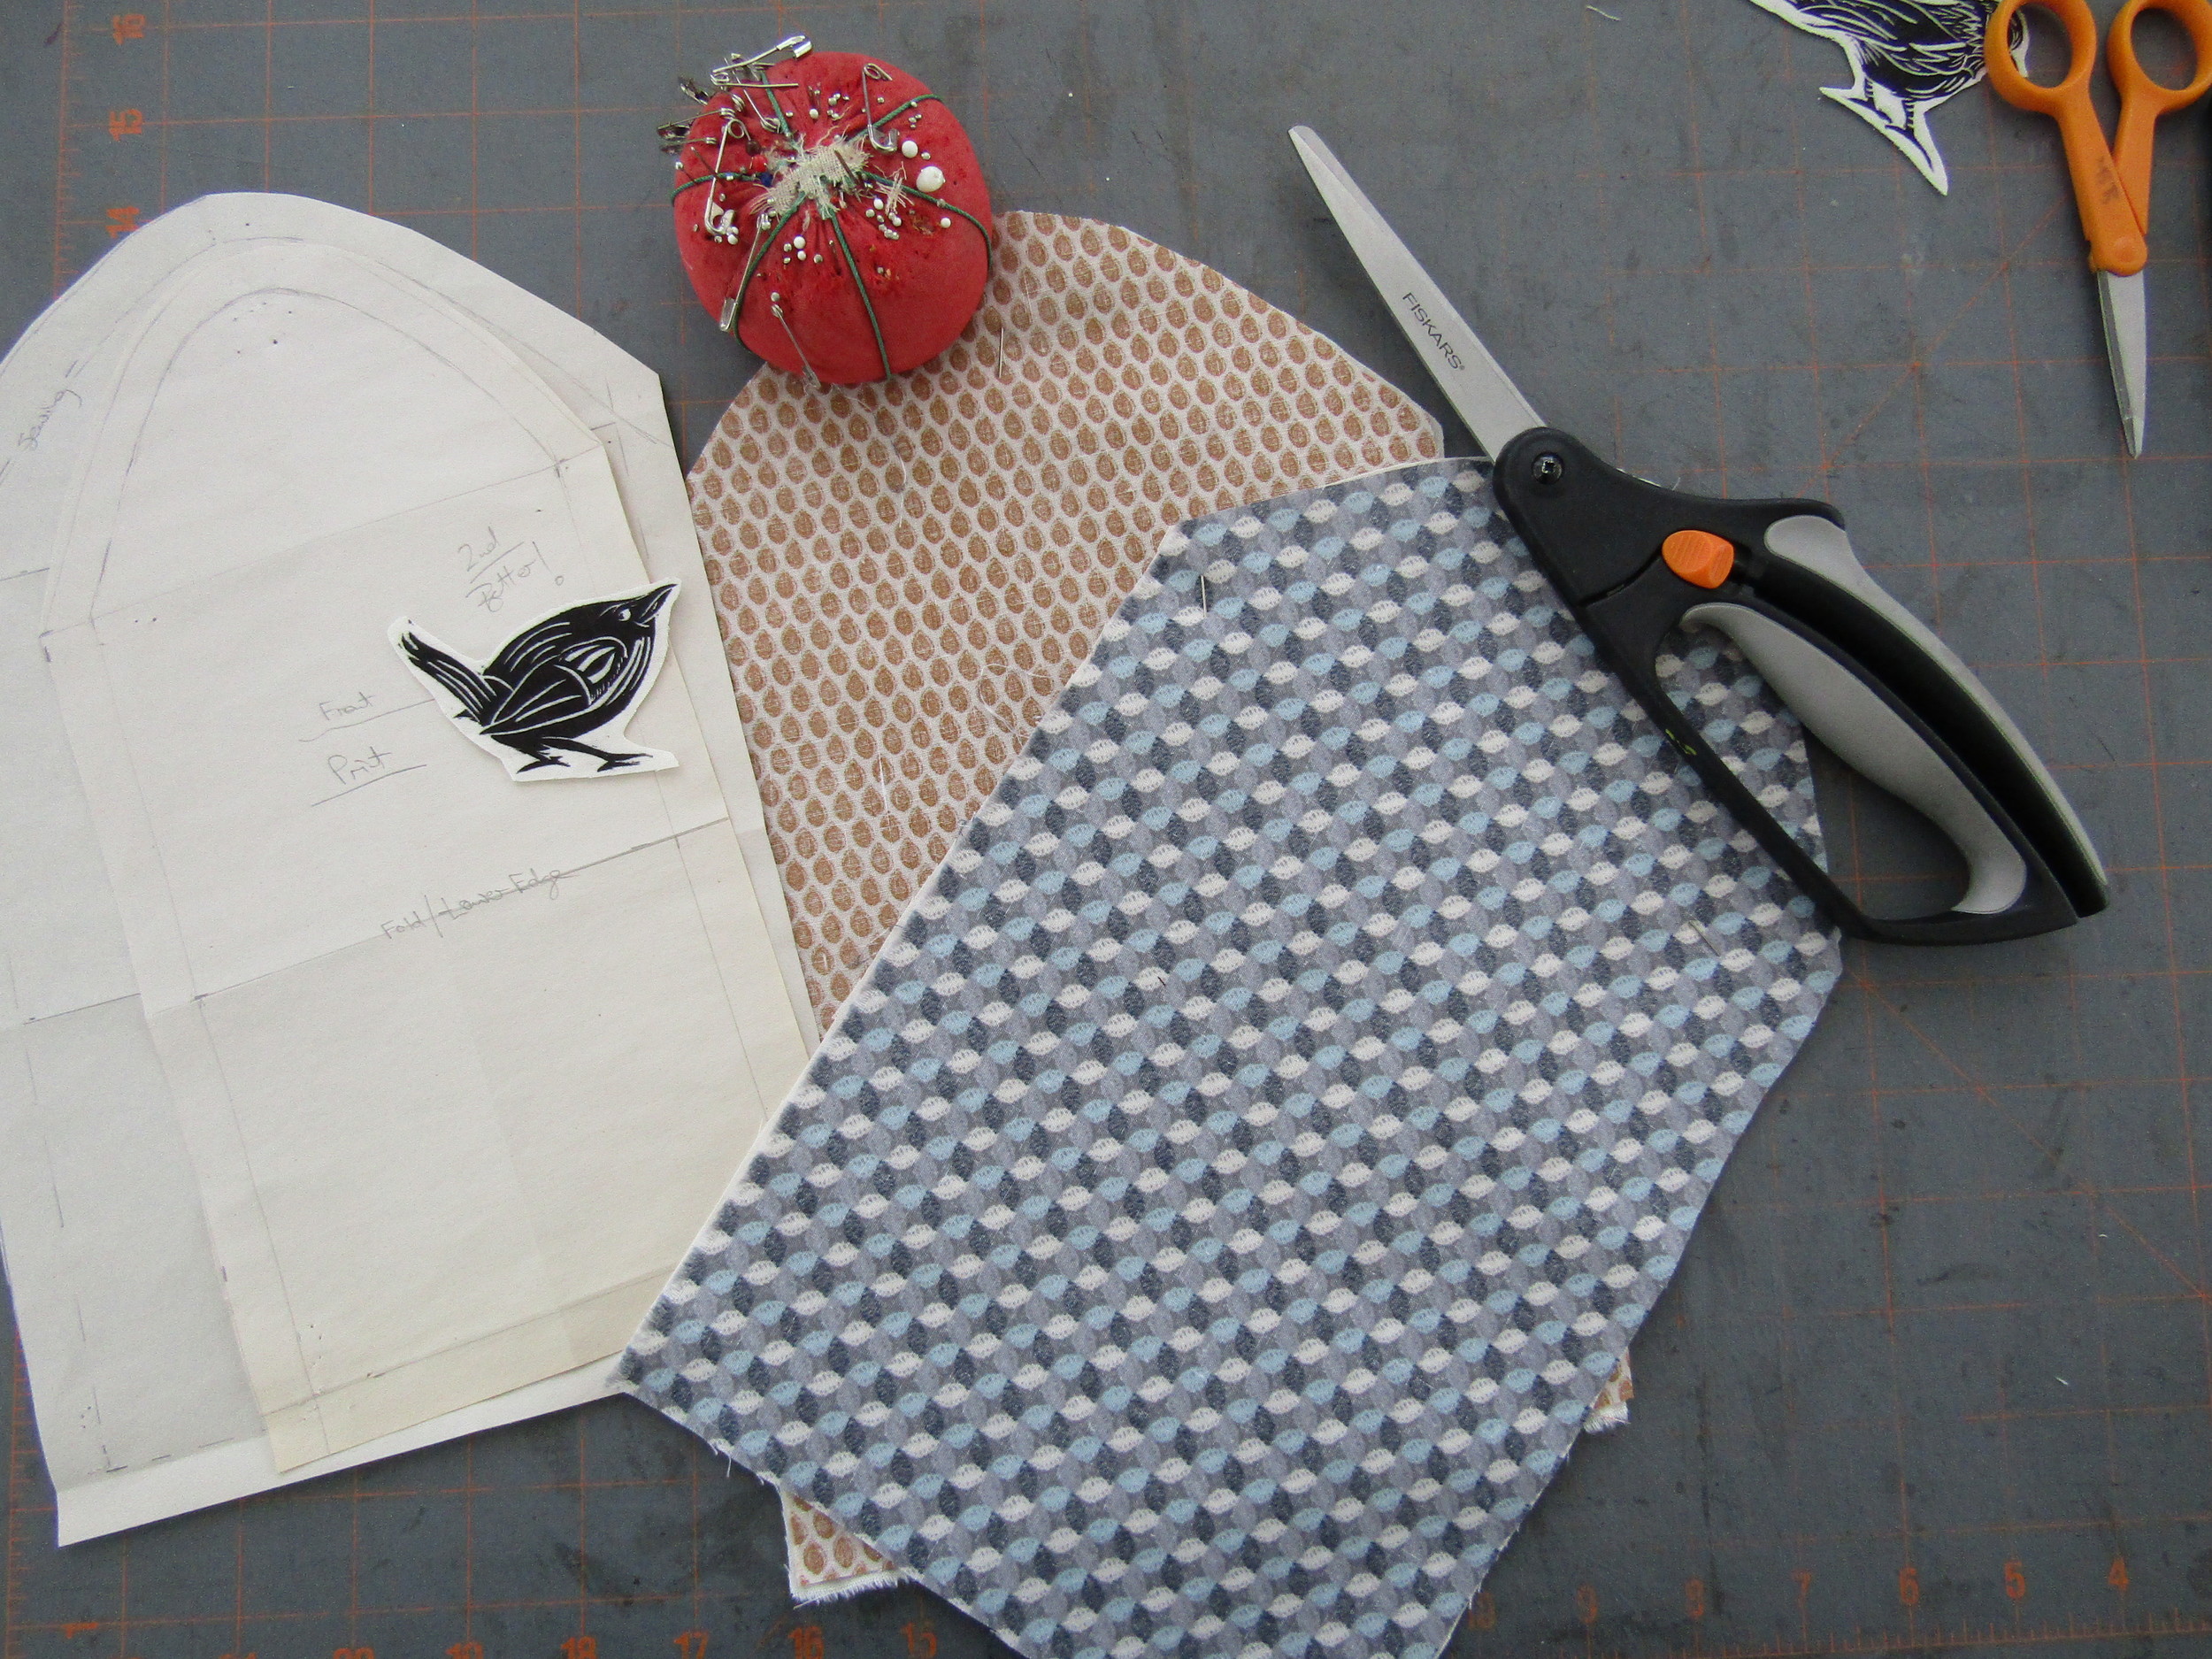
Cutting out and playing around with placement.

Various fabrics and birdies - working on multiples.

Purses with birds - all sewn up and ready for use!
These items using printing, sewing, and fabric have been fun to design and make. I will continue working with these ideas and materials; exploring new ways to bring them together!